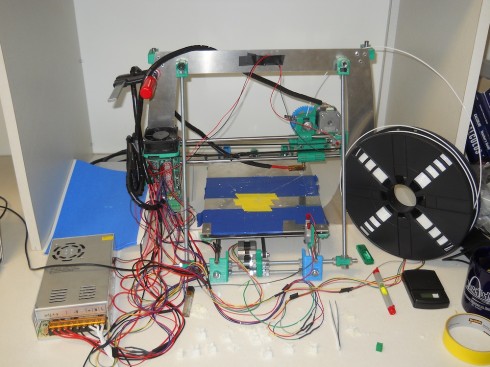
One of the key ideas behind the design of the RepRap 3D printer we just built is that you should be able to print as many of the components as possible. So you can use your 3D printer to build other 3D printers. As a consequence, the printer does not come as a nice little box. It looks a bit jury-rigged. Multicolored coils of wire snake everywhere; circuit boards and integrated chips are exposed; nuts, bolts and stainless steel rods are accessible for easy adjustment; and the plastic–printed–components are still rough from the printer. It is all function, no aesthetics. All of which make it a wonderful teaching tool.
The three students who built it got a crash course in robotic assembly. They learnt how to wire a power source, strip and solder wires, and construct the motor-controlled bed and extruder. They also learned how to use constructive solid geometry (using OpenSCAD) to create 3d shapes–I required them to design and print their own models before I would let them download object files from the internet.
On the down side, though they did have to plug a RAMPS motor shield, stepper-driver chips, and connecting wires into the Arduino microcontroller, we did not have much time to go into the detail of what it all was about. Also, we only edited an existing configuration file when we tried to calibrate the machine, so they did not learn how the programming works. Having to use the Arduino did inspire me to get one, and I was quite impressed with their starter kit, so I’m working on a “Microcontrollers for Beginners” type class or elective that I can offer over the next school year.