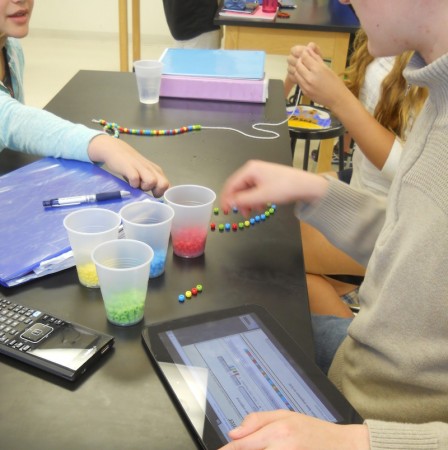
Meiosis is a little hard to explain and follow, even with the videos to help, so I thought I’d try a more concrete activity — making DNA strands out of beads — to let students use their hands to follow through the process.
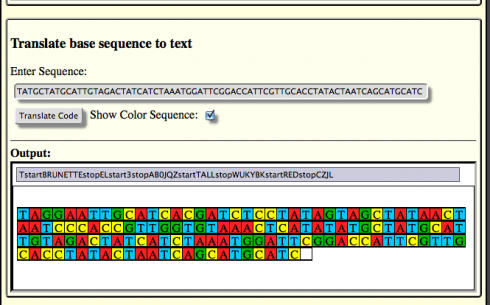
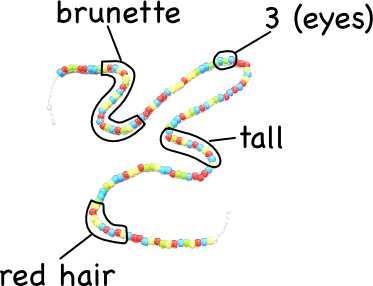
I started them off making a simulated human with four genes. They got to choose which genes, and they went with: hair color, number of eyes, height, and eye color. Then each group picked a different version of the gene (a different allele) for their person. Ravenclaw’s, for example, had brunette hair, three eyes, was tall, and had red eyes. Using the DNA Writer translation table , which maps letters and text to codons, they were then able to write out a string of DNA bases with their person’s information. I had them include start and stop codons to demarcate each gene’s location, and put some non-coding DNA in between the genes.
Ravenclaw’s Sequence
TAGGAATTGCATCACGATCTCCTATAGTAGCTATAACTAATCCCACCG
TTGGTGTAAACTCATATATGCTATGCATTGTAGACTATCATCTAAATG
GATTCGGACCATTCGTTGCACCTATACTAATCAGCATGCATC
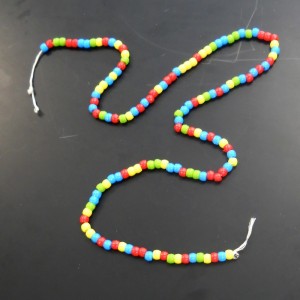
Since DNA is made up entirely of only four bases (A, C, T, and G), students could string together a different colored bead for each base to make a physical representation of the DNA strand. To make this a little easier, I adapted the DNA Writer to print out a color representation of the sequences as well. Most of the students used the color bars, but a few preferred to do their beading based off the original sequence only.

Just the beading took about 40 minutes, but the students were remarkable focused on it. Also, based on students’ questions while I was explaining what they had to do, the beading really helped clarify the difference between genes and alleles, and how DNA works.


Each of these DNA strands represents the half-sequence that can be found in a gamete. Next class, we’ll be using our DNA strands to simulate fertilization, mitosis and meiosis. Meiosis, should be most interesting, since it is going to require cutting and splicing the different strands (to simulate changing over), and following the different alleles as four new gametes are produced. This will, in turn, lead into our discussion of heredity.