The Cornell Ornithology Lab’s BirdNet lets you upload audio files of bird calls and identifies the birds. I tried it with this file (BirdCall01.m4a) recorded near school, and it identified Red Shouldered Hawks (about 6 seconds in).

Middle and High School … from a Montessori Point of View
The Cornell Ornithology Lab’s BirdNet lets you upload audio files of bird calls and identifies the birds. I tried it with this file (BirdCall01.m4a) recorded near school, and it identified Red Shouldered Hawks (about 6 seconds in).

In Geometry we’re using OpenScad to create basic, 3d geometric solids and printing them to get to know the 3d printers.
A basic example is creating a cylinder with a radius of 10 mm and a height of 5 mm. The code in OpenScad looks like this (OpenScad Cheat Sheet):
cylinder(r=10, h=5);and it looks like:
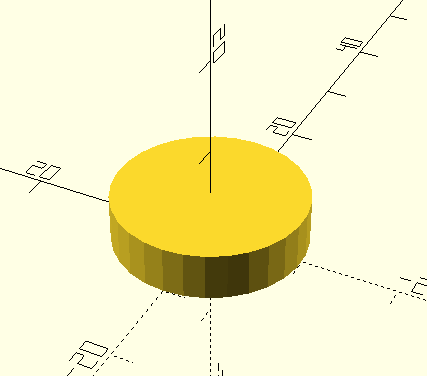
After we Render the object, we export it as a 3d .stl file. This we can load into the 3d printer software.
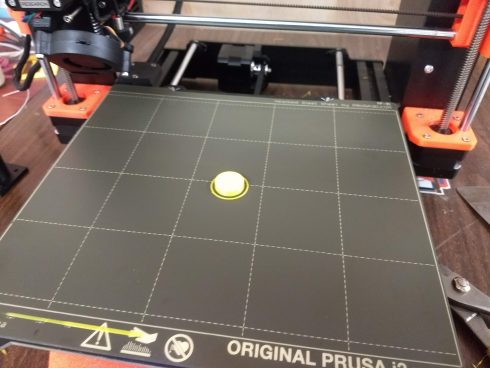
The end result, on the Prusa printer looks like this:
Teaching programming using the LED light strips is going much better than expected. I tried it with the 9th grade Algebra class during our weekly programming session using a set of coding lessons I put together. I went so well that though we started by having everyone (about 10 kids) share two LED strips, by the end of the year I had three students from that class build their own.
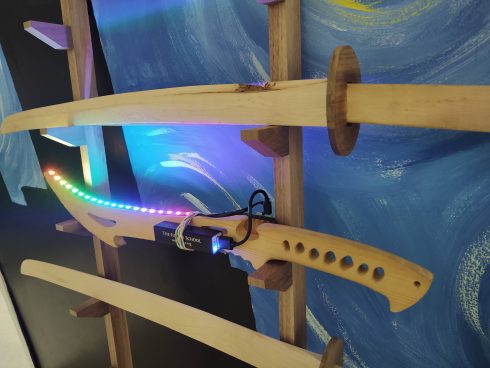
The coding lessons are still a work in progress, but it has them learn the basics by running some of the test programs, then then explore sequences using for loops. There are a lot of directions to branch off after the for loops. I’ve had some of my Algebra II students make static patterns using linear and exponential functions, while a couple of the kids in my programming class used different functions to make dynamic lighting patterns; our hydroponic system (see here and here) now has a neat LED indicator that runs different sequences depending on if the pumps are running or not.
Some of the students who built their LED strips in the Makerspace posted about their projects: LED Thingy and LED Light Strip Project. The process (rpi-led-strip) is not too hard but required them to be able to do a little physical computing (with Raspberry Pi’s), use ssh and terminal commands (terminal instructions), and then run and write python programs.
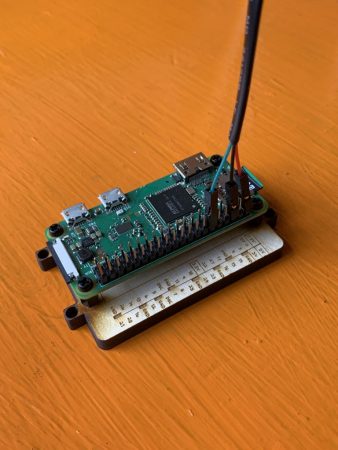
Since the setup uses the same GitHub repository (rpi-led-strip) it’s also easy to update some of our existing projects like the Wall Anchor.
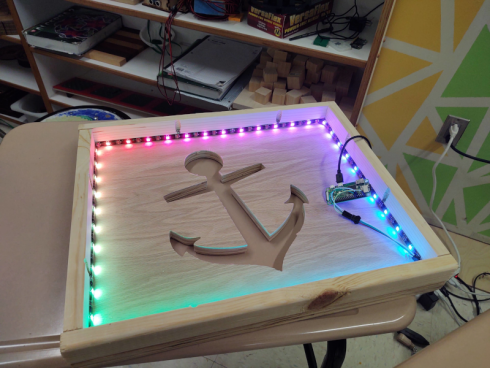
I am amazed at how much the students have engaged with what are, ultimately, very simple systems (a Raspberry Pi and a strip of 20 lights), and I’m really excited to see where it takes us.
In talking to alumni and their peers who have recently started computer science related careers, I have been encouraged to continue using python as the primary language for introducing students to programming.
I was recently pointed towards a very good Introduction to Python on the jobtensor website. It has a clean design and uses iPython Shells on the webpage so you can run some basic code on the site itself.
Another excellent video from Veritasium. Starts with the logistic equation and through a series of very clear examples gets to the relationship between growth rate (r) and equilibrium population. He does go into how this graph relates to the Mandelbrot set, but the rotating graphs are a little tricky to follow. However, the discussion of the practical applications of chaos theory (at 10:35) is really nice as well.
The logistic equation:
![]()
gives the new population (xₙ₊₁) for a given growth rate (r) and the old population (xₙ).
This makes for a fairly nice and easy programming assignment.
The PlottyBot project looks like a nice introductory project for building computer controlled devices, like 3d printers, laser cutters, and CNC machines. It draws designs using a pen, and is built off a Raspberry Pi Zero, which I’ve been using a lot.

It’s now on my list of potential Makerspace Projects.
A very good explanation of how Newton applied calculus to come up with a much more efficient method of calculating pi (π). It starts with a nice illustration of the relationship between π and the area of a circle, moves explains the binomial theorem (quite nicely), and then shows how Newton generalized the binomial theorem to come up with an integral of a quarter of a unit circle. They don’t explain what a unit circle is, but that’s easy: it’s just a circle with a radius of 1.
An interesting demonstration of how gold can be extracted from printed circuit boards (PCB’s) and RAM trimmings (which I did not know was a thing). The yield is low, but NileRed gives full detail, including the chemical equations, which is why I may show this to my chemistry class.