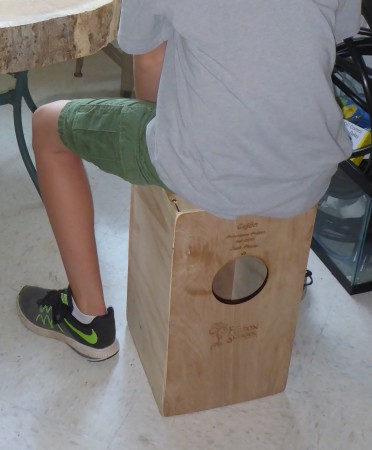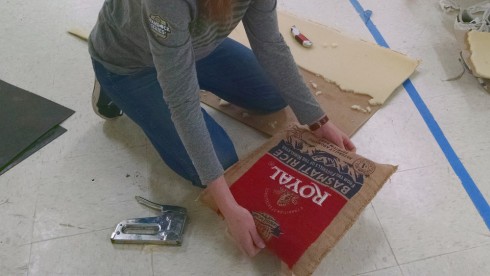
Last year, for an interim project, one of my more musically inclined students decide to build a Cajón. It’s a box shaped drum that you can sit on, with a snare inside. He worked up a simple design in Inkscape and I cut it out on the CNC machine at the Techshop. It turned out quite well, and he even built one that I could keep at school.
Category: Makerspace
Finger Labyrinths
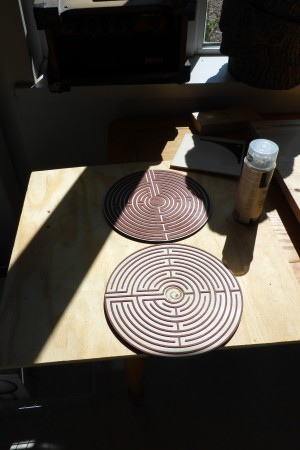
Our first through third grade teachers requested these finger labyrinths. I asked Dr. Steurer to explain how they used them:
Sometimes you just need to be alone. Welcome to our 1-2-3 Classroom “Comfort Zone.” When a child needs a break, they may relax and take a time away from any feeling of pressure or being overwhelmed.
One activity found in the “Comfort Zone” is a finger labyrinth crafted by Dr. Urbano. Children are taught three easy steps for slowly tracing the beautifully designed wooden labyrinth.
Step One: Release – Pause and take a deep breath.
Take a deep breath before you begin your finger walk to the center. This is the time for you to calm yourself and get focused. Let go of everything.
Step Two: Receive – Take in the center.
The center is a place for you to gain calm and peace. You can stay in the center point as long as you need.
Step Three: Return – Slowly take the journey back.
Move back out of the center point. Make the transition from the center back into your daily routine, ready and armed with the experience of peace and calm.
The “Comfort Zone” is one area in our classroom used to support our children in improving their abilities to pay attention, to calm down when they are upset and to make better decisions.
Being Mindful helps with emotional regulation and cognitive focus.
– Dr. Steurer
Generating 3d Terrain
After a lot of hours of experimentation I’ve finally settled on a workable method for generating large-scale 3d terrain.
Data from the NGDC’s Grid Extraction tool. The ETOPO1 (bedrock) option gives topography and bathymetry. You can select a rectangle from a map, but it can’t be too big and, which is quite annoying, you can’t cross the antimeridian.
The ETOPO1 data is downloaded as a GeoTIFF, which can be easily converted to a png (I use ImageMagick convert).
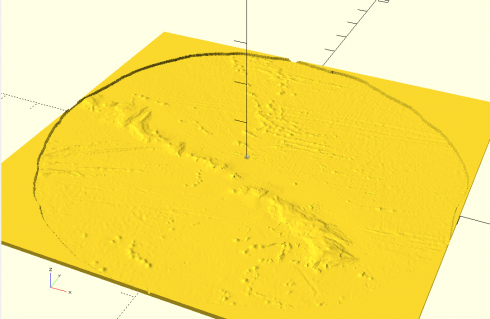
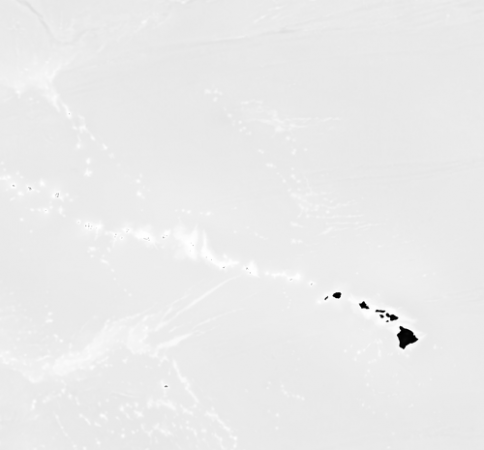
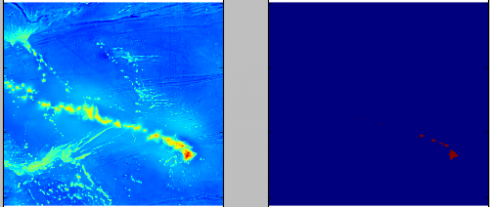
Adjusting the color scale. One interesting property of the data is that it uses a grayscale to represent the elevations that tops out at white at sea-level, then switches to black and starts from there for land (see the above image). While this makes it easy to see the land in the image, it needs to be adjusted to get a good heightmap for the 3d model. So I wrote a python script that uses matplotlib to read in the png image as an array and then I modify the values. I use it to output two images: one of the topography and one of just land and water that I’ll use as a mask later on.
The images I export using matplotlib as grayscale png’s, which can be opened in OpenSCAD using the surface command, and then saved as an stl file. Bigger image files are take longer. A 1000×1000 image will take a few minutes on my computer to save, however the stl file can be imported into 3d software to do with as you will.
Note: H.G. Deitz has a good summary of free tools for Converting Images Into OpenSCAD Models
Go Board
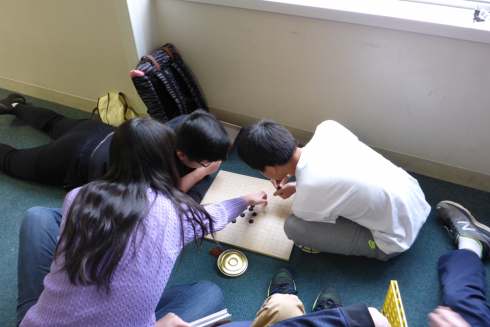
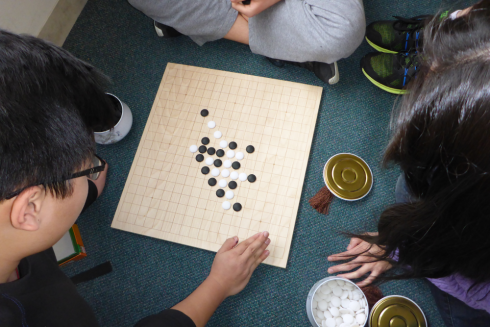
I recently discovered that, although they may look it, Go boards are not necessarily square. They’re slightly longer in one dimension so that the board looks more square to the players on both sides.
A student asked me to make one for him–he’d ordered a set recently and didn’t like the board it came with–so, I wrote a small python program to generate the Go grid, then lasered it onto a nice piece of sanded plywood.
It worked out quite well. Apparently the plywood makes just the right “thunk” sound when you put down the pieces.
The script to generate the grid.
go_board_2.py
from visual import * from svgInator_3 import * length = 424.2 #mm width = 454.5 #mm nLines = 19 dx = length/(nLines-1) dy = width/(nLines-1) print "Lenght = ", length print "dx = ", dx f = svgInator("go_board.svg") lineStyle = {"stroke": "#000", "stroke-width": "2pt",} #lines for i in range(nLines): x = i * dx y = i * dy #vertical f.line(pos=[vector(x,0), vector(x,width)], style=lineStyle) #horizontal f.line(pos=[vector(0,y), vector(length,y)], style=lineStyle) #circles grid_pos = [(3,3), (3,9), (3,15), (9,3), (9,9), (9,15), (15,3), (15,9), (15,15)] for i in grid_pos: (x, y) = (i[0]*dx, i[1]*dy) f.circle(pos=vector(x,y), radius=2.0, style={"stroke": "#000", "fill":"#000"}) #bounding box f.rect(dim=vector(length,width), style=lineStyle) f.close()
Now I just have to learn to play.
Our Natural Bridge
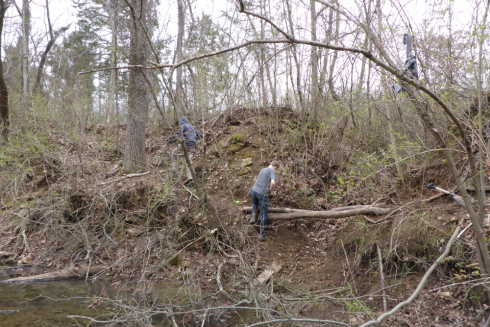
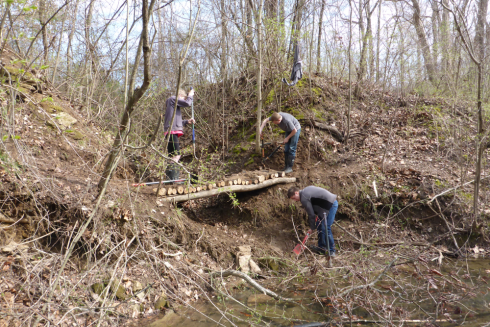
Inspired by a video of a temporary bridge built out in the woods for mountain biking, my students wanted to try building a “natural” bridge with no fasteners–no screws, no nails–over a small ravine that feeds into our creek.
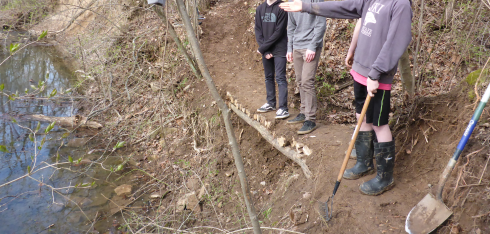
We found a couple large fallen logs to cut into two 10 foot lengths for the basic structural support for the bridge. These were dug into the ground to anchor them on either side of the ravine. We then chopped a couple more logs into 2 foot sections to go across the structural logs. The dense mud from the banks of the creek was then packed onto the top to hold it all together.
In the end, the bridge turned out to be pretty solid, and definitely usable.
Building Bridges (Literally)
My crew from the Gaga Ball pit decided to make a trail through the woods and across the creek. So they built two short (12 ft long) bridges to cross the creek itself, and a third, “natural” log bridge to cross a small ravine that runs into the creek and cuts across the trail.
The short bridges were made of overlapping 2×4’s for structure (held together by 2.75 inch structural screws), with 24 inch long, 1×6 planks across the top.
The short bridges needed to be small and light enough to be moved when the creek rises, like it did today. I’ll attest that they can be moved, but not easily. They’re pretty heavy: it took a team of three or four middle schoolers to get it down to the creek, and it was hard going trying to drag it over to the side by myself this afternoon. Note to self: next time make sure the structural cross pieces are not at the very end of the bridge.