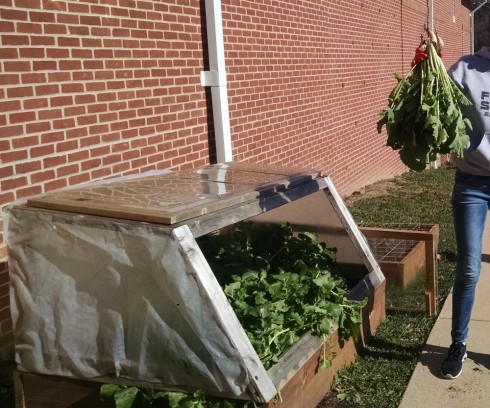
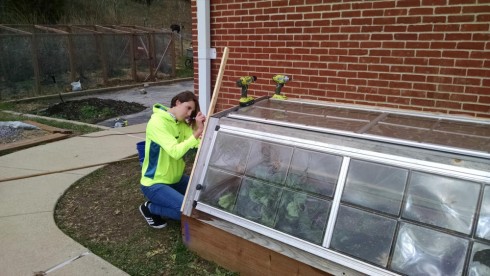
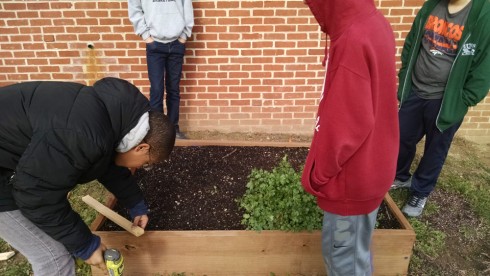
Two years ago we bought a greenhouse. It was aluminum framed with plastic panels. Unfortunately, its profile was not as wind-resistant as it needed to be for our campus. So last semester we built three vegetable boxes and salvaged the plastic panels from the greenhouse to build low-profile cold frames. These turned out quite nicely, and the Middle School’s Student-Run-Business’ Gardening Department have been experimenting with different types of produce.
The wood for the raised beds and the frames for the cold frames were purchased using funds from a grant by the Whole Kids Foundation and the pieces cut at the TechShop.
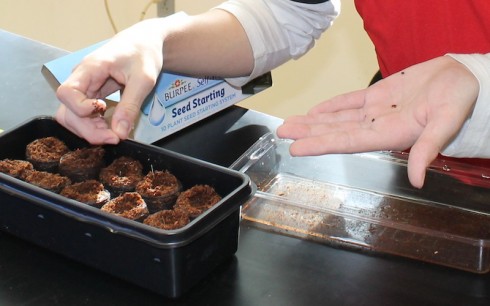
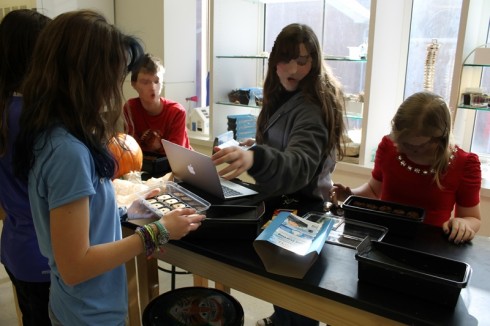
The Gardening Department of our Student-Run-Business sowed seeds in little coconut husk pellets. The question was: how many seeds should we plant per pellet.
Since we’ll only let one seedling grow per pellet, and cull the rest, the more seeds we plant per pellet, the fewer plants we’ll end up with. On the other hand, the fewer seeds we plant (per pellet) the greater the chance that nothing will grow in a particular pellet, and we’ll be down a few plants as well. So we need to think about the probabilities.
Fortunately, I’d planted a some tomato seeds a couple weeks ago that we could use for a test case. Of the 30 seeds I planted, only 20 sprouted, giving a 2/3 probability that any given seed would grow:
So if we plant one seed per pellet in 10 pellets then in all probability, only two thirds will grow (that’s about 7 out of 10).
What if instead, we planted two seeds per pellet. What’s the probability that at least one will grow. This turns out to be a somewhat tricky problem–as we will see–so let’s set up a table of all the possible outcomes:
Seed 1
Seed 2
grow
grow
grow
not grow
not grow
grow
not grow
not grow
Now, if the probability of a seed growing is 2/3 then the probability of one not growing is 1/3:
So let’s add this to the table:
Seed 1
Seed 2
grow (2/3)
grow (2/3)
grow (2/3)
not grow (1/3)
not grow (1/3)
grow (2/3)
not grow (1/3)
not grow (1/3)
Now let’s combine the probabilities. Consider the probability of both seeds growing, as in the first row in the table. To calculate the chances of that happening we multiply the probabilities:
Indeed, we use the ∩ symbol to indicate “and”, so we can rewrite the previous statement as:
And we can add a new column to the table giving the probability that each row will occur by multiplying the individual probabilities:
Seed 1
Seed 2
And (∩)
grow (2/3)
grow (2/3)
4/9
grow (2/3)
not grow (1/3)
2/9
not grow (1/3)
grow (2/3)
2/9
not grow (1/3)
not grow (1/3)
1/9
Notice, however, that the two middle outcomes (that one seed grows and the other fails) are identical, so we can say that the probability that only one seed grows will be the probability that the second row happens or that the third row happens:
When we “or” probabilities we add them together (and we use the symbol ∪) so:
You’ll also note that the probability that neither seed grows is equal to the probability that seed one does not grow and seed 2 does not grow:
So we can summarize our possible outcomes a bit by saying:
Outcome
Probability
both seeds grow
4/9
only one seed grows
4/9
neither seed grows
1/9
What you can see here, is that the probability that at least one seed grows is the probability that both seeds grow plus the probability that only one seed grows, which is 8/9 (we’re using the “or” operation here again).
In fact, you can calculate this probability by simply taking the opposite probability that neither seeds grow:
Generalizing a bit, we see that for any number of seeds, the probability that none will grow is the multiplication of individual probability that one seed will not grow:
Probability that no seeds will grow
Number of seeds
Probability they wont grow
1
1/3
(1/3)1
2
(1/3)×(1/3) = 1/9
(1/3)2
3
(1/3)×(1/3)×(1/3) = 1/27
(1/3)3
n
(1/3)×(1/3)×(1/3)×…
(1/3)n
So to summarize, the probability that at least one plant will grow, if we plant n seeds is:
I’m having my students collect all sorts of data for Chicken Middle, their student-run-business. Things like the number of eggs collected per day and the actual items purchased at the concession stand (so we don’t have to wait until we run out of snacks). It takes a little explanation to convince them that it’s important and worth doing (although I suspect they usually just give in so that I stop harassing them about). So this talk by Ben Wellington is well timed. It not goes into what can be done with data analysis, but also how hard it is to get the data in a format that can be analyzed.
Doubly fortunately, Ms. Furhman just approached me about using the Chicken Middle data in her pre-Algebra class’ chapter on statistics.
We’re also starting to do quarterly reports, so during this next quarter we’ll begin to see a lot of the fruits of our data-collecting labors.
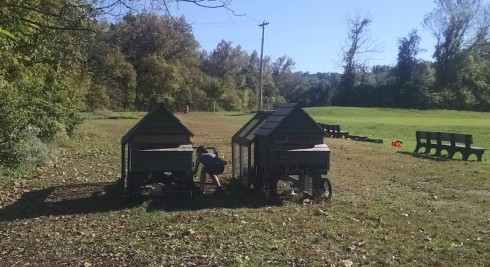
Last year, our middle schoolers named their business Chicken Middle. I was a bit skeptical, but the name stuck. This year, thanks to a lot of help from the school community (thanks to the R’s for the Ruby Coops), we finally have chickens (thanks to Mrs. C. for fostering chicks for us over the summer).
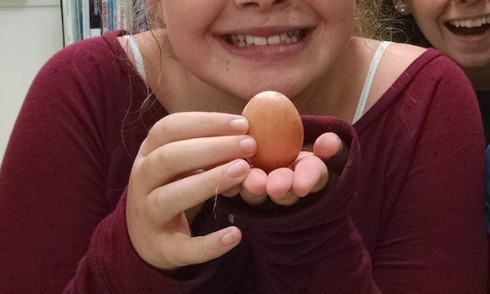
And today, we had our first egg. The students were a little excited.
It looks a little lonely sitting there by itself in the egg carton (thanks to Mrs. D., Mrs. P., and everyone else who donated egg cartons), but with a little luck it will have lots of company soon.
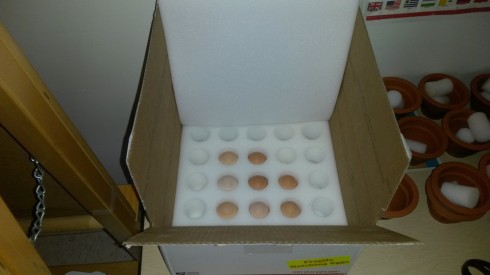
After waiting an eternity (about two weeks) the Middle School business’ eggs have arrived.
We set up the incubator downstairs in the pre-school/Kindergarden classroom so Mrs. D’s kids will have the chance of monitoring them. The little kids will be responsible for turning the eggs, while the middle schoolers have set up a data logger and a couple temperature probes to keep track of the temperature in the incubator.
The incubator was provided by Ms. Mertz. It’s put together out of plywood with a 75 W incandescent light bulb as the heat source. Unfortunately there is a significant thermal gradient and although we salvaged a couple of computer fans for the purpose we did not get around to installing them –and more importantly testing them– in the incubator before the eggs arrived.
The measure of a man is what he does with power. — attributed to Plato
It’s quite fascinating how character traits are highlighted when students gain the rights and responsibilities of the student run business supervisor. Certainly, some students become a bit over-enthusiastic about exercising their rights; though that’s never been much of a problem for the main supervisor because I try to make sure that anyone who gets to be the main supervisor has spent some time supervising a division. Also, Montessori students get a lot of practice working in their small groups, so leadership positions are usually not too much of a shock to them. Those that do try to throw their weight around excessively, provide the class with the opportunity to discuss worker rights, and a deepening of their understanding of the needs for checks and balances.
What I find most interesting, however, are the students who see only the responsibility of leadership and get bogged down and stressed out trying to manage all the details. For them the practice of leadership does a lot to help build character.
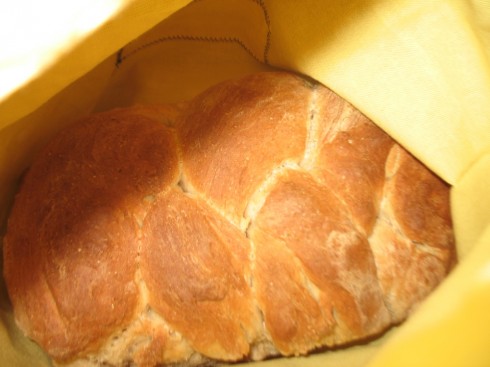
Our bread-baking enterprise was quite popular last year. In the afternoons, just as the loaves were about to come out of the ovens, we’d get the occasional visitor poking their head into our room for “aromatherapy”.
Students also liked the freshly baked bread. Some favored the crust while others liked the insides; which worked out quite nicely most of the time, but I did on occasion come across the forlorn shell of crust, and once, a naked loaf with the crust all gone.
We’d made loaves two at a time. They were big loaves, and that was as much as the students could comfortably kneed.
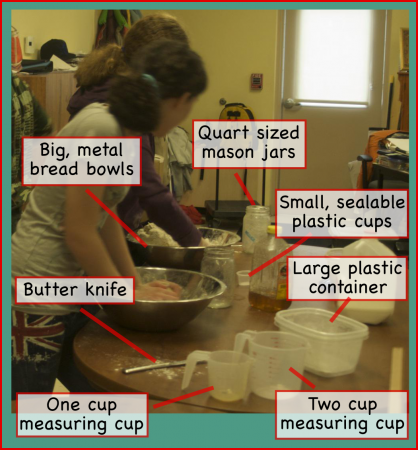
Small equipment:
Big mixing bowls: For mixing and kneeding the bread. We used metal ones from the restaurant supply store.
Quart sized mason jars: For collecting all the liquid ingredients (honey, milk, water and butter). These can go in the microwave (take the metal lids off) to quickly melt the butter and warm the liquids for the yeast.
Bread load pans: I prefer glass because, with metal the bottoms tend to burn in our toaster ovens. We can fit two pans per oven.
Two cup measuring cup: For measuring milk and water.
One cup measuring cup: For measuring honey. There probably is an easier way of doing this but we have not come up with it yet.
Dry measuring cup: One cup size.
Measuring spoons: You’ll need the tablespoon, teaspoon and half-teaspoon.
Butter knife: For cutting butter.
Small, sealable, plastic cups (optional): For collecting and storing enough yeast (4.5 teaspoons) for one batch of bread.
Large plastic containers (optional): For storing dry ingredients (flour and salt). They need to be big enough to hold seven cups of flour.
Capital Equipment:
Microwave oven: Necessary for quickly warming the liquids (for the yeast to make the dough rise).
Oven: We used table-top, toaster ovens. If the loaves rose well, they’d get too large and get burned by the top of the oven. We probably could reduce the recipe to prevent this. The ovens were not always reliable, and we had to do a regular calibration to make sure the set temperatures were accurate.
Recipe
The simple ingredients can be bought in bulk. This recipe makes two loaves.
Making the Dough
Dry ingredients: These can be combined ahead of time and stored in a large plastic container. When you’re ready to make the bread just dump them into a large mixing bowl.
Bread flour: 7 cups
Salt: 4 teaspoons
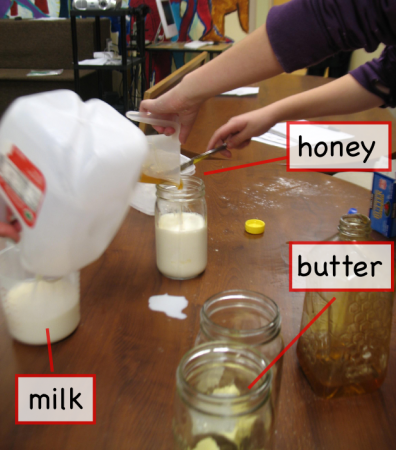
Wet ingredients: Combine these in a mason jar. They can be kept in the refrigerator for about a week.
Honey: 6 tablespoons.
Butter: 4 tablespoons.
Milk: 2 cups
Microwave: Usually, we microwave the mason jar for about two minutes, which melts the butter nicely but gets the jar a little warmer than is good for the yeast. This is usually a good time to talk about density and stratification, because the honey sits at the bottom, the milk above it, and the butter floating at the top.
Cooling it down: So to make the yeast happy, we usually add some cold (tap) water to the mason jar with the other wet ingredients.
Water: two thirds (2/3) of a cup (cold from the tap).
Once everything is well mixed and the liquid mixture in the mason jar is at or just above body temperature, add the yeast.
Yeast: 4.5 teaspoons (which is equivalent to two of the small packets you buy from the store).
Yeast is much, much cheaper if you buy it in bulk. Even the small, 4 ounce jars at the supermarket are around $4, while a 1 pound bag is about $7. We get ours from Sam’s Club, and store the yeast we have not used yet in a mason jar in the refrigerator.
Stir the yeast in well. Don’t stress if there are still some small clumps.
Combine wet and dry: Dump the contents of the mason jar into the large mixing bowl with the dry ingredients. Do it quickly, otherwise the yeast will settle to the bottom of the jar and not all come out.
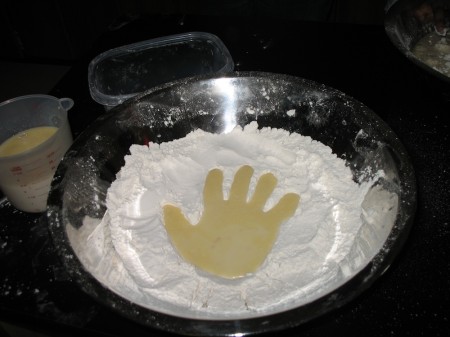
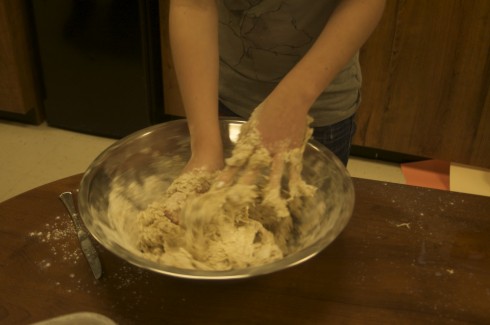
Now, kneed the dough. We usually use our hands and kneed in the mixing bowls. You may need to add a little more flour as you’re kneeding it if the dough is too sticky. Alternatively, you can add a bit of water if it’s too dry, but I’ve found it much easier to start with the dough too wet and add flour than doing it the other way around.
You can tell when the moisture is right, and the dough is ready, when it stops sticking to your fingers.
I’ve not had any student who was unable to manage the dough, but the quality of the end result depends on the amount of care and effort the students put into it. Unsurprisingly, the more tactile oriented students tend to produce some magnificent dough.
Rising and Baking
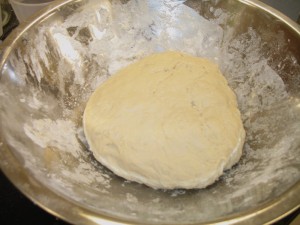
Once you have a nice dough, it needs to rise for about an hour, although we’ve found that 45 minutes works better since we prefer slightly smaller loaves. Drape a damp towel over it to keep it moist. Use a big enough towel, because if you’ve done everything right, and the yeast is happy, the dough should double in size.
After it’s risen, punch the dough down, split it into two, roll each piece into the shape of a loaf, and place them into loaf pans.
Now let it rise again for another hour, or 45 minutes in our case (don’t forget the damp towel).
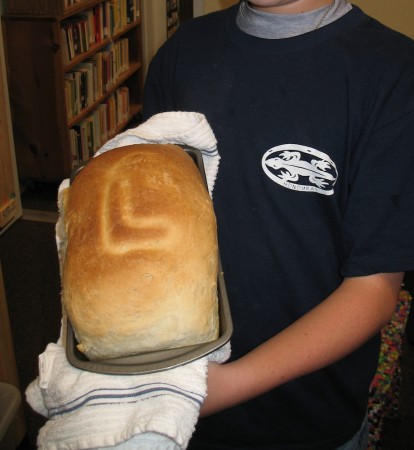
After the second rise (in the pans), place the loaves into the oven at 350 degrees Fahrenheit for 45 minutes. It usually takes the ovens about 10 minutes to preheat to the correct temperature.
And then, you’re done. Enjoy.
Time
Managed well the entire process can fit nicely into the afternoon schedule. We mixed and kneeded the bread during the half hour of Personal World just after lunch (around 12:30).
With the dry and wet ingredients already measured out ahead of time (once a week during the Student Run Business period) our expert bakers could kneed the dough and clean up after themselves in less than 15 minutes.
Then, all that’s left is to transfer the dough to the bread pans, which takes about 5 minutes (including washing up); put the bread in the ovens an hour later (1 minute); and then taking them out of the oven and washing the big mixing bowl (another 5 minutes). Timed right, the bread is finished just in time for everyone to get to their classroom jobs. It helps that everything, except the mixing bowls, can go into the dishwasher.
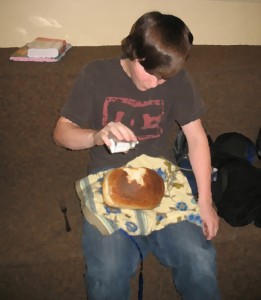
We’ve discovered committees. Yesterday, after spending half an hour discussing the brand new bread bag prototype that one of the students came up with, they decided that maybe just the people interested in working on them should work on them. So we just, organically, created a committee.
As with all new discoveries we’re now using them for everything. Today the students decided on a committee to run Dinner and a Show. We’ll see where this goes.