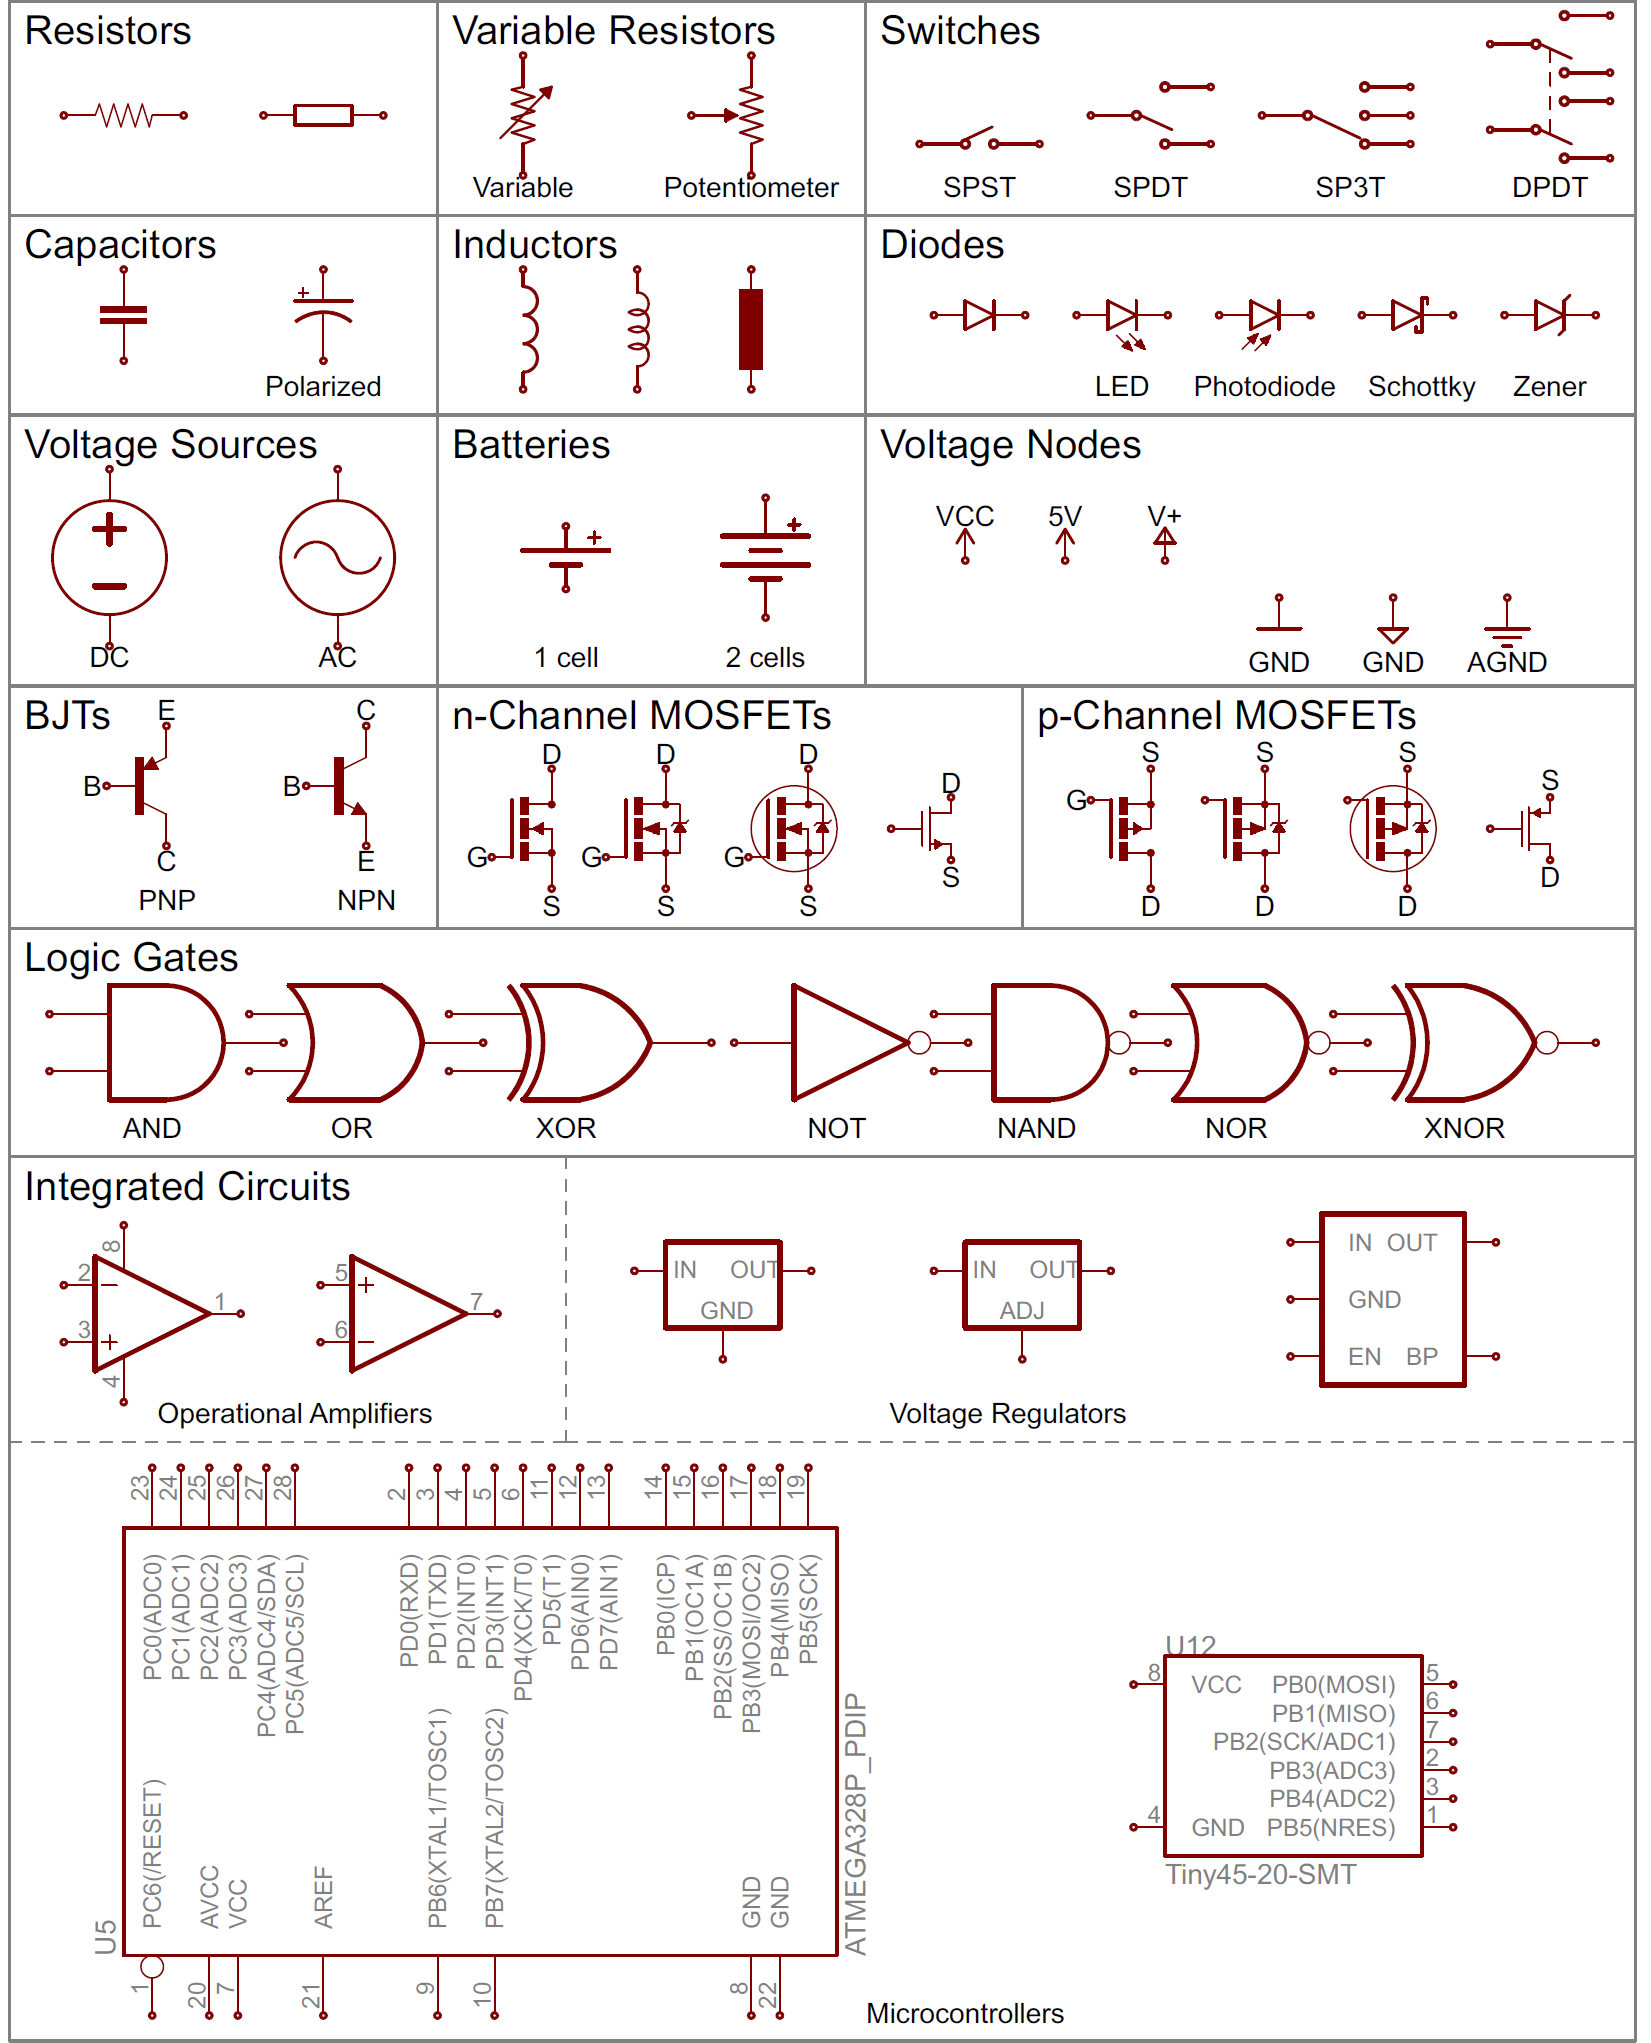
Sparkfun , which is an excellent purveyor of microelectronics (including Raspberry Pis and Arduinos), has a very nice tutorial that useful forhttps://learn.sparkfun.com/tutorials/how-to-read-a-schematic.
Middle and High School … from a Montessori Point of View
Sparkfun , which is an excellent purveyor of microelectronics (including Raspberry Pis and Arduinos), has a very nice tutorial that useful forhttps://learn.sparkfun.com/tutorials/how-to-read-a-schematic.
Drag the charges around.
The force field created by the interaction of two electric charges (one positive and one negative). The source is at http://soriki.com/fields/electric/.
Studying voltage and current in circuits can start with two laws of conservation.
Note: Some of the links are dead, but this MIT Opencourse pdf has a detailed explanation. And Kahn Academy has some videos on the current laws as well.


Things get more interesting when we get away from simple circuits.

Note that the convention for drawing diagrams is that the current move from positive (+) to negative (-) terminals in a battery. This is opposite the actual flow of electrons in a typical wired circuit because the current is a measure of the movement of negatively charged electrons, but is used for historical reasons.
Based on the MIT OpenCourseWare Introduction to Electrical Engineering and Computer Science I Circuits 6.01SC Introduction to Electrical Engineering and Computer Science Spring 2011.

Balloons are the best way to demonstrate static electrical forces.


Please don’t take this as an endorsement of energy drinks, especially not for adolescents; they don’t need the extra sugar, caffeine, and who-knows-what. However, it does take a little knowledge of how generators and motors work to get the joke in this ad. I think I’ll ask my middle schoolers to explain what’s going on as a short quiz after we talk about electricity and magnetism.
As an introduction to ionic compounds, my chemistry students hooked up a dime to an electrode in a copper chloride solution. It’s not exactly copper plating, but the color is quite interesting.
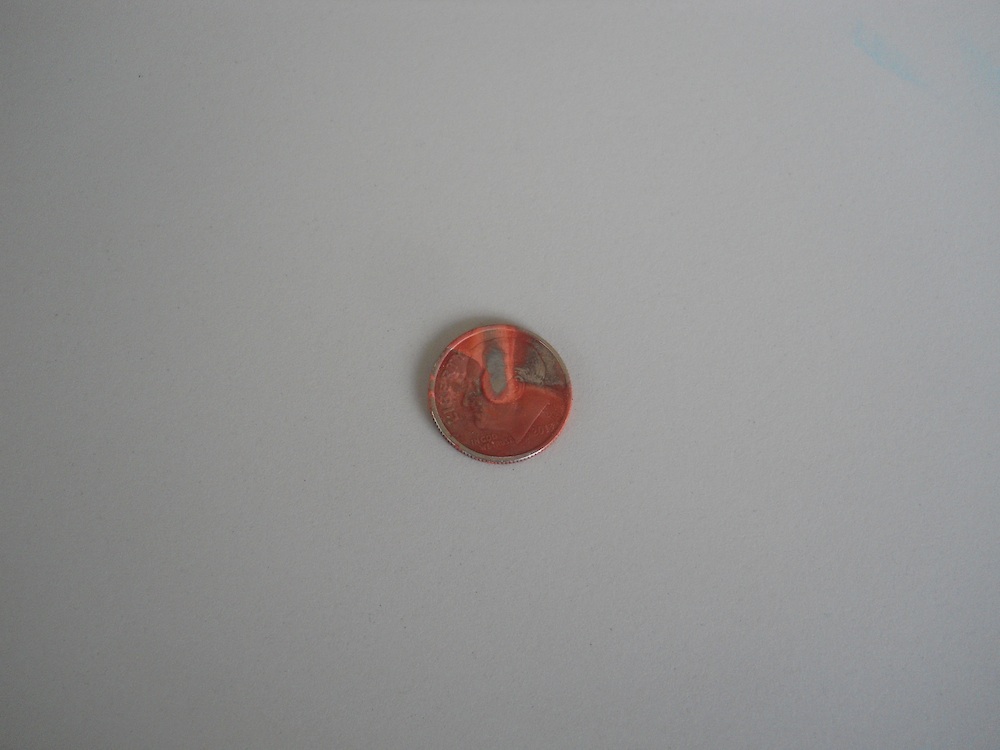
It was also interesting to see how the color of the copper chloride solution changed as well: from a dark to pale blueish green as the copper was extracted by the electrolysis.

Ms. Wilson’s chemistry class did a beautiful electrolysis experiment by mixing a universal pH indicator into the salt solution. The indicator changes color based on how acidic or basic the solution is; we’ve used this behavior to show how blowing bubbles in water increases its acidity.

In this experiment, when electrodes (graphite pencil “leads”) are placed into salt (NaCl) water and connected to a battery, the sodium (Na) and chloride (Cl) split apart.
NaCl –> Na+ + Cl–
The positive sodium ion (Na+) migrates toward the negative electrode, where it gets an electron and precipitates on the electrode as a plating. This is called electroplating and is done to give fake gold and silver jewelry a nice outward appearance.
Similarly, the water (H2O) also dissociates into hydrogen (H+) and hydroxide (OH–) ions.
H2O –> H+ + OH–

The positive hydrogen ions (H+) go toward the negative electrode where they get an electron from the battery and are liberated as hydrogen gas (when they bond to another hydrogen you get H2 gas). However, releasing the positive hydrogen ion, leaves behind hydroxide ions in the area around the positive electrode.
The opposite happens at the positive electrode, with hydrogen ions left behind in the solution.
Since acidity is a measure of the excess of hydrogen ions in solution (H+), the left behind hydrogen ions make the solution near the positive electrode acidic, which turns the indicator solution red. The OH– left near the negative electrode make the solution basic, which shows up as blue with the indicator.
If you gently shake the petri dish you end up with beautiful patterns like this:

And this:

Note: if the solution is mixed completely the hydrogen and hydroxide ions react with each other to make water again, the solution neutralizes, and becomes uniform again.
Note 2: This is an experiment that I should also do in physics. It should be interesting for students to see this experiment from two different perspectives to see how the subjects overlap.
An excellent explanation of how microwaves work. It talks about waves (how to determine the frequency and wavelength of microwaves), electricity (magnetrons), heat and temperature.