Longboard

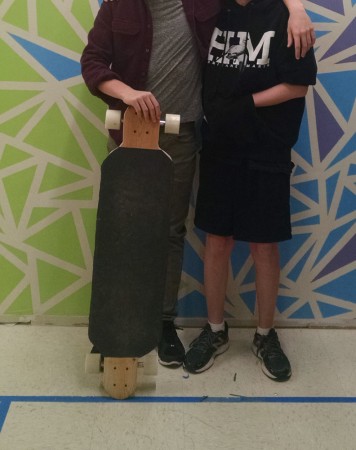
Longboard built during the interim.
Finishing came afterwards.

For my makerspace project I made a longboard. What went well with the board was the wheels and trucks, it was a simple hole in the wood and screwing the trucks almost no measuring on my part. What didn’t go so well was the measuring and cutting of the board, it took me a full day to get all the measurements exact and even then they didn’t come out so good. What I would do next time is get a cnc machine so it does the measuring and gets the cuts exact every time. We could mass produce longboards with ease. If i did it again without a cnc machine i would get the measurements beforehand and then it would make measuring a lot easier.

– Isaac L.

Making Stools

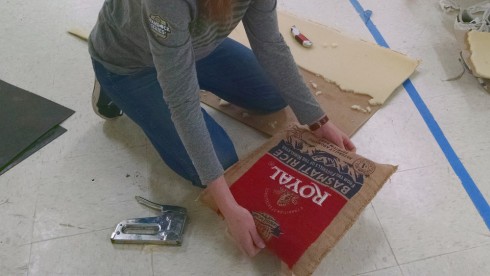
Upholstering a small stool.

After building our vegetable boxes, I had one of the students use some of the wood scraps to make some small stools. They make it easier for us to sit cross-legged on the floor. This last interim, as a small side project, another student chose to upholster them:

During the interim, I worked on upholstering small wooden stools that Dr. Urbano had made. I worked in the basmentnasium and only used the materials available there. I used thin layers of foam from an old couch to pad the wooden seat; if the foam was too thin then I used two layers. I covered the foam and the seats’ edges with fabric Dr. Urbano brought: a burlap rice bag and old curtains. I attached the fabric to the bottom of the wooden seat with a staple gun; I attached it tight enough to keep the foam in place.

– Mary R.

Preparing Students for a Technological Future

I’m currently preparing a proposal to create a laboratory of digital fabrication machines–a CNC, a laser, and a vinyl cutter–and one of the questions I’m answering is about how the proposed project would prepare students for a technology-rich future. What you see below is my first response to this prompt. It’s a bit longer than I have space for in the proposal, and probably a bit too philosophical, but before I cut it down I wanted to post this draft because it does a reasonable job of encapsulating my philosophy when it comes to teaching technology:

Preparation for a technology rich future is less about preparing for specific technologies and more about getting students to have a growth mindset with respect to technology. We are living in a truly wonderful moment in history. Technological tools are rapidly expanding what we as individuals can accomplish. They are allowing us to see farther (think about remote sensing like lidar and tomography), collate more information (especially with more and more data becoming publicly available), and create things that push the limits of our imaginations. Indeed, to paraphrase a former student, we are already living in the future.

To prepare students to live and thrive in this ever-evolving present we need to demystify technology and give students the intellectual tools to deal with the rapid change. We can start by letting them peek into the black boxes that our technological devices are rapidly becoming.

We request electronics stations and tool kits not just to build things, but to be able to take them apart and look inside. Students greatly enjoy dissassembling and reassambling computers, for example, which provides younger students a good conceptual understanding of how most modern devices work. This foundation helps when they start building circuits of their own and realize what they really want to do is to control them–making lights blink and turning motors for example–and this is when they will start working with Raspberry Pi computers, Arduino microcontrollers and programming.

As students start to build (and even before really), they naturally start thinking about design. We all have an affinity for the aesthetic. If you’ve ever had the opportunity to see a laser in action, you’ll remember your sense of fascination the first time you saw someone’s design emerging from the raw material right before your eyes. Thus we get into graphic design, computer aided design (CAD) and computer aided manufacturing (CAM) and the digital fabrication machines we propose.

By the time they’re done with this curriculum, we intend that students will have developed an intimate familiarity with the technological world–including the ability to create and design their own, which prepares them for the technological future.

Bike Silhouette

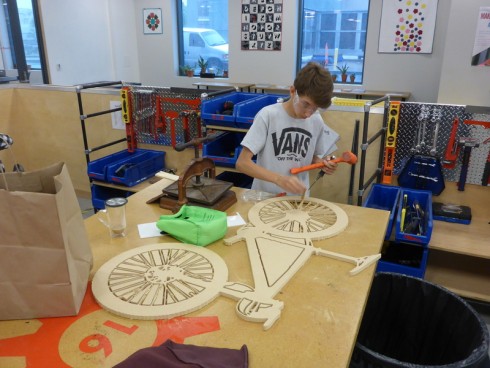
TD cleaning up his new bike.
T. cleaning up his new bike.

One of my students with a TechShop membership wanted a bike silhouette for a wall hanging. He wanted it to be bigger than he could fit on the laser cutter, so I tried doing it on the CNC router. The problem was that to get the maximum detail we needed to use the smaller drill bits (0.125 inches in diameter), however, after breaking three bits (cheap ones from Harbor Freight) and trying both plywood and MDF, we gave up and just used the larger (0.25 inch) bit. Since the silhouette was fairly large (about 45 inches long), it worked out quite well.

Go Board

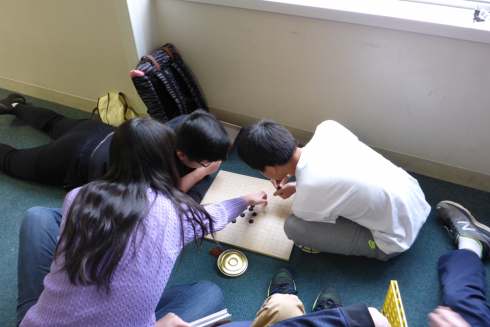
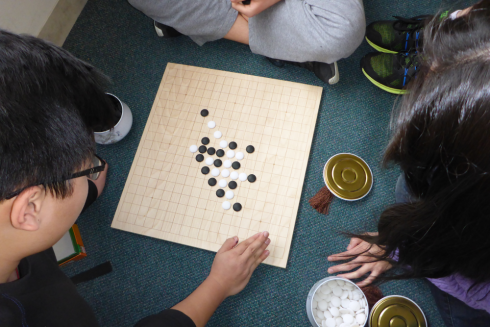
Students playing Go.

I recently discovered that, although they may look it, Go boards are not necessarily square. They’re slightly longer in one dimension so that the board looks more square to the players on both sides.

A student asked me to make one for him–he’d ordered a set recently and didn’t like the board it came with–so, I wrote a small python program to generate the Go grid, then lasered it onto a nice piece of sanded plywood.

It worked out quite well. Apparently the plywood makes just the right “thunk” sound when you put down the pieces.

Go board in use.
Go board in use.

The script to generate the grid.
go_board_2.py

from visual import *
from svgInator_3 import *

length = 424.2  #mm
width = 454.5   #mm
nLines = 19
dx = length/(nLines-1)
dy = width/(nLines-1)

print "Lenght = ", length
print "dx = ", dx

f = svgInator("go_board.svg")

lineStyle = {"stroke": "#000", "stroke-width": "2pt",}

#lines
for i in range(nLines):
    x = i * dx
    y = i * dy
    #vertical
    f.line(pos=[vector(x,0), vector(x,width)], style=lineStyle)
    #horizontal
    f.line(pos=[vector(0,y), vector(length,y)], style=lineStyle)

#circles
grid_pos = [(3,3), (3,9), (3,15),
            (9,3), (9,9), (9,15),
            (15,3), (15,9), (15,15)]

for i in grid_pos:
    (x, y) = (i[0]*dx, i[1]*dy)
    f.circle(pos=vector(x,y), radius=2.0,
             style={"stroke": "#000", "fill":"#000"})

#bounding box
f.rect(dim=vector(length,width), style=lineStyle)

f.close()

Now I just have to learn to play.

Our Natural Bridge

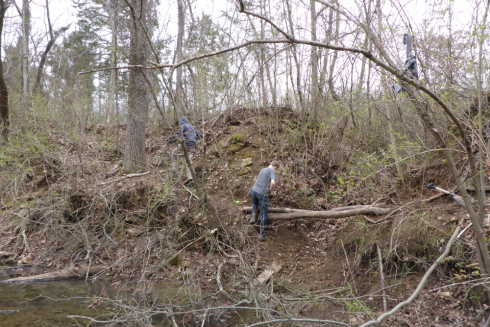
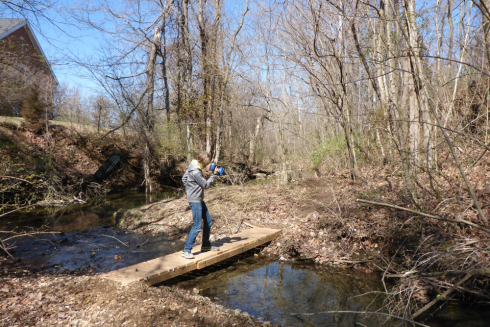
Crossing the bridge.

Inspired by a video of a temporary bridge built out in the woods for mountain biking, my students wanted to try building a “natural” bridge with no fasteners–no screws, no nails–over a small ravine that feeds into our creek.

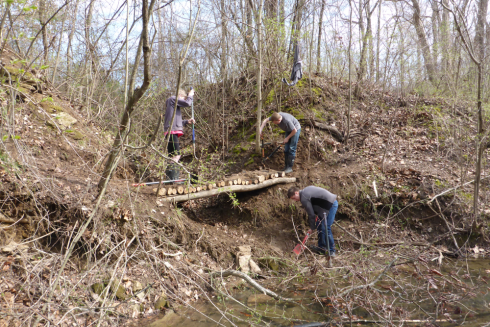
The base of the bridge.

We found a couple large fallen logs to cut into two 10 foot lengths for the basic structural support for the bridge. These were dug into the ground to anchor them on either side of the ravine. We then chopped a couple more logs into 2 foot sections to go across the structural logs. The dense mud from the banks of the creek was then packed onto the top to hold it all together.

Packing mud.
Packing mud.

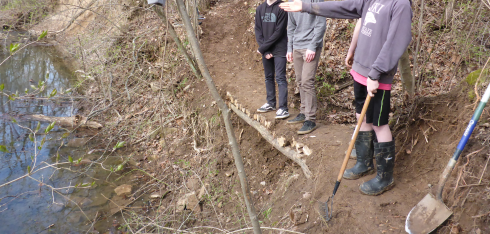
In the end, the bridge turned out to be pretty solid, and definitely usable.

The bridge holds up.

Building Bridges (Literally)

Small, movable bridge.

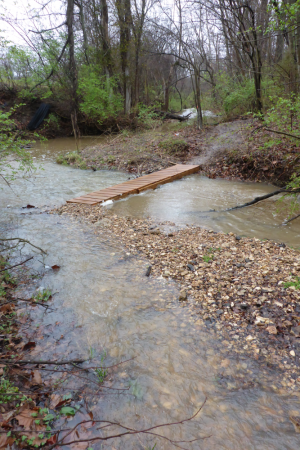
My crew from the Gaga Ball pit decided to make a trail through the woods and across the creek. So they built two short (12 ft long) bridges to cross the creek itself, and a third, “natural” log bridge to cross a small ravine that runs into the creek and cuts across the trail.

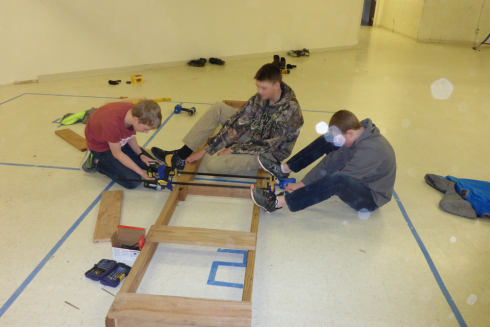
The short bridges were made of overlapping 2×4’s for structure (held together by 2.75 inch structural screws), with 24 inch long, 1×6 planks across the top.

Short bridge under construction.

The short bridges needed to be small and light enough to be moved when the creek rises, like it did today. I’ll attest that they can be moved, but not easily. They’re pretty heavy: it took a team of three or four middle schoolers to get it down to the creek, and it was hard going trying to drag it over to the side by myself this afternoon. Note to self: next time make sure the structural cross pieces are not at the very end of the bridge.

The rising creek.
The rising creek.

Gaga Ball Pit

Gaga ball pit under construction.

A couple middle-schoolers decided to build a gaga ball pit for their interim project. Since they’d already had their plan improved and I’d picked up the wood over the weekend, they figured they could get it done in a day or two and then move on to other things for the rest of the week. However, it turned out to be a bit more involved.

They spent most of their first day–they just had afternoons to work on this project–figuring out where to build the thing. It’s pretty large, and our head-of-school was in meetings all afternoon, so there was a lot of running back and forth.

The second day involved some math. Figuring out where to put the posts required a little geometry to determine the internal angles of an octagon, and some algebra (including Pythagoras’ Theorem) to calculate the distance across the pit. The sum a2 + a2 proved to be a problem, but now that they’ve had to do it in practice they won’t easily forget that it’s not a4.

Mounting the rails on the posts turned out the be the main challenge on day three. They initially opted for trying to drill the rails in at an angle, but found out pretty quickly that that was going to be extremely difficult. Eventually, they decided to rip the posts at a 45 degree angle to get the 135 degree outer angle they needed. We ran out of battery power for the saw and our lag screws were too long for the new design, so assembly would have to wait another day.

Finally, on day four they put the pit together. It only took about an hour–they’d had the great idea on day three to put screws into the posts at the right height, so that they could rest the rails on the screws to hold them into place temporarily as they mounted the rails. By the time they added the final side the octagon was only off by a few, easily adjusted centimeters.

They did an excellent job and noted, in our debrief, just how important the planning was, even though it was their least favorite part of the project. I’d call it a successful project.