I’ve always been in favor of alternate means of presenting information, especially for recipes.
Stop-Motion Biscuit Cake from Alan Travers on Vimeo.
(via The Dish)
Middle and High School … from a Montessori Point of View
I’ve always been in favor of alternate means of presenting information, especially for recipes.
Stop-Motion Biscuit Cake from Alan Travers on Vimeo.
(via The Dish)
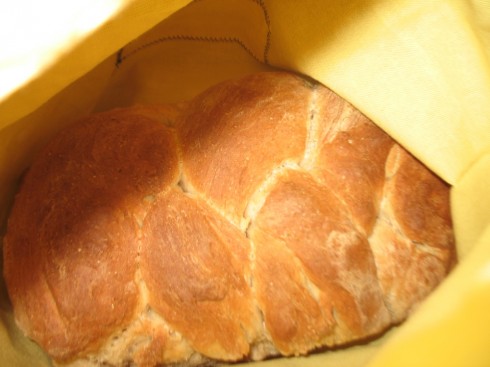
Our bread-baking enterprise was quite popular last year. In the afternoons, just as the loaves were about to come out of the ovens, we’d get the occasional visitor poking their head into our room for “aromatherapy”.
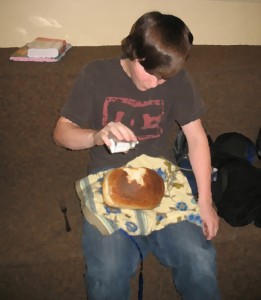
Students also liked the freshly baked bread. Some favored the crust while others liked the insides; which worked out quite nicely most of the time, but I did on occasion come across the forlorn shell of crust, and once, a naked loaf with the crust all gone.
I liked the bread baking for the ancillary reasons: the biology of yeast; the data collection and analysis for the business; having to graph and problem solve with the oven calibration; the chemistry of cooking; and even the chance to study geographic features (primarily lakes and islands, but also dams and erosion).
We’d made loaves two at a time. They were big loaves, and that was as much as the students could comfortably kneed.
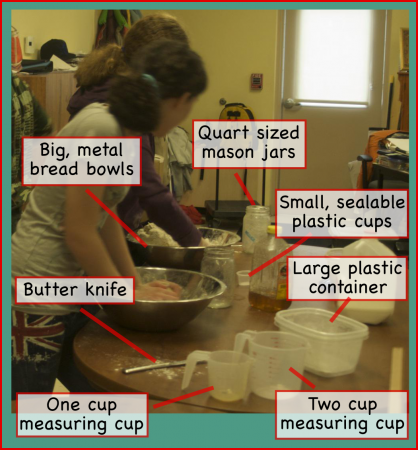
Small equipment:
Capital Equipment:
The simple ingredients can be bought in bulk. This recipe makes two loaves.
Dry ingredients: These can be combined ahead of time and stored in a large plastic container. When you’re ready to make the bread just dump them into a large mixing bowl.
Wet ingredients: Combine these in a mason jar. They can be kept in the refrigerator for about a week.
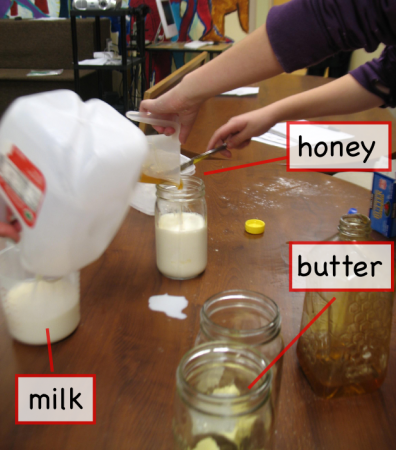
Microwave: Usually, we microwave the mason jar for about two minutes, which melts the butter nicely but gets the jar a little warmer than is good for the yeast. This is usually a good time to talk about density and stratification, because the honey sits at the bottom, the milk above it, and the butter floating at the top.
Cooling it down: So to make the yeast happy, we usually add some cold (tap) water to the mason jar with the other wet ingredients.
Once everything is well mixed and the liquid mixture in the mason jar is at or just above body temperature, add the yeast.
Stir the yeast in well. Don’t stress if there are still some small clumps.
Combine wet and dry: Dump the contents of the mason jar into the large mixing bowl with the dry ingredients. Do it quickly, otherwise the yeast will settle to the bottom of the jar and not all come out.
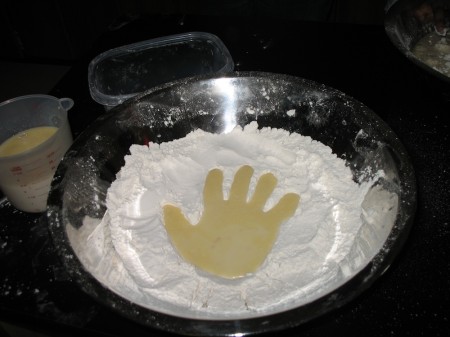
Now, kneed the dough. We usually use our hands and kneed in the mixing bowls. You may need to add a little more flour as you’re kneeding it if the dough is too sticky. Alternatively, you can add a bit of water if it’s too dry, but I’ve found it much easier to start with the dough too wet and add flour than doing it the other way around.
You can tell when the moisture is right, and the dough is ready, when it stops sticking to your fingers.
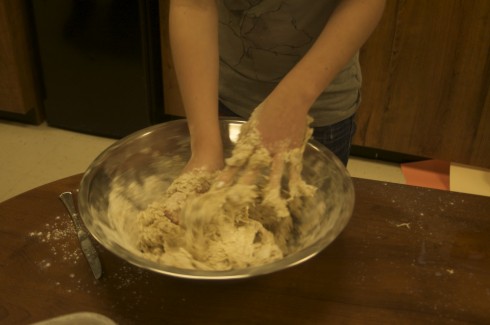
I’ve not had any student who was unable to manage the dough, but the quality of the end result depends on the amount of care and effort the students put into it. Unsurprisingly, the more tactile oriented students tend to produce some magnificent dough.
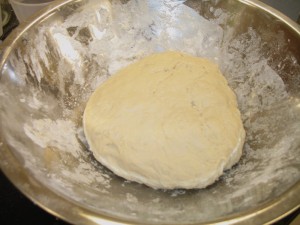
Once you have a nice dough, it needs to rise for about an hour, although we’ve found that 45 minutes works better since we prefer slightly smaller loaves. Drape a damp towel over it to keep it moist. Use a big enough towel, because if you’ve done everything right, and the yeast is happy, the dough should double in size.

After it’s risen, punch the dough down, split it into two, roll each piece into the shape of a loaf, and place them into loaf pans.
Now let it rise again for another hour, or 45 minutes in our case (don’t forget the damp towel).
After the second rise (in the pans), place the loaves into the oven at 350 degrees Fahrenheit for 45 minutes. It usually takes the ovens about 10 minutes to preheat to the correct temperature.
And then, you’re done. Enjoy.
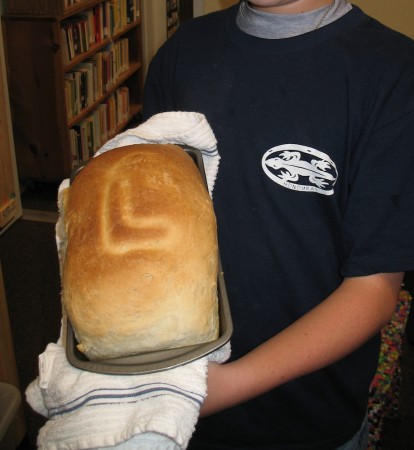
Managed well the entire process can fit nicely into the afternoon schedule. We mixed and kneeded the bread during the half hour of Personal World just after lunch (around 12:30).
With the dry and wet ingredients already measured out ahead of time (once a week during the Student Run Business period) our expert bakers could kneed the dough and clean up after themselves in less than 15 minutes.
Then, all that’s left is to transfer the dough to the bread pans, which takes about 5 minutes (including washing up); put the bread in the ovens an hour later (1 minute); and then taking them out of the oven and washing the big mixing bowl (another 5 minutes). Timed right, the bread is finished just in time for everyone to get to their classroom jobs. It helps that everything, except the mixing bowls, can go into the dishwasher.