Of the trees that were blown over in March’s storm, one was a beautiful old cedar, which, based on the ring count, was over 60 years old. The team clearing the downed wood and brush were kind enough to help secure some of the wood for the Makerspace.
One afternoon, a couple weeks ago, we lost wifi, and it just so happened that I’d recently found a set of small carving chisels on sale, so I suggested to a couple of the bereft students wondering around the lab that maybe they’d like to try doing something purely by hand–like carving spoons. To my utter amazement they were all in. And it snowballed from there. Right now I think 75% of my students are making some type of spoon or wooden cutlery.
It helps that the cedar wood has the characteristic gorgeous red and white banding.


Most of the spoons and spatulas thus far have been hand carved. Seeing the students’ sustained interest in woodworking, I decided to pick up a nice set of carving tools that included a hook for excavating the bowls of spoons.

I have to thank Mr. Seddon for his advice on tools and working with wood that has not been fully dried, aka green woodworking. I had not even heard of green woodworking before, but it has a long history, and a little research directed me on to things like the fully manual pole lathe (I’ve been wanting a lathe in the Makerspace for a while, so I may try to build one this summer).
Woodworking with green wood and hand tools requires close attention to the shape and structure of the wood. Chiseling with the grain is much easier than working against it. Knots can provide elegant features in the handle or bowl of a spoon, but are hard, and much more challenging to carve. Thus certain artistic choices did lead to discussions about woodcarving and metaphors for life.
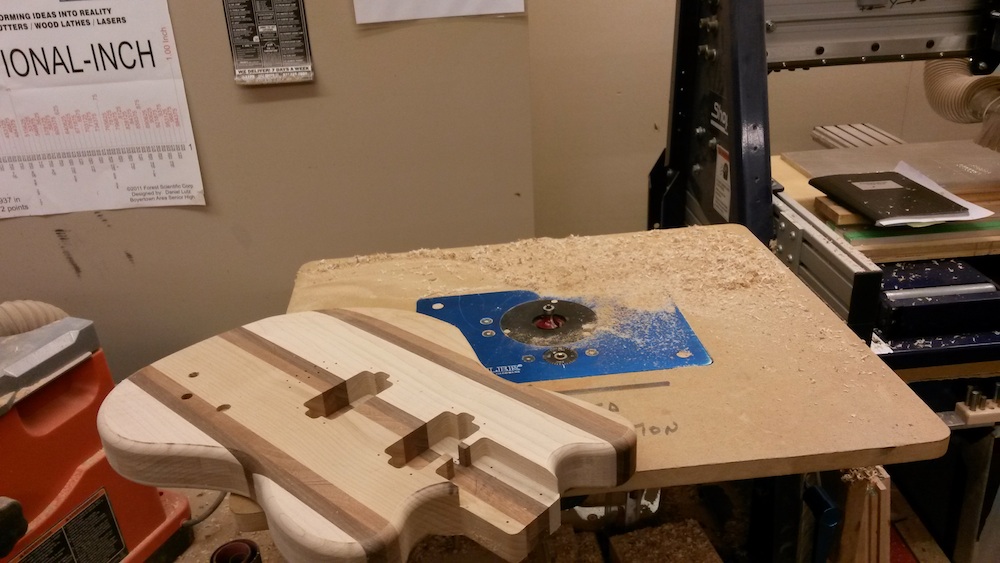
While most of the work has been done by hand, it would not have been the Makerspace if we hadn’t experimented with some of the computer-controlled machines. One student used the CNC to cut spoon blanks of their own digital design. They were able to just do the outlines of the blanks, since we’re still trying to figure out how to carve objects with three-dimensional relief on our machine. Coach Lancaster suggested we use the laser to etch a tornado on all the pieces as a hat-tip to their provenance, so I’m trying to get a student to make us a simple design.

We do have other plans for the rest of the wood that we salvaged. For one thing, I’ve been cutting slabs using a chainsaw. It still has a lot of moisture, and will take some time to dry (a few years it we leave it to air dry), but that will be necessary for some of our bigger, future projects. However, it has been nice to be able to start putting the unfortunate felling of the trees to good use.