Kids become less intrinsically motivated to do something when they expect a reward — grades, gold stars, special privileges — for doing them. In fact, when you take away the reward they’ll stop doing things they were previously interested in doing on their own. It’s called the overjustification effect (Lepper et al., 1973; summary here).
There’s been a lot of research demonstrating the effect. An overview of the research in 1995 (Tang and Hall, 1995) found that the effect extends across all age groups.
The primary theory that explains the effect is called Cognitive Evaluation Theory, and is very well summarized here. This theory suggests, however, that extrinsic motivation may not be bad in all situations, because praise and rewards can also server as a useful indicator to a student of their competence.
Grades detract from learning so much that if you give students comments and grades, they tend to ignore the comments and focus on the grades. If you give them comments alone, they’ll actually learn from the comments.
When giving students feedback on both oral and written work, it is the nature, rather than the amount, of commentary that is critical. Research experiments have established that, while student learning can be advanced by feedback through comments, the giving of numerical scores orgrades has a negative effect, in that students ignore comments when marks are also given.
It’s not always easy to see stomata, the pores on the surfaces of leaves that allow plants to breathe. I tried the leaves of pepper and tomato plants with a dissecting microscope to no avail. However, compared to these, the stomata on basil leaves were enormous. They were actually visible on the lowest magnification (6x), but the higher magnification is necessary to make out the detail.
For these pictures, I was lucky enough to have gotten to try out one of Leica’s research grade, digital microscopes (the DMS1000b). Given that I only had a hour or so, I did not take the time to experiment with all the optimization options, however, the pictures turned out remarkably well, none-the-less. In particular, you might note the highest magnification images, labeled 48(d)x, are just digital enlargements from the 48x magnification pictures.
Having the built in camera makes it an awful lot easier to put images into the online microscope app, and I suspect will make focus stacking a lot easier as well. Since this scope is a bit out of the range of my small high-school budget, I really need to figure out a good, solid way of mounting my point-and-shoot cameras on the microscopes I have.
Now that I have a new set of microscopes I didn’t think I would actually need to have an online, simulated microscope to show samples. However, I thought having a series of picture that I could scroll through would be useful to illustrate microscopy concepts such as depth-of-field when I talk about them to the whole class. Once I’d created the depth-of-field simulation, I figured it would not be too much extra trouble to put in a few different magnification levels. Now I have this embeddable online microscope simulator.
It’s started off with a single fly wing as a sample, but I’ll be adding to it as I take more pictures.
For talking about migration, here’s a short video showing one day’s worth of air traffic around the world from the Zurich School of Applied Sciences. It’s pretty amazing.
At higher magnifications, microscope lenses will only be able to focus on layers within your specimen. You could take a series of images with different focal planes and stack them together, but without a camera mounted on the microscope, getting images to line up right for focus stacking is quite the challenge. The alternative is focusing in and out until you get a feeling for the three dimensional shape of the specimen.
Since I don’t have a camera mount I’ve created an html5/javascript page that simulates focusing in and out of a sample. It’s embedded above, but a direct link is here.
You can use the knobs to the right of the image to adjust the focal plane. You should be able to see hairs on the top and bottom of the transparent wing.
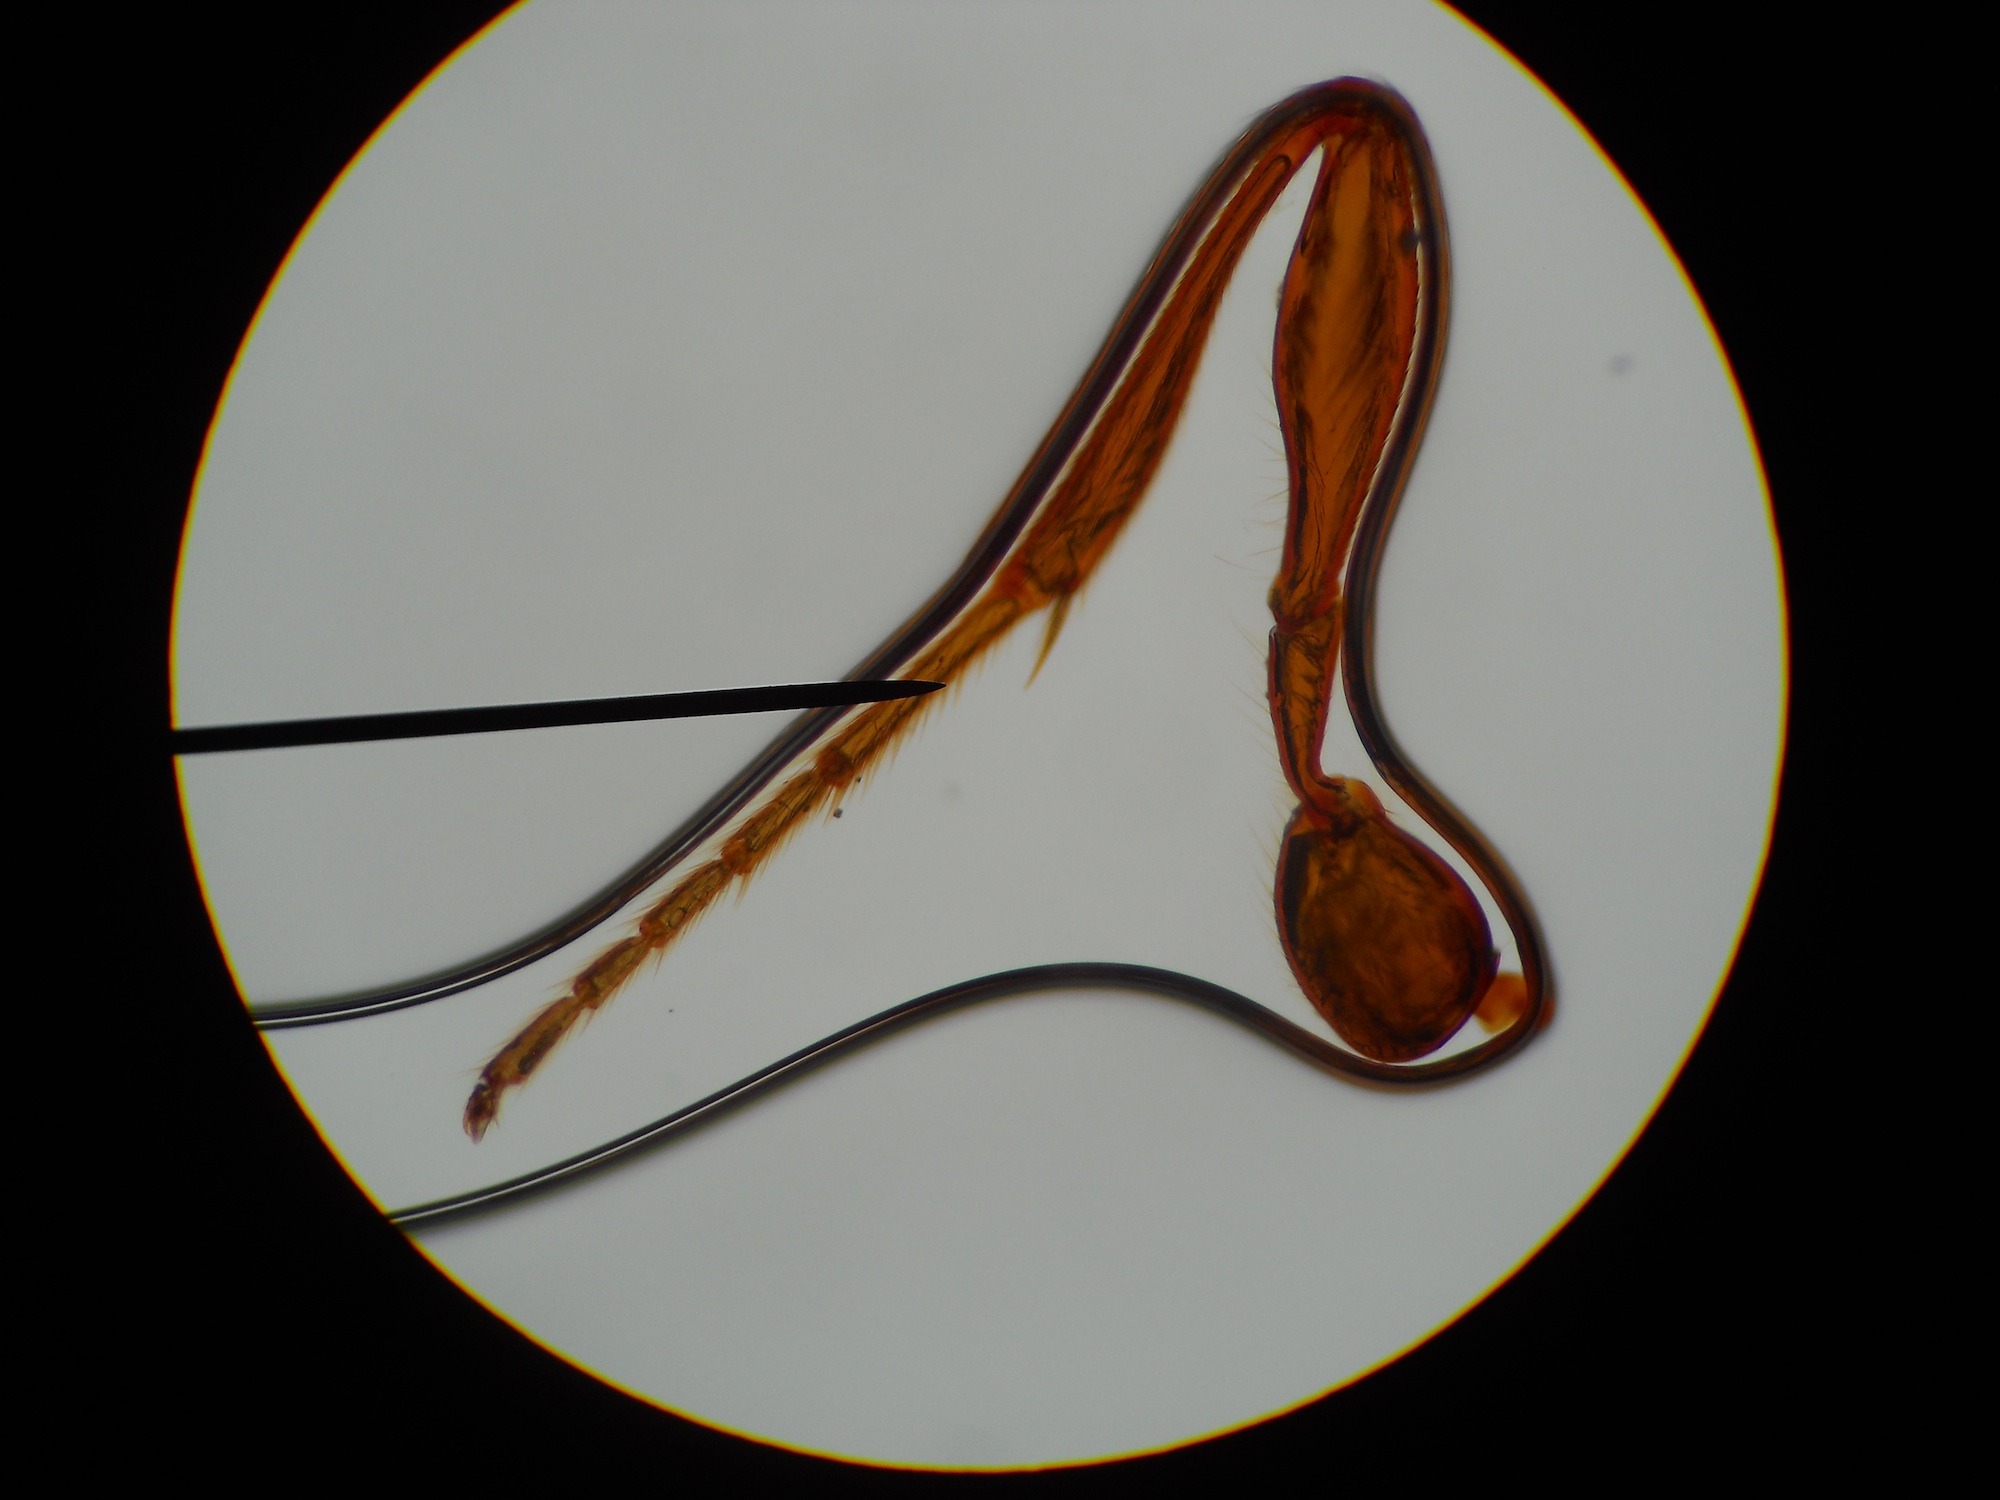
Microscope slide with fly antenna mounted in nail polish.
I’m really beginning to like the idea of giving students the option of putting together their own, individual, slide collections. So, to practice mounting slides with nail polish, I tried to make a start on my own permanent slide collection. It was partially successful.
Procedure
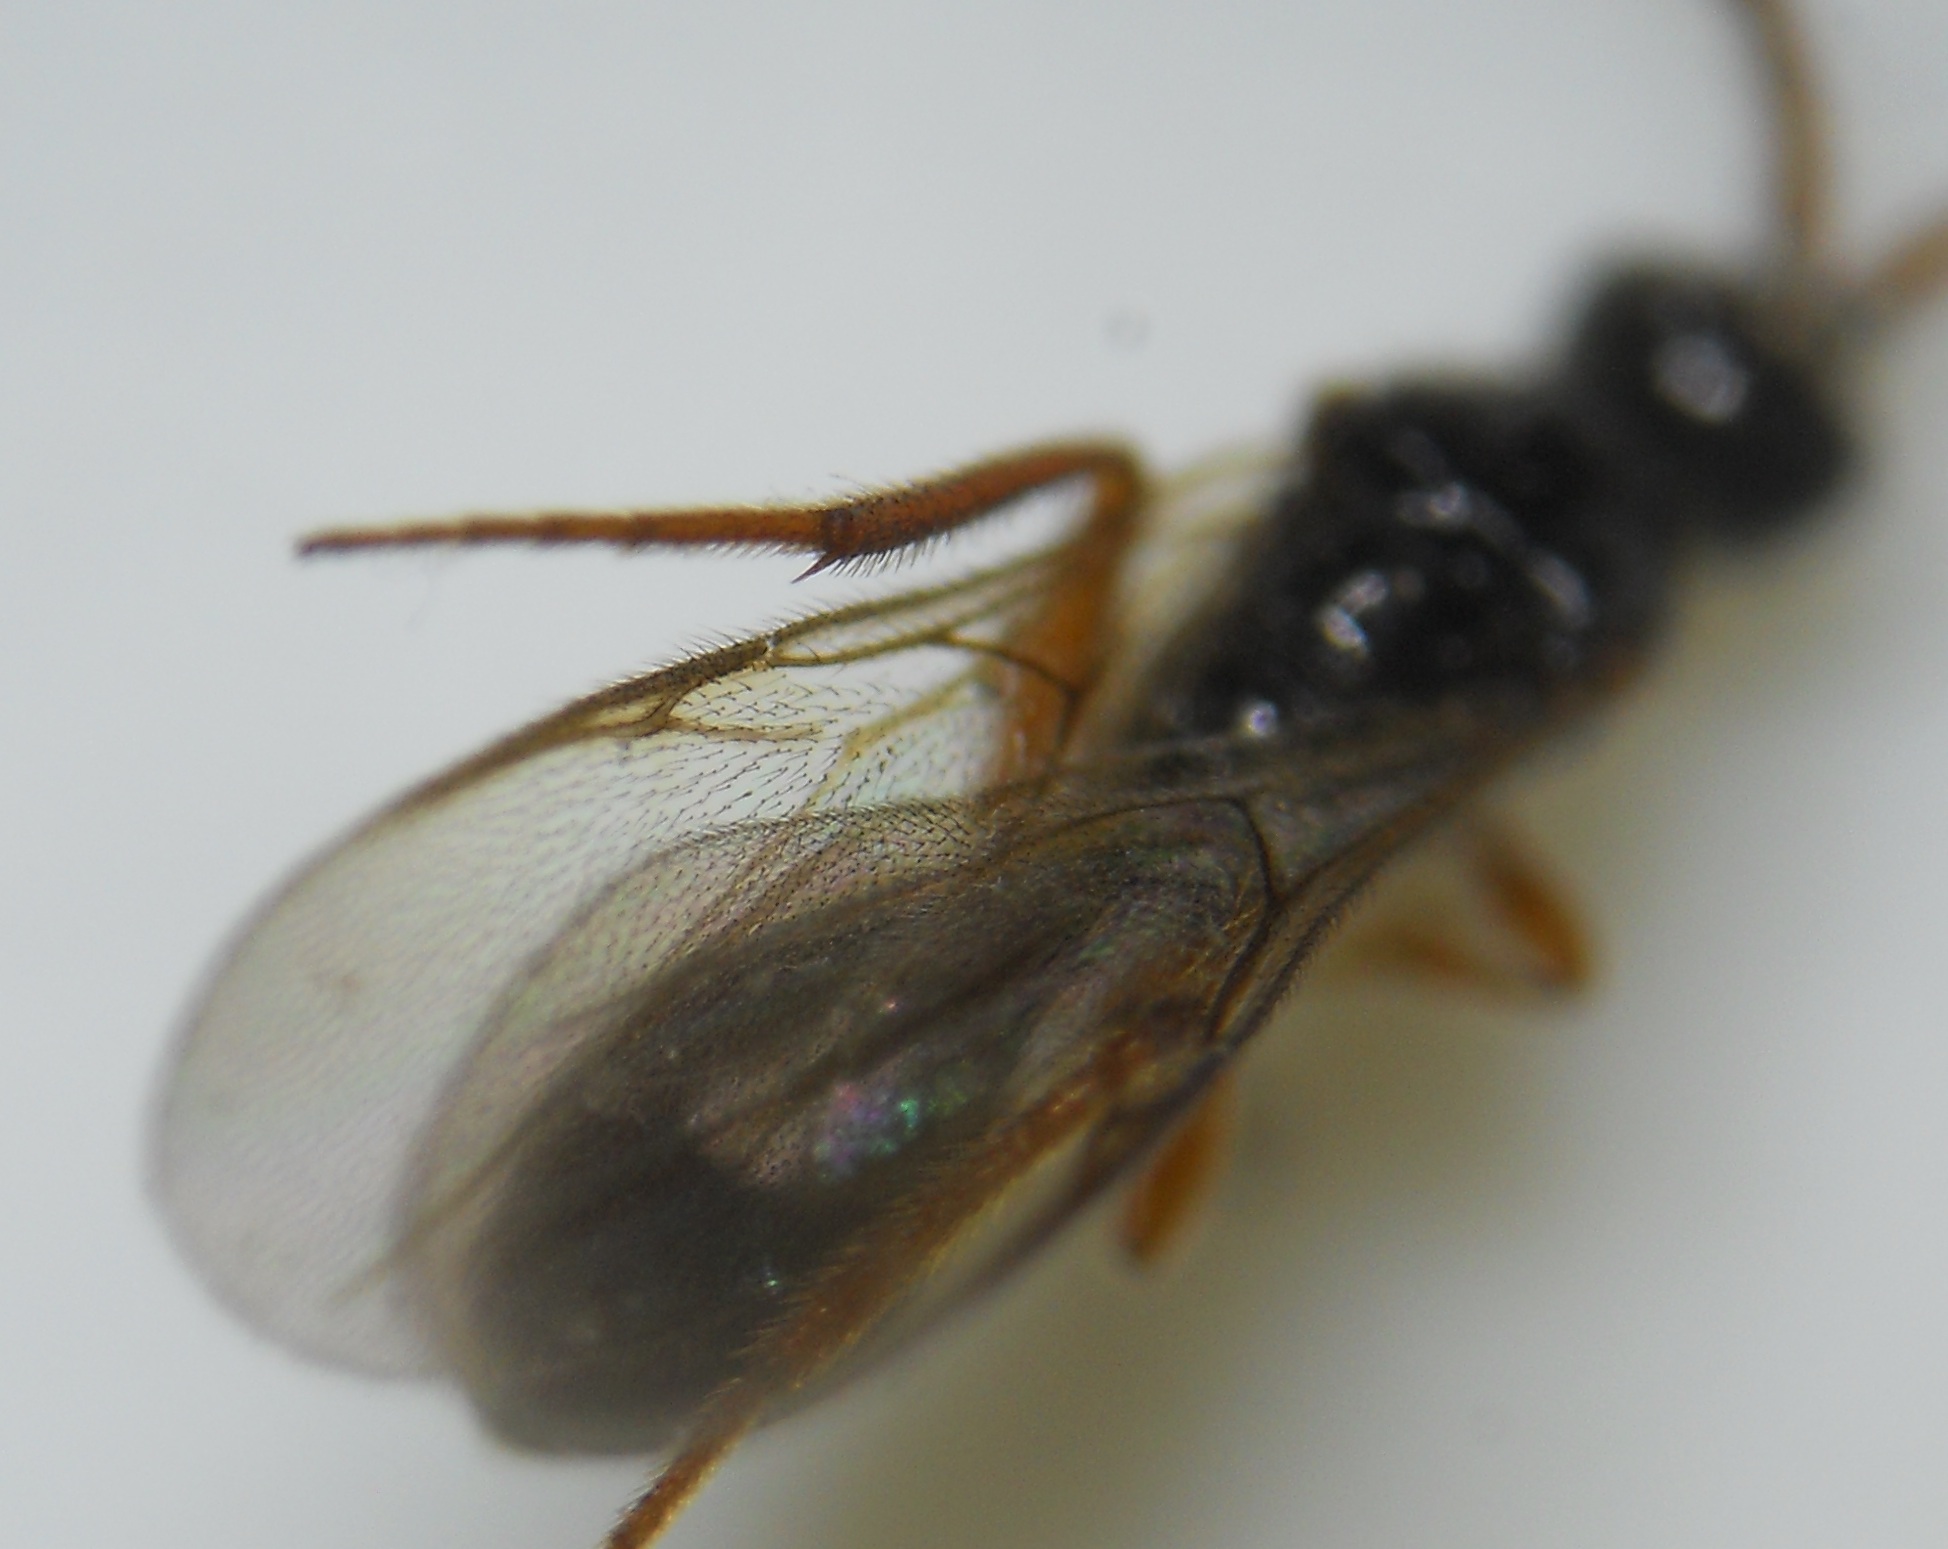
The subject fly. 30x magnification under the stereoscope.
To start, I found a dead fly near the window. It had been dead for a while and so I assumed it was pretty well dried. Carefully, under the stereoscope, I pulled off the appendages — antenna, wings, legs — for mounting. The fly itself was too big to mount, as were the major body parts, but as I was dismembering it the head, thorax, and abdomen came apart. In fact, the head broke into a few pieces as well, including one of the compound eyes, which I thought would be worth trying to mount even though it was somewhat thicker than the other parts.
I started with the antenna. The procedure I tried to follow is simple. Place a small drop of nail polish on the slide and then put the sample on the nail polish drop. Next place a drop of nail polish on the coverslip, flip it upside down and put the two drops together. The weight of the coverslip will flatten nail polish out into a thin layer. You then put small drops of nail polish at each corner of the coverslip. The polish will seep in between the slide an coverslip by capillary action until the entire underside of the slip is saturated.
Since the antenna was so small, I actually broke a cover slip into quarters to make them, I hoped, easier to manage. The slides were then left to dry overnight.
The initial results were, as I have mentioned, mixed. Bubbles encroached on a number of the specimens, particularly the thicker ones, like the rear legs, but for the most part, the specimens were clearly visible, with a minimum of obstructions to the view.
Antenna
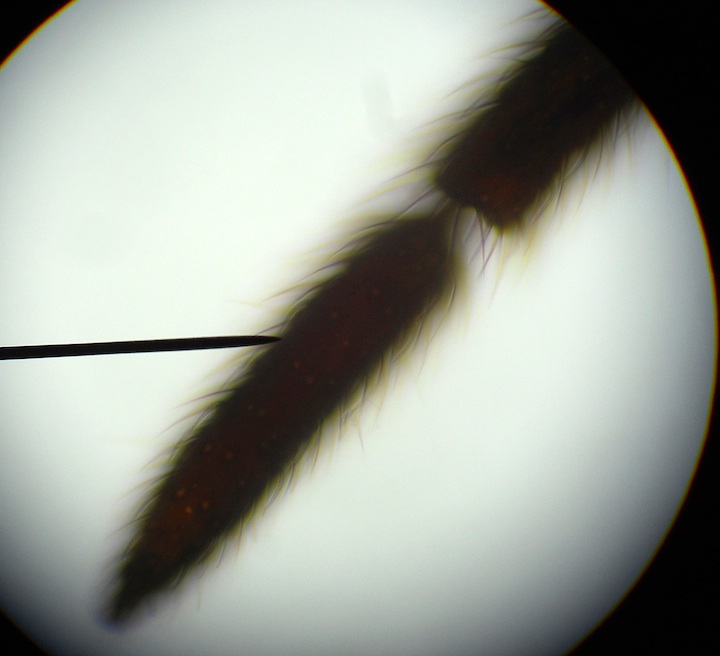
Antenna at 40x magnification:
Fly’s antenna at 40x magnification. Mounted on slide in nail polish: Strengthener, Nail Hardener. Notice the air bubble encroaching on the sample from the bottom.
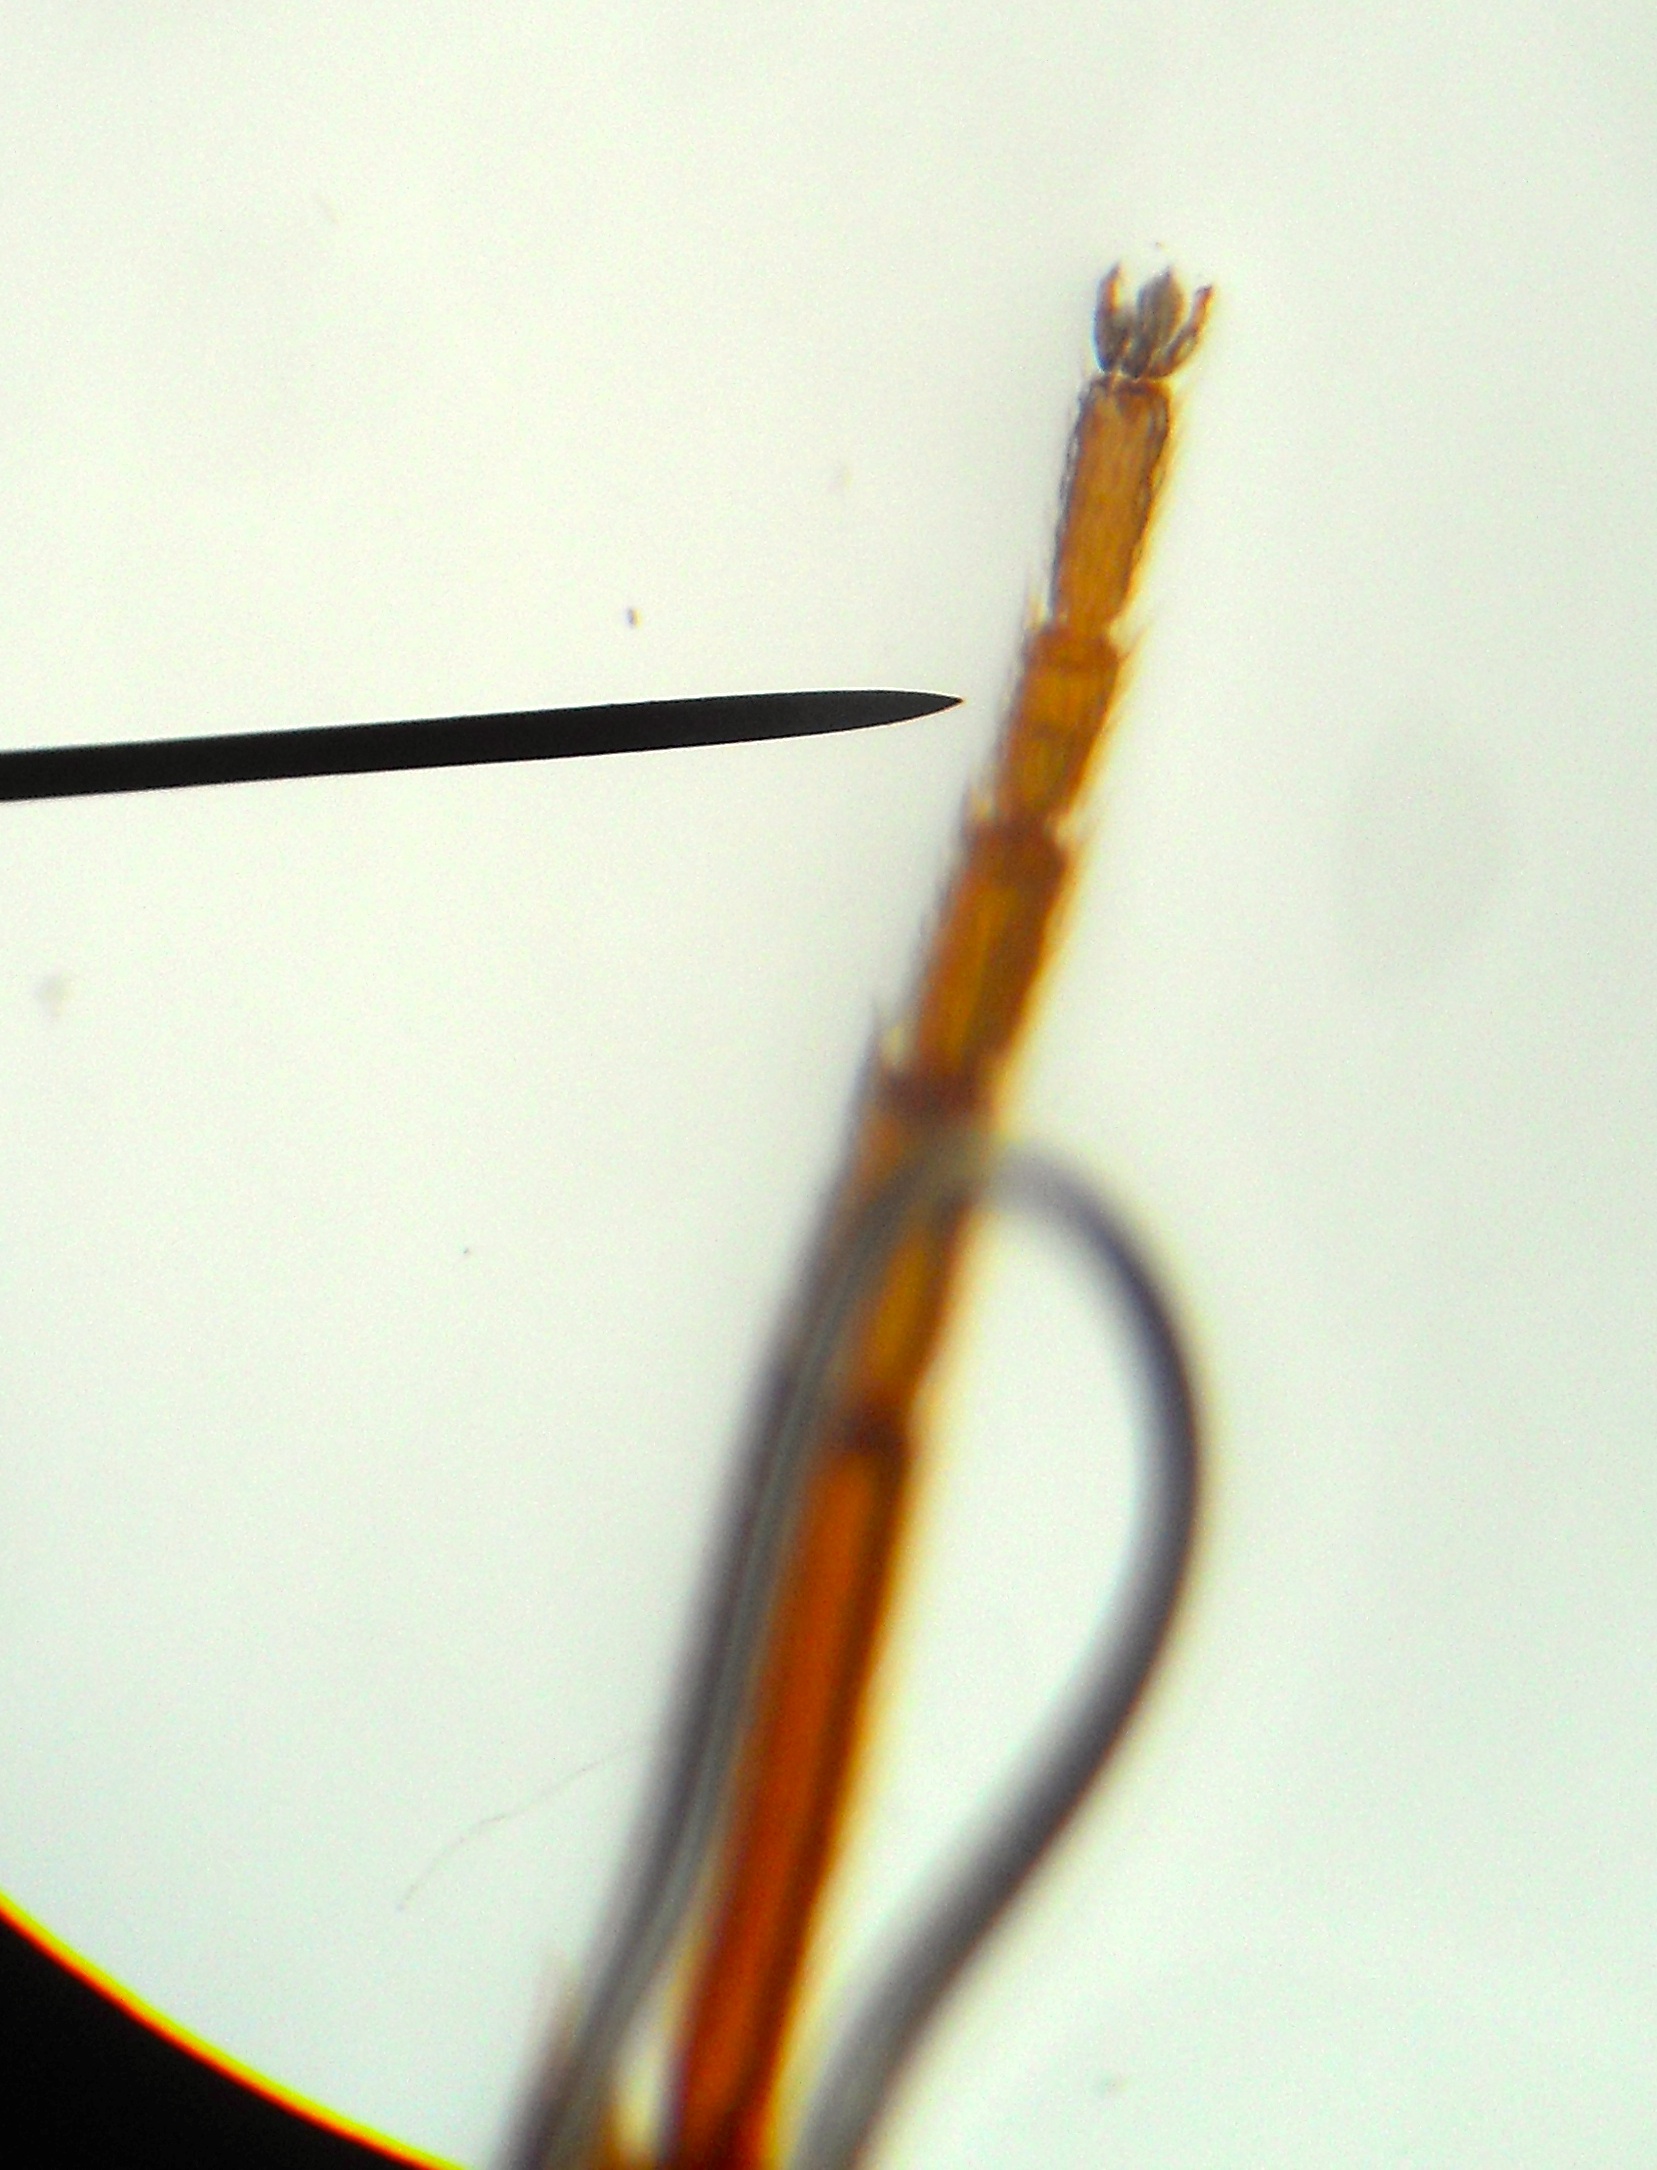
Antenna at 100x magnification:
Fly antenna tip at 100x.
Antenna tip at 400x:
Fly antenna tip at 400x.
Legs
Of the four leg slides I made, three had serious problems with bubbles, and the one that did not was missing the end segment of the leg. Part of the problem with the bubbles may have been that it took me a while to get the legs onto the nail polish drops, which allowed the drops time to evaporate. This could have resulted in a more viscous drop by the time I added the coverslips, which would not have lain down quite as flat, leaving space for the bubbles to come in. Another possibility is that the thickness of the legs made the glass coverslip tip up toward one side.
Fly front leg:
Fly front leg 100x.
Middle leg: Fly’s middle leg. 100x magnification.
The tip of the middle leg is inside the nail polish. Fly middle leg’s tip. 400x.
Rear leg: The tip of the rear leg is in air pocket while the rest is not. 100x magnification.
Rear Wing
The last appendages I mounted were the two small, rear wings. They were very thin and I placed them both under the same full sized slide. It worked quite well.
Rear wing at 40x:
Fly rear wing at 40x.
Rear wing at 100x:
Fly rear wing at 100x. Click and zoom for more detail.