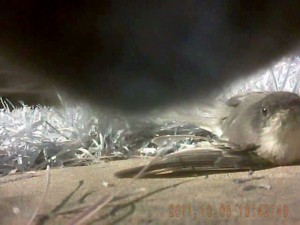
Outdoor cats are probably the largest anthropogenic reason for declining bird populations in North America: it’s estimated that they kill a couple billion each year. You can see the cats in action at the National Geographic and the University of Georgia’s Kitty Cams, which attaches small cameras to outdoor cats.
An injured bird via Kitty Cams.
My biology class is wrapping up our section on ecology. We started by putting together a food-web of all the plants and animals that we’ve found on campus. Now we’re trying to fill in some of the missing organisms, including cats.
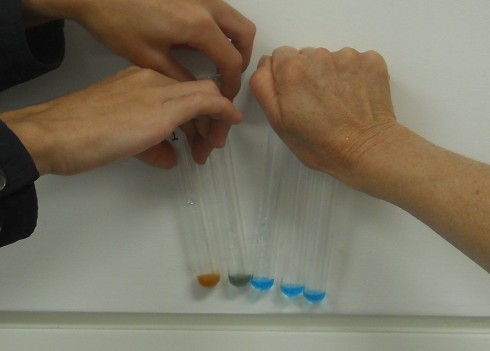
Figure 1. Testing for sugar using Benedict’s solution. The test tube on the left indicates the presence of simple sugar, while the three on the right show none.
The standard biology-class test for simple sugars is to mix equal parts of Benedict’s solution and your sample solution, then heat it up in a hot water bath (80-100 ºC) for about five minutes. If there are simple sugars the mixture will turn from blueish green to reddish orange.
Figure 2. A ring shaped (cyclic) glucose molecule. Image via Wikipedia.
Simple sugars are those basic building blocks (monomers), which are chained together to form the more complex sugars and starches. The simplest are the monosaccharides (mono=one and saccharide=sugar) like glucose and fructose. Glucose is a chain or ring (see Figure 2) of six carbon molecules with the chemical formula C6H12O6. If you link two glucose molecules together, you get a disaccharide (di-two), which is called maltose.
Figure 3. Ms. Mertz had students tape two glucose molecules together to form maltose.
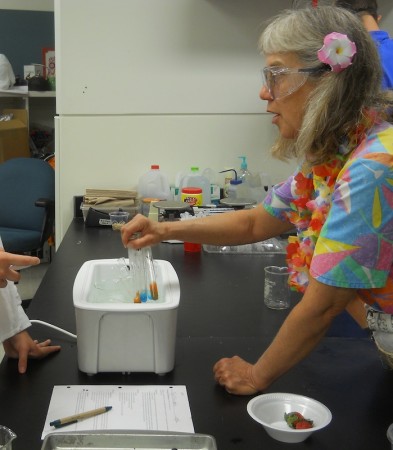
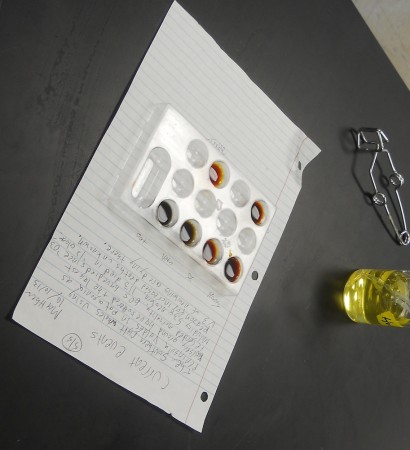
Ms. Mertz did this experiment with her biology class last week using apple juice, oatmeal, corn syrup, honey, and an unknown as samples.
Figure 4. Ms. Mertz pulls samples out of the water bath.
The biology class also tested for starch. Starches are really long chains of sugar molecules called polysaccharides. The simple sugar, Benedict’s solution test does not pick them up because the solution only reacts at the ends of the molecule, and with the long chains of the starch there aren’t that many sites for reactions.
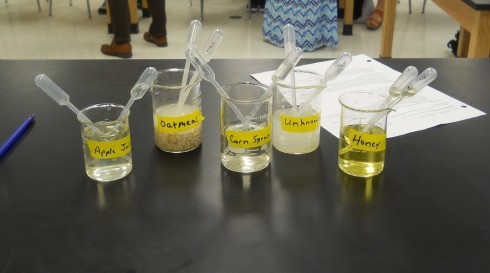
Figure 5. Sample solutions to be tested.
The test for starch is to add a few drops of potassium iodine solution to your sample. Starch turns the resulting solution a bluish black.
Figure 6. Testing for starch using iodine solution.
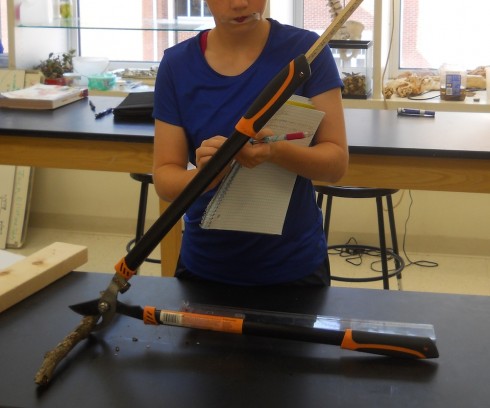
Measuring the arms of a hedge clipper to calculate the mechanical advantage.
Now that we’ve studied simple machines, we’re practicing by calculating the mechanical advantage of some of the complex machines students have around the school. The clippers my outdoor group uses every Friday, for example, are a combination of a lever (the arms) and a wedge (the blade).
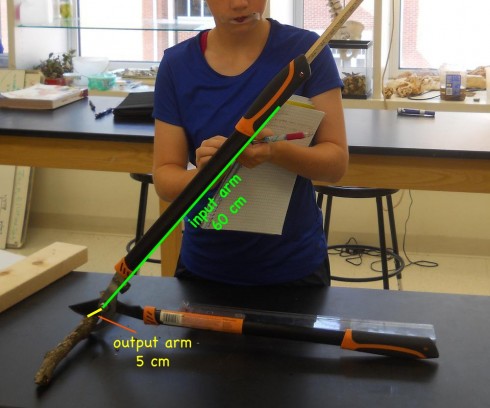
For levers the mechanical advantage (M.A.) is:
which in this case is measured as the distance from the bolt that the arms pivot about to the handholds (for the input force) and the stick (for the output force):
The wedge is an inclined plane, and its mechanical advantage is:
which we calculated to be about 3.
Combined, the two mechanical advantages multiply each other to give a total mechanical advantage of 36, which means that any force you apply to the handles of the clippers gets multiplied 36 times to the thing you’re trying to cut.
Diagram showing the dimensions of the lever on hedge clippers. The input arm is about 60 cm from the pivot point to the hand holds while the output arm goes from the pivot point to the stick being cut.
Please don’t take this as an endorsement of energy drinks, especially not for adolescents; they don’t need the extra sugar, caffeine, and who-knows-what. However, it does take a little knowledge of how generators and motors work to get the joke in this ad. I think I’ll ask my middle schoolers to explain what’s going on as a short quiz after we talk about electricity and magnetism.
One of two turtles found on the slope above the school.
Last week, on one of our daily hiking trips up the slope for P.E., we came across two turtles. It was odd enough to find the first one on the way up the hill since they’re so well camouflaged against the brown leaves littering the floor of the forest.
The students wanted to take it with them, but since we’ve had a turtle in the lab this semester already I told them they should leave it there.
They left it on the ground and we continued on. It was only about 15 meters off the top of the ridge, so they wanted to stop by and see it again on our way back down. I bet them they couldn’t find it again, even though it had only been five minutes and turtles are known to be slow. They still couldn’t find it, but less than a minute later they found the second turtle on a different place.
It was quite a bit of fun looking for turtles in the forest. It occurred to me that it would be nice to have another objective on our hikes. So now, every time we go up the hill, we’re bringing a bunch of sample jars. Since I’ve been thinking about arthropoda lately our first few outings will be to collect insects and spiders on different parts of the slope to see if there’s an ecological difference due to the microclimatic differences.
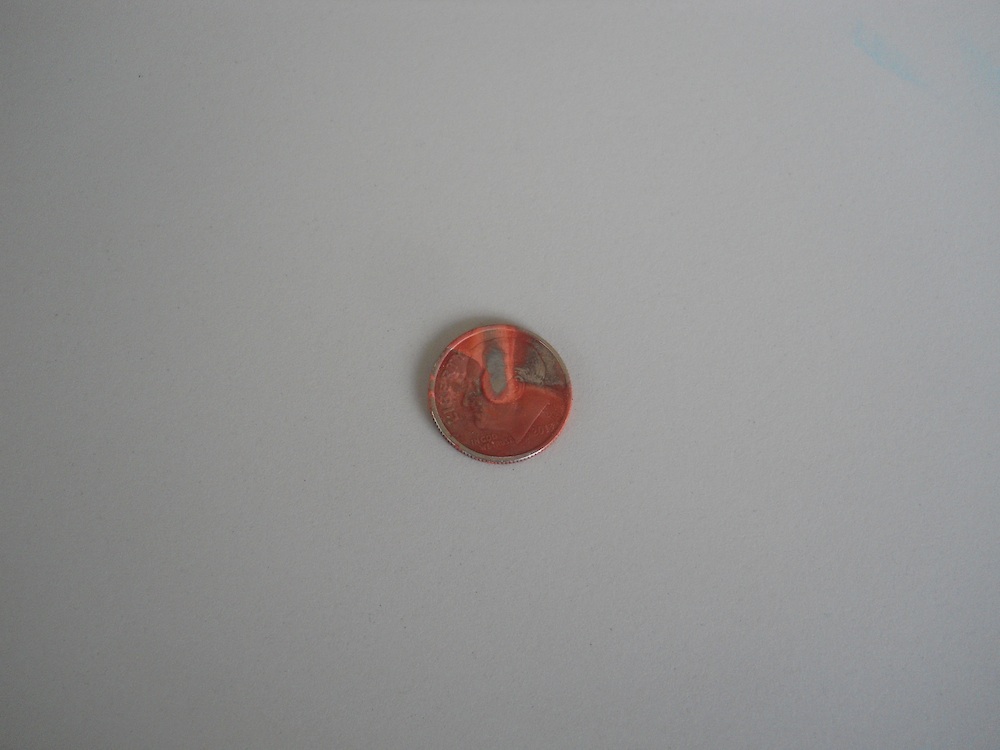
As an introduction to ionic compounds, my chemistry students hooked up a dime to an electrode in a copper chloride solution. It’s not exactly copper plating, but the color is quite interesting.
A copper plated dime.
It was also interesting to see how the color of the copper chloride solution changed as well: from a dark to pale blueish green as the copper was extracted by the electrolysis.
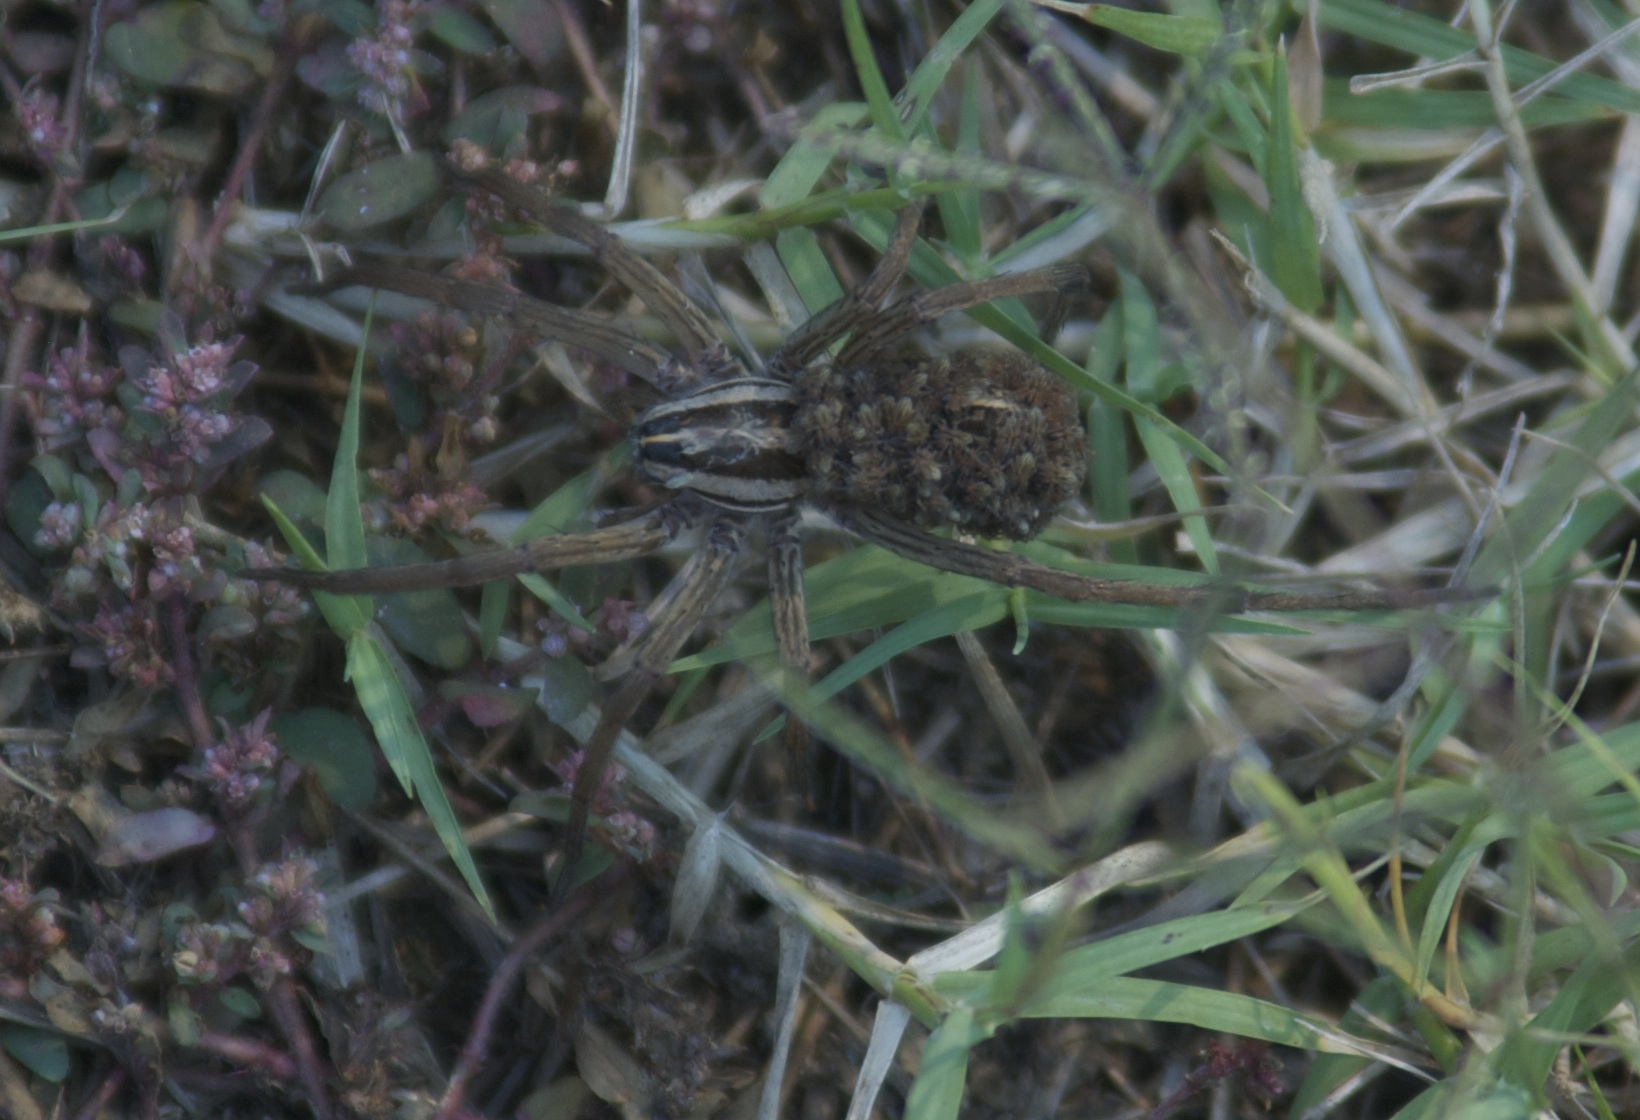
The Heifer Ranch is home to quite the variety of large spiders, including the tarantulas we found a couple years ago. Most of them work hard at keeping the insect pests down. Here’s a collection of some of them we ran into this year.
A green lynx spider from near the Heifer global village’s refugee camp.A brown spider found in the brush on the dam.A wolf spider with babies on its back. Found in the grass near the foot of the dam.Yellow garden spider found in the herb garden.
Ms. Mertz believes she found some feline tracks in the soft sediment next to the puddles in the creek that may belong to a bobcat. Or maybe a large housecat. Unlike canine tracks — like dogs and coyotes — felines don’t leave claw marks in their tracks.