As we’re constantly adding capabilities to our Makerspace, it’s useful to summarize our capabilities. I’ve broken it down into Computer Controlled Equipment, Analog Machines, Electronics and Coding, and Computer Hardware, Software and Design sections.
Computer Controlled Equipment
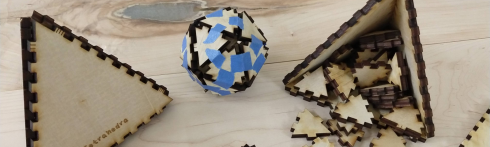
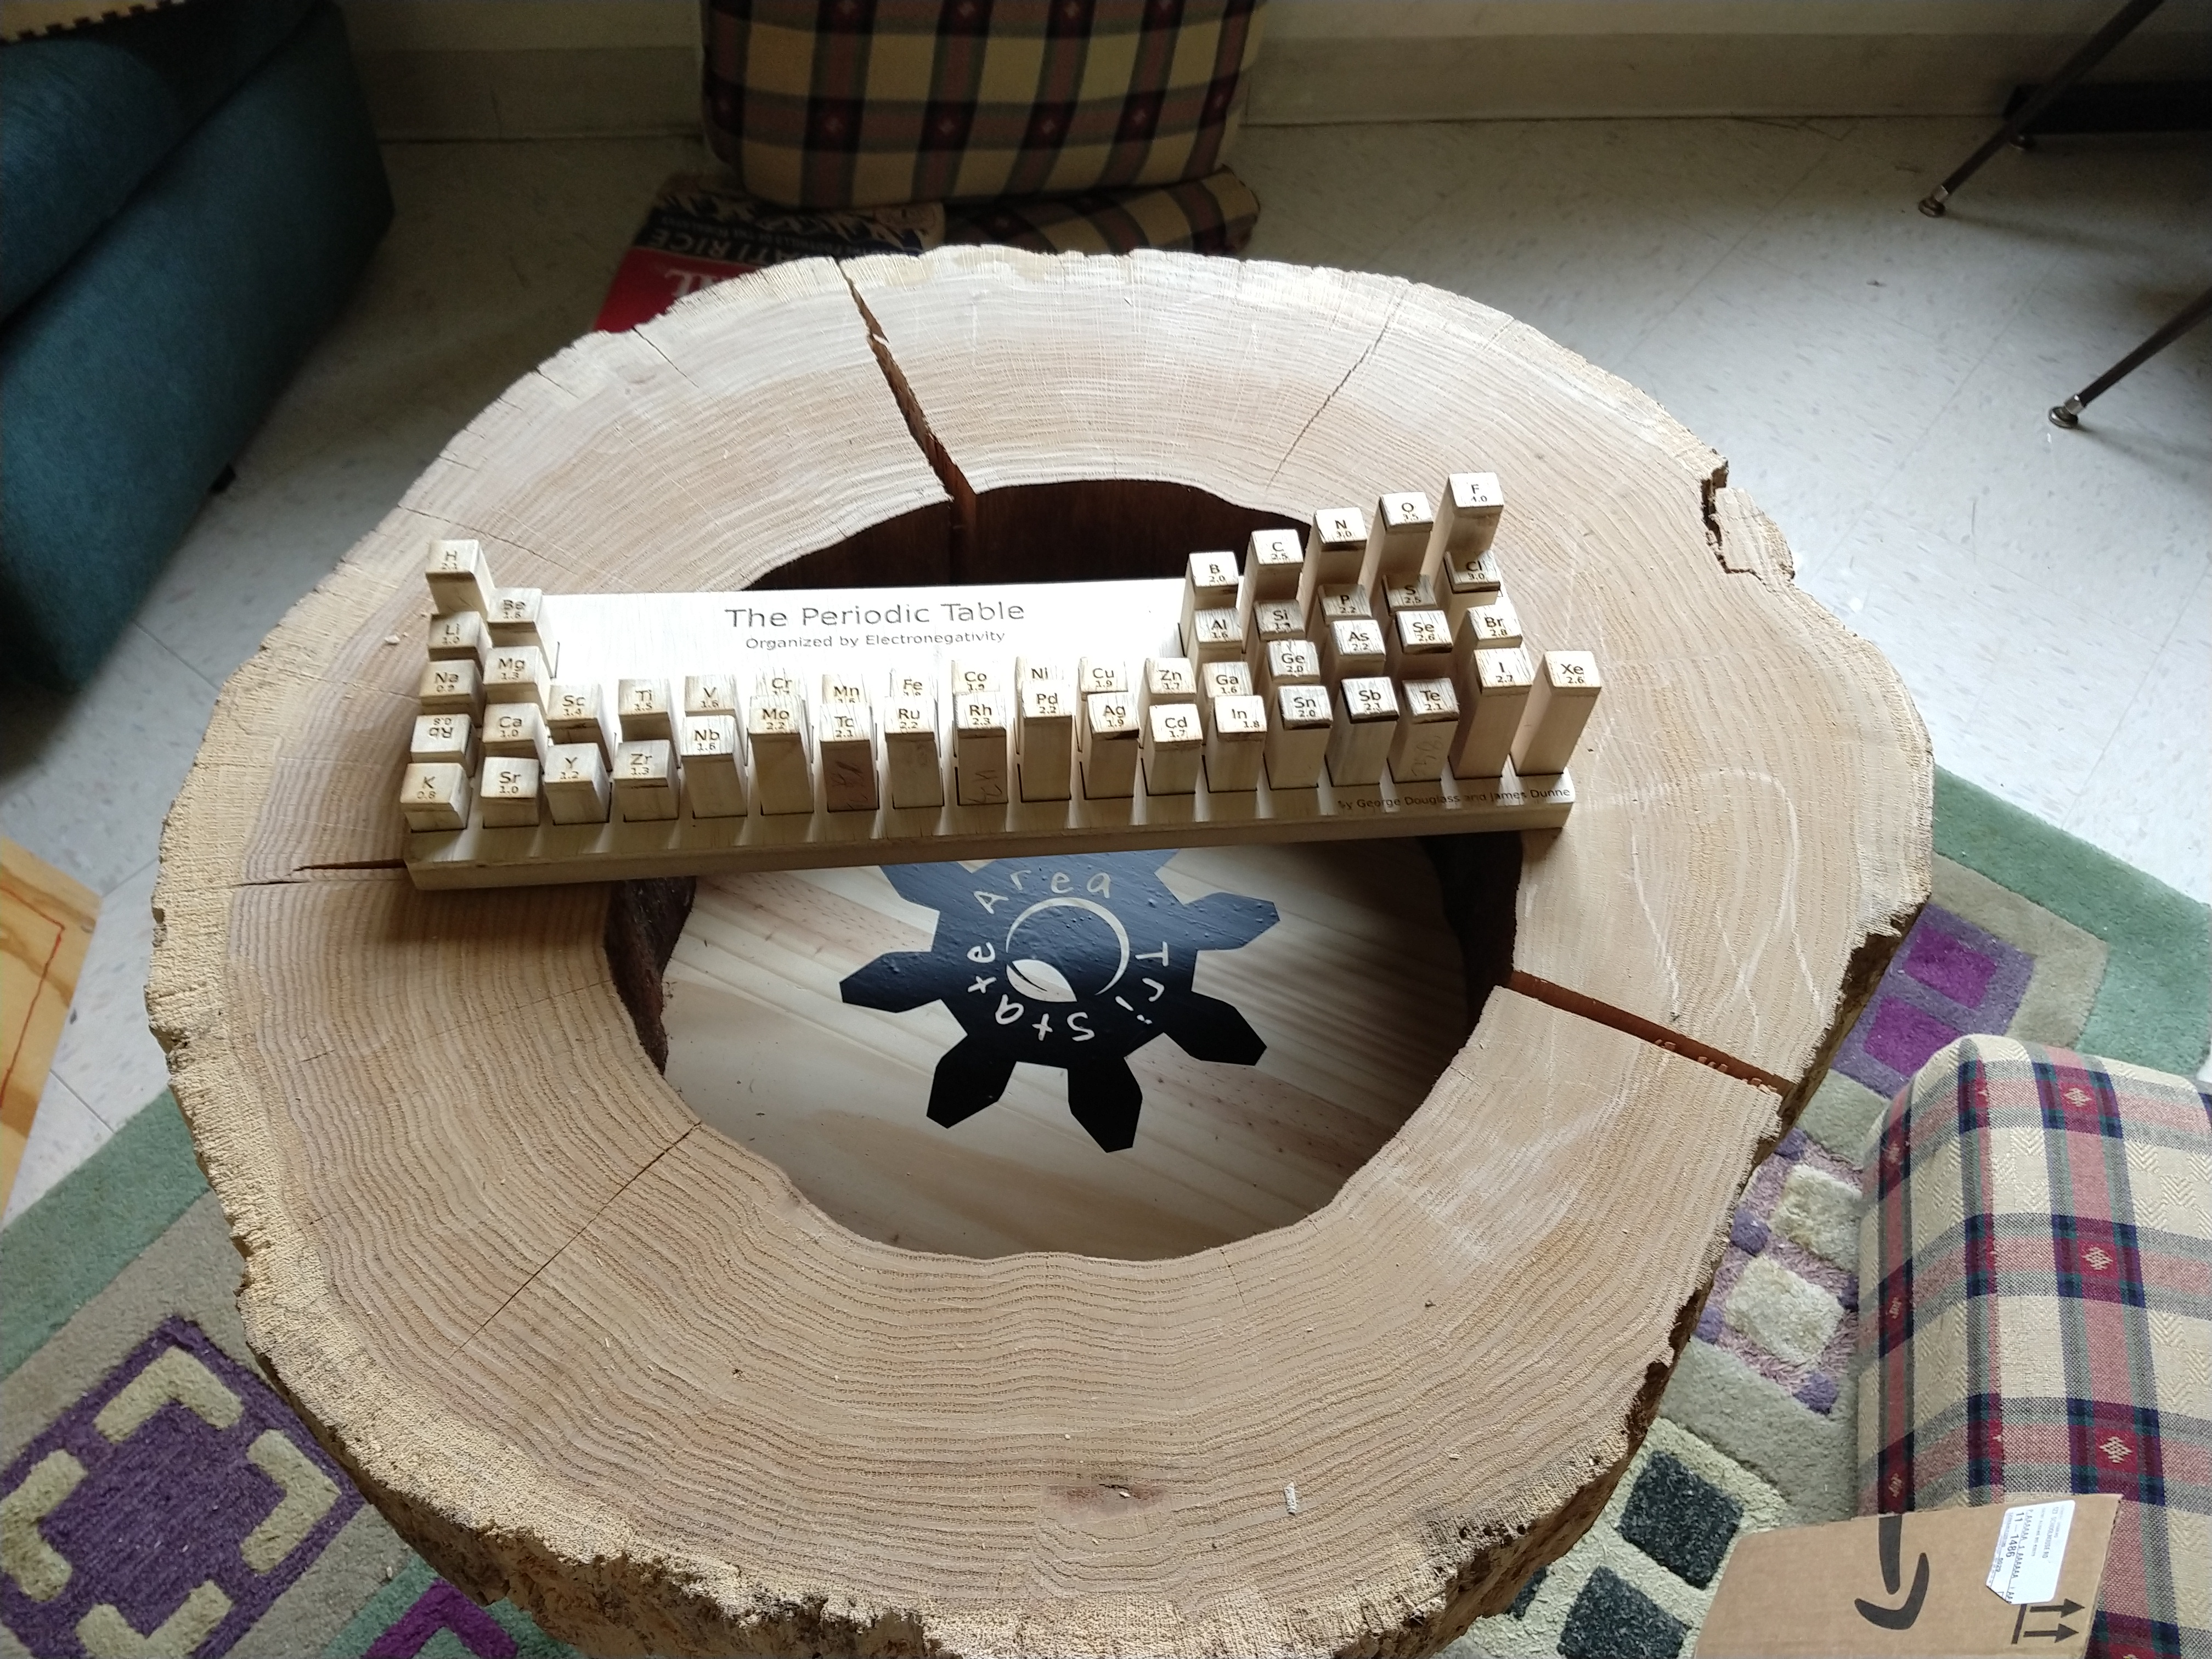
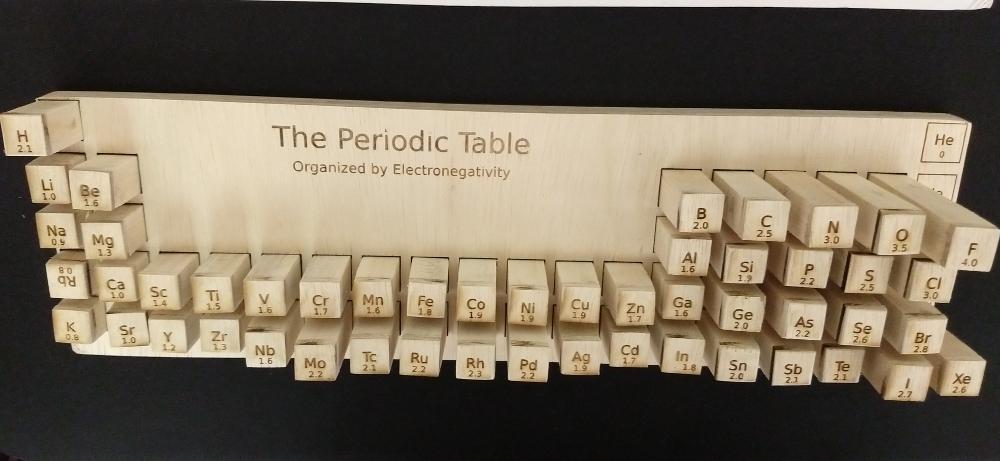
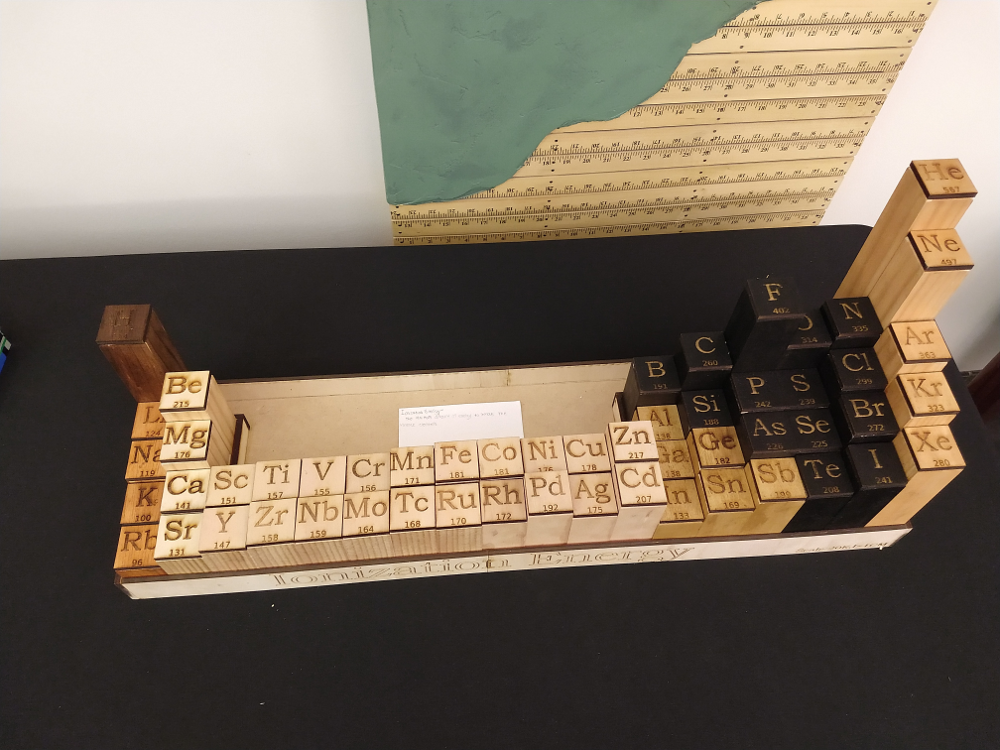
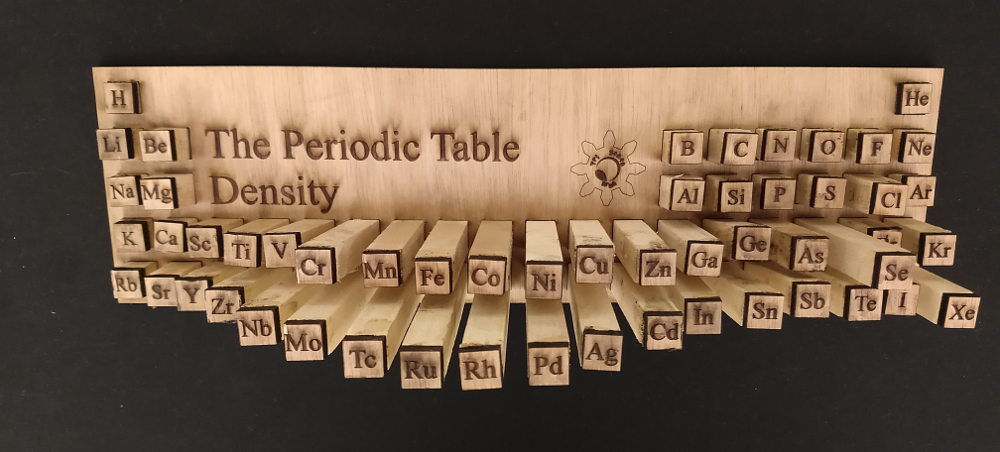
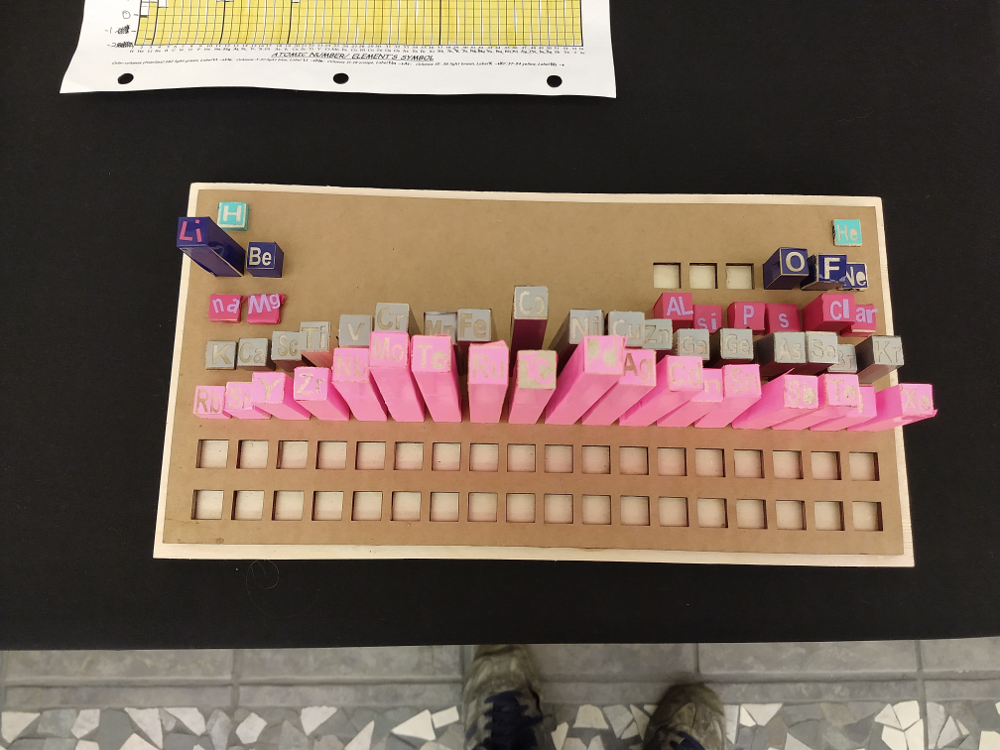
Laser Cutter/Etcher
The Universal 60W laser we use regularly to cut and etch 6 mm thick wood (1/4 inch) and acrylic. The bed is 24×18 inches. It also has a rotary tool to mount water bottles and glasses, and we’ve made adaptors to mount pens (though that’s still a work in progress).
Design is done primarily using Corel Draw and Inkscape, but we usually send print jobs using Corel.
3d Printers
We recently acquired a Prusa XL to go with our Prusa M3, though we have a couple other Prusa machines that were donated that are in the process of repair. The XL has a large print volume, can do multiple filaments, and is substantially faster than the M3. We’re still putting it through its paces, but so far everything looks great.
These days, most student-designed prints are made using TinkerCad, though I have students in my classes use OpenSCAD to do parametric modeling. One of my high schoolers is interested in Fusion 360, and I’m hoping they’ll be able to give a couple classes on it soon.
Vinyl Cutter
Our vinyl cutter can handle rolls up to 24 inches wide, and we’ve used it to make lots of stickers and signs for school (like for the chicken coop). It is limited to the colors and types of vinyl we have on hand (I get removable vinyl for obvious reasons) but student can bring in their own materials.
We use inkcut to send svg files to the cutter, but design is usually done with Corel and Inkscape.
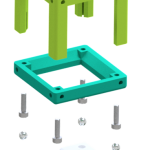
CNC
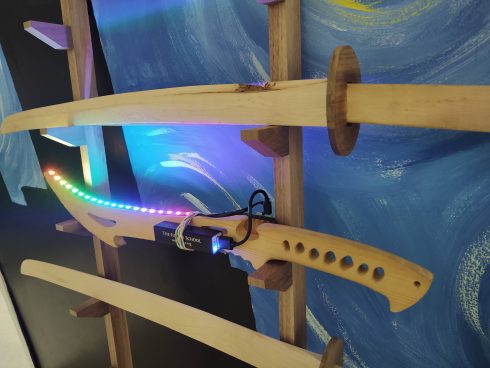
We currently have an Inventables CNC with a 75×75 cm bed that we use for carving plywood, MDF (and to a degree epoxy resin), and solid wood pieces (we have made wooden swords of oak, pine, and maple).
Jobs are sent through Inventables’ Easel web-based app, mainly by importing svg files. We are still working on an effective procedure for passing Vcarve designs through Easel.
Embroidery
We do have an embroiderer that we’ve used to embroider student designs onto fabric and clothing. You can switch the machine for sewing.
Designs are made in Inkscape using the Ink/Stitch plugin.
dye sublimation printer
We have a printer dedicated to dye-sublimation, and have used it to make prints on wood, acrylic, and water bottles (the Middle School business made a decent profit making water bottles of students and their grandparents on Grandparents Day).
Designs are usually done with Corel Draw and GIMP.
Analog Machines
Lathe
We got a medium sized lathe with a 12 inch throw this summer, which students have used to make all sorts of bowls, vases, mushrooms, and pens. Fallen trees from storms over the last year have provided our work material, so we’ve had to figure out how to work with green wood (high moisture content), and different types of finishes.
Our turning tools use carbide tips, and we’re still exploring the variety of square (radiused), round, and diamond-shaped tips available.
tufting (Rug Making)
One of our alumni sent in a rug he’d made with a tufting gun, and the students liked it so much we had to get a tufting setup. We’ve had a number of rugs made, but it takes a while, so most progress is made on interims or during the summer camp. Now that we’ve figured out that you can use non-toxic Elmer’s glue on the backs of the rugs, we can do it all in the Makerspace (and don’t have to leave the rugs outside for days to de-gas).
epoxy
Students have used epoxy to make everything from river tables, to chess-boards, to coasters, to earrings. We’ve acquired quite a variety of molds over the years. We’ve had to dedicate a special table for the epoxy projects because it gets pretty messy.
Carving
We’ve picked up a variety of chisels and tools for carving, and students have demonstrated impressive patience in using them to create, mainly, cooking utensils (one student tried to do a bowl before we got the lathe). We’ve also had to get a sharpening stone setup (that we’ve also used on the non-carbide lathe turning tools).
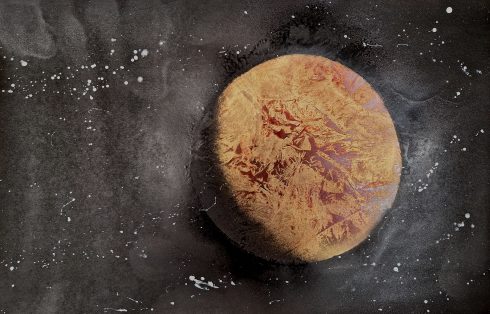
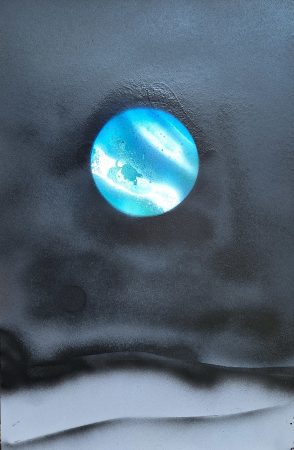
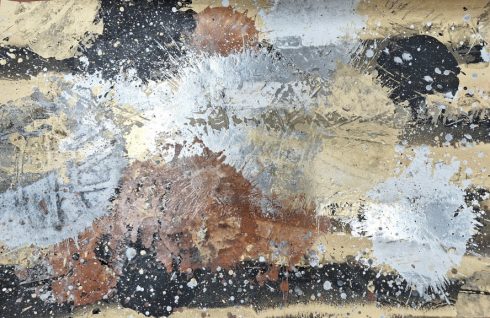
Spray Paint Art
A couple years ago, one of our students spent a lot of time exploring spray-paint art, especially making planet paintings, so we now have system and a lot of spray paint (and graffiti remover for when things spill over onto work surfaces) . Planet painting has become a popular part of the Makerspace Summer Camp among the upper elementary kids.
Electronics and Coding
SolderinG
Our Weller soldering station gets a lot of use, and has been great for doing detailed work like soldering PCB parts and electronics repairs. It is, of course complemented by wire-strippers, cutters, and tools (the ifixit tool kit has seen a lot of use, and I am amazed that we more-or-less still have all the bits after about 5 years).
Printed Circuit Boards (PCB’s)
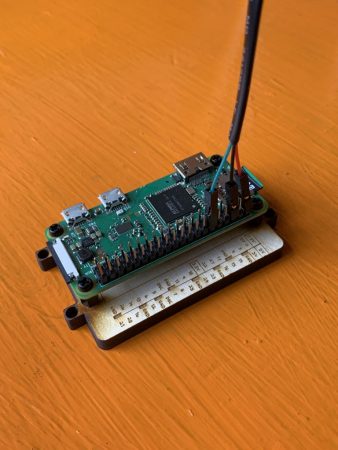
We have figured out a decent process for designing our own printed circuit boards (PCB’s) using Fritzing and having them made by pcbway.com. Our PCB designs have mainly been to make it easier to connect Raspberry Pi Picos to LEDs, sensors, and other components. We do have quite a collection of components (resistors, transistors, terminal blocks etc.) to go on the boards.
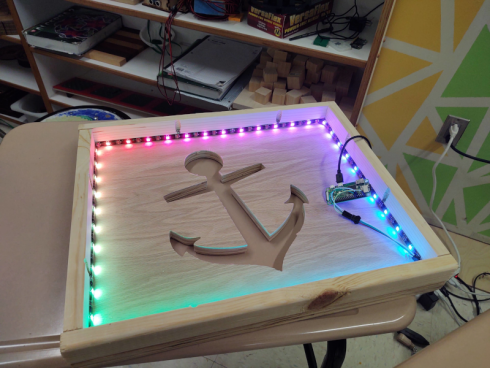
LED’s and Coding
One of the primary ways I introduce coding is by having students make lamps using individually addressable LED strips connected to Raspberry Pi Pico microcontrollers. So we do have a stash of Picos, Pico W’s and WS2812 strips.
Microcontrollers
Although we use Raspberry Pi Pico’s for most of our micro-controller needs (they are cheap and we have a system for working with them–based off circuitpython), we also have a number of other types, including Arduinos (used more for robotics).
Computer Hardware, Software, and Design
Tablets (iPads and Supernotes)
Students have done a lot of their initial design work on our Makerspace iPads (mainly using Procreate), but this summer, we had one student make all of their drawing on the Supernote e-ink tablet which made it much easier to transfer the design files over to the computer since they could send both vector (pdf) and raster (png) images to Corel for final finishing and printing to the laser.
laptops
When the lower-school switched over to Chromebooks, the Makerspace acquired about a dozen of the Thinkpads that were being retired. These have been great for us, because we switched them over to Linux and have mounted them on the walls to use their touch screens as interfaces.
However, since the Middle schoolers now have Chromebooks, and we have not figured out an easy way for them to program the Raspberry Pi Picos, or even to do website building, using them, students tend to check out the Makerspace laptops to do their micro-controller and LED work.