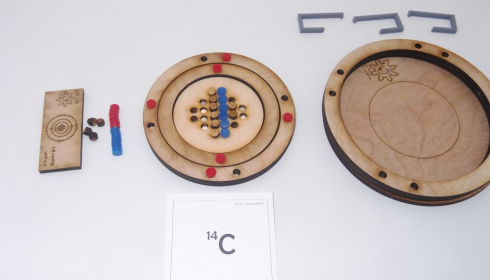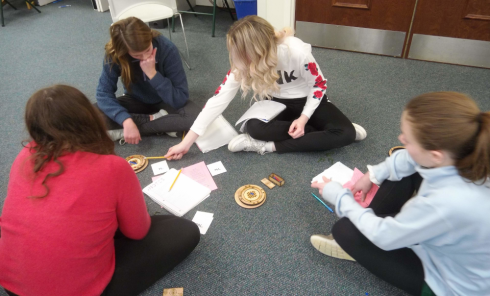
These atom boards worked very well for practicing how to interpret atomic symbols. The protons (blue) and electrons (red) are magnetic so they snap into place quite satisfyingly. Their poles are oriented so that the electrons will only attach properly to the slots in the electron shells and the protons only attach the right way up to the nucleus. The neutrons are wooden and non-magnetic.
Procedure for Building an Atom
Nucleus
Step 1: Number of protons (+ charge).
- The number of protons is given by the element name. Carbon will always have six protons, Hydrogen will have one proton. I have students memorize the first twenty elements in the correct order, so they can quickly determine the atomic (proton) number.
- 14C: Protons = 6+
Step 2: Number of neutrons.
- Neutrons = atomic mass – number of protons
- The atomic mass is given at the top left corner of the atomic symbol: 14 in the example above for 14C.
- 14C: Neutrons = 14 – 6 = 8
Electron Shells
Step 3: Number of electrons (- charge).
- Electrons = number of protons – charge
- The charge is given to the top right of the atomic symbol. In this case, there is no charge
- 14C: Electrons = 6 + 0 = 6
Step 4: Electron Shells
- Electrons go in shells around the nucleus.
- Start with the smallest shell, fill it, and then add the next shell until you’ve placed all of the electrons.
- The first shell can hold only 2 electrons, the second shell can hold 8, and the third 8. The electron configuration tells how many electrons are in each shell.
- 14C: Electron configuration: 2-4

They’ve also turned out to be useful when explaining ionic bonding. Since it’s easy to add or remove electron shells, you can clearly show how many electrons can be donated or received to figure out how many atoms are involved in the reactions.
