Tag: my art photos
Coal Seam
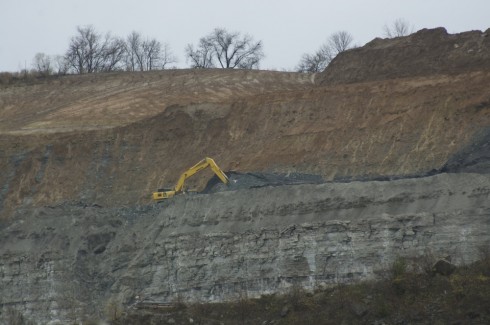
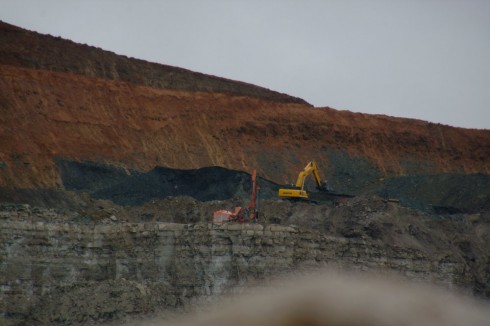
Although it was high in sulfur, the quarry company mined the thin coal seam that cut across the limestone quarry/landfill.
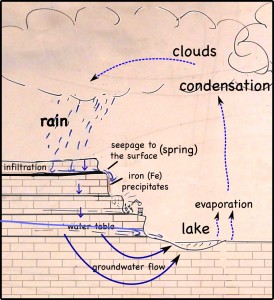
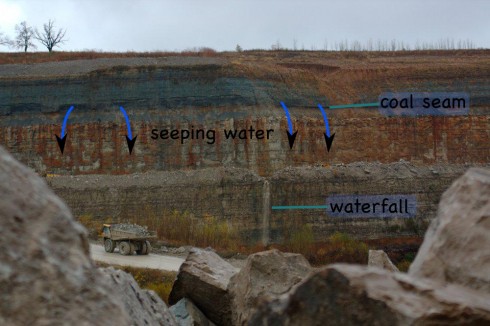
The layer of coal is pretty impervious to water, so it blocks vertical infiltration of water, which forces the water to the surface as springs.
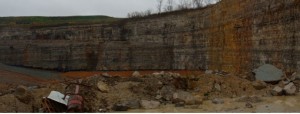
At the surface, when the water is exposed to oxygen in the atmosphere, dissolved iron precipitates to produce a red mineral that stains the quarry walls.
The iron gets into the water when pyrite crystals (FeS2) in the coal dissolves. While the iron precipitates, the sulfur remains in the water, making it more acidic. Dealing with the acid can be a huge problem in large coal and metal mines.
Not all the pyrite is dissolved however, and since this particular coal seam has a lot of pyrite, it is not economical to burn since the burnt sulfur (as sulfur dioxide gas) would have to be captured — otherwise it produces acid rain.
The Dog Ate My Homework
Visit to the Quarry/Landfill
A single, half-day, visit to the landfill and quarry brought up quite the variety of topics, ranging from the quarry itself, to the reason for the red colors of the cliff walls, to the uses of the gases that come out of the landfill. I still have not gotten to the details about the landfill itself, but I’ve put together a page that links all my posts about the quarry and landfill so far.
- Quarry
- Water Cycle
- Methane Gas (CH4)
- Hydrogen Sulfide (H2S)
- Density (and freshwater lens)
- Iron staining on the cliffs.
- The Coal Seam.
There was so much information that we spent the better part of the following week debriefing it in the middle-school science class.
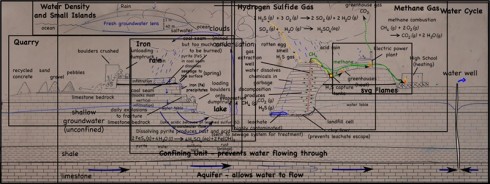
The map below gives a good aerial view of the site.
View Landfill and Quarry (as of 11/26/2011) in a larger map
Limestone Quarry
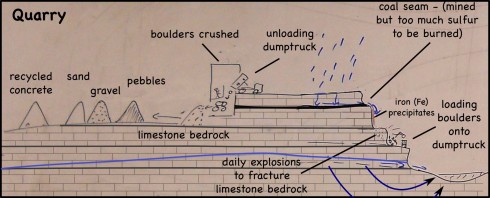
The landfill/quarry we visited was originally a limestone quarry; once they had the hole in the ground they needed to fill it with something so why not trash (and why not get paid to fill it).
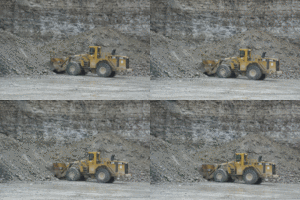
The limestone bedrock is blasted daily to create some massive boulders. The boulders are then loaded on some equally massive dumptrucks. There are scarce few minutes between trucks, so a lot of rocks are being moved.
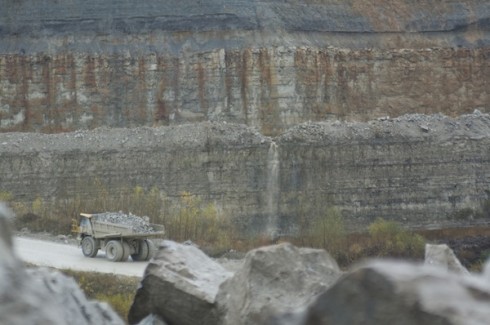

The trucks then dump their load into a large building where the rocks are crushed. Our guide made us stop the bus to watch the process. While watching a dumptruck unloading might seem mundane, the enormous size of the truck and its boulder load did seem to captivate the students.
Once the rocks are crushed, the resulting sediment is sorted by size (sand, pebbles and gravel, I think) and piled up. The piles are massive. I’ve been wanting a good picture that shows the angle of repose; I got several.
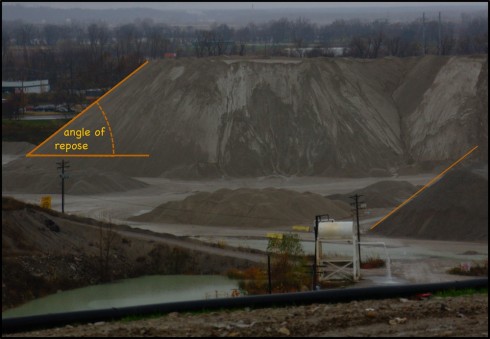
The pebbles and gravel are used for road construction and provide a matrix for concrete.
Since limestone dissolves fairly easily in rainwater, the sand-sized and smaller particles (< 2mm diameter) aren't used for construction -- hard, insoluble quartz sand is preferred.
Limestone: calcium carbonate (CaCO3)
However, the limestone sediment piles sit out in the open and some the finer grains (silt sized particularly), and any dissolve calcium carbonate, get washed into the nearby ponds, which turn a beautiful, bright, milky green.
Finally, in addition to the limestone sediment piles, there is also one enormous pile of broken up concrete. One of the things that stuck with the students was that fact that you can recycle concrete.
Iron Stained Walls
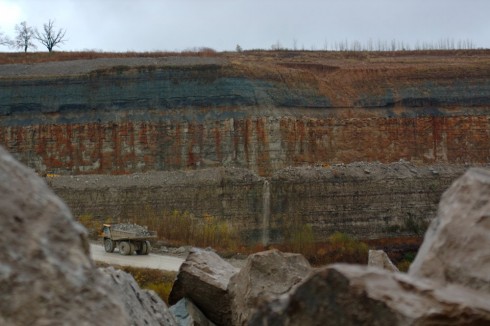
The cliffs of the quarry were stained red. Blood, seeping out from between the bedding planes between layers of rocks, might have left similar traces down the sides of the near-vertical cliffs’ faces. But these stains are actually made of iron.
Rain falling on the land above the quarry, seeps into the ground. There it moves downward through the soil, leaching out some of the minerals there, but going ever downward. Downward until it meets a layer of soil or rock that it can’t get through. Clay layers are pretty impermeable, though in this case it’s a layer of coal. The water can’t move through the near-horizontal coal seam very fast, so instead it moves sideways across, and eventually seeps out onto the cliff face.
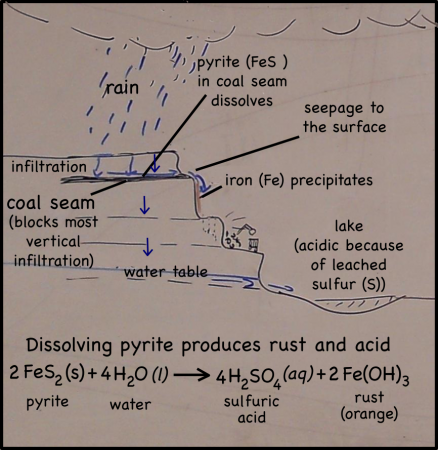
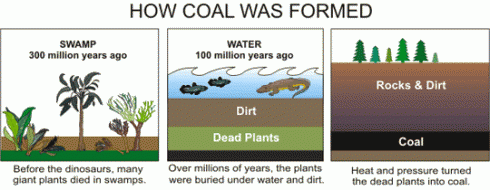
The seeping water still has those minerals it dissolved in the soil. It also has more dissolved minerals from the coal it encountered too. Coal forms in swamps when trees and other plants fall into the waters and are buried before they can completely decompose. Decomposition is slow in stagnant swampy waters because most of the insects and microorganisms that do the decomposing usually need oxygen to help them with their work. Stagnant water does not circulate air very well and what little oxygen gets to the bottom of the swamp-water is used up pretty fast. You could say that conditions at the bottom of the swamp are anoxic (without oxygen), or reducing.
Iron in air will rust as it reacts with water and oxygen — rust is the red mineral hematite (Fe2O3) that you see on the walls of the quarry. Iron in a reducing environment, on the other hand, will form minerals like pyrite (FeS2). According to our guide, the thin coal seam in the quarry has a fair bit of pyrite. In fact, because of the pyrite, the coal has too much sulfur for it to be economical to burn. Like the landfill gas, hydrogen sulfide, burned sulfur turns into sulfur dioxide, which reacts with water droplets in the air to create acid rain so sulfur emissions are regulated.
The water that seeps along and through the coal seam will dissolve some of the pyrite, putting iron into solution. However, the iron will only stay dissolved as long as the water remains anoxic. As soon as the high-iron water is exposed to air, the iron will react with oxygen to create rust. Thus the long stains of rust on the cliff walls show where the water emerges from underground and drips down the cliff face.
Iron precipitate in other environments
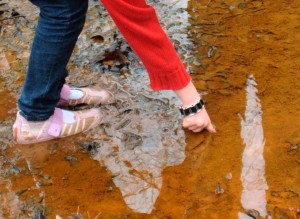
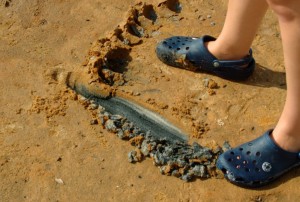
We’ve seen the precipitation of iron (rust) as a result of changes in redox (oxidizing vs reducing) conditions before: on the sandbar on Deer Island in the Gulf of Mexico; in the slow streams along the Natchez Trace Park‘s hiking trails in Tennessee. Iron precipitation is an extremely common process in natural environments, and it’s easily noticeable. Just look for the red.
“Cheat Sheets”
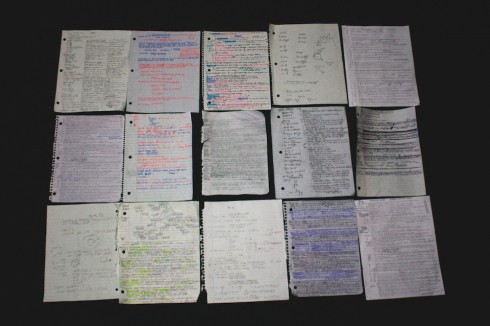
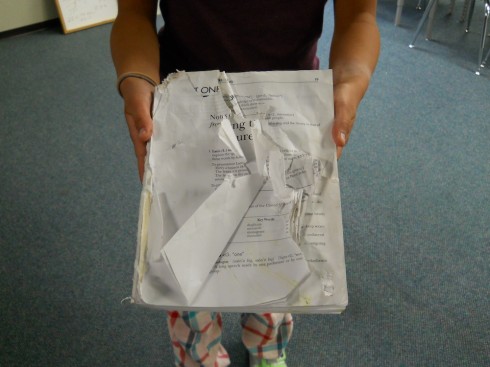
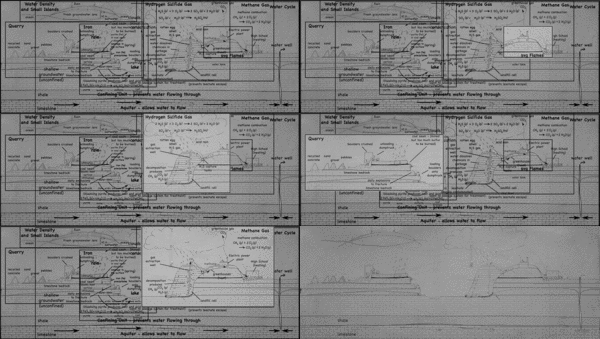
I let my students bring in one page of handwritten notes, a “cheat sheet” if you will, into their last Physics exam. I’d expected to see some very tiny writing, but some of the notes needed scientific-grade magnification equipment to be read. Seen from a distance, the dense writing did have a certain aesthetic appeal.
Of course the primary reason for letting students bring in the cheat sheets into the exam was to get them to practice taking notes. At one extreme, the students who already take good notes benefit from having to condense them. At the other extreme, the students who don’t take notes at all get a strong incentive to practice. The very act of preparing cheat sheets is a good way to study for exams.
And it worked. As they hand in their papers I usually ask them how the test went, and, this time, I also asked a few student if they found their page of notes useful. One student in particular responded, Well I didn’t need to use it after making it.
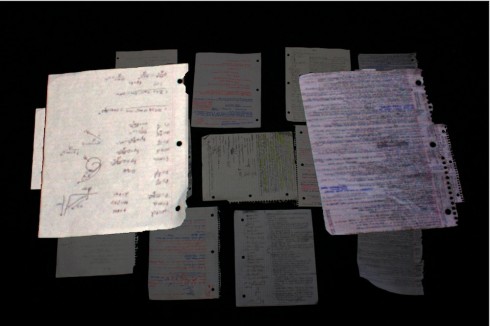
It was also very interesting to see the different styles of note taking: the strategic use of color; densely packed text; equations; diagrams; columnar organization. What all this means, I’m not sure. I’m particularly interested in how their note taking style relates to students’ preferred learning style.
Indeed, it would be interesting to see if the note taking style co-relates in any way with students’ performance on the test. One could hypothesize that, since we know that students learn better when they encounter material from multiple perspectives, then students whose notes have the greatest mix of styles — diagrams, equations, text etc. — should have learned more (and perhaps perform better on the test).
It’s a pretty simple and crude hypothesis, since there are likely many other factors that affect test performance, but it would still be interesting to look at.
Cahokia Mounds

Almost a thousand years ago, 20,000 people lived at a place called Cahokia. At the center of their city, was the largest artificial mound in North America. A large part of Cahokia’s success is surely its location: near the confluence of the Mississippi and Missouri Rivers — just across the Mississippi from modern-day St. Louis. Yet less than 400 years later (see timeline) the city was abandoned, and no one is quite sure what happened.
Our middle and high school took a trip out to Cahokia last month. It was during the same intercession between quarters when we visited the Laumeier Sculpture Park, the Da Vinci Exhibition, and did our brief biological survey of the campus.
The elevation of the main mound, sitting on the flat Mississippi flood plain, with the St. Louis skyline in the distance, was a great place to talk about the importance of physical geography in the location of cities (your biggest cities are always going to be on rivers, or the ocean or, often, both) and to reflect on how history repeats itself — a once thriving metropolis is nothing now but displaced piles of alluvium and mystery.
View Cahokia in a larger map
Cahokia is a World Heritage Site, and it has an excellent museum. I particularly liked the detail in their life-sized reconstruction of a section of the city.
Their website is also good. Apart from the timeline, mentioned above, they have a nice interactive map for details about each of the numerous mounds, and a long page about the archeology.
The site is pretty big, so you can spend a fair amount of time exploring. Fall, when the leaves have turned color, and the air has cooled a little, is an excellent time to visit.
