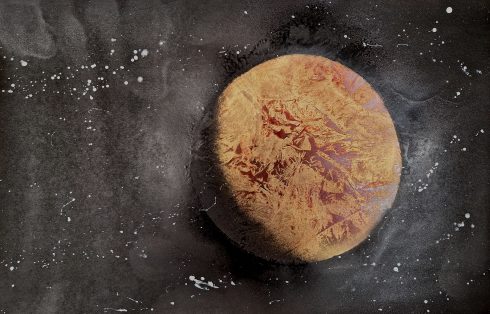
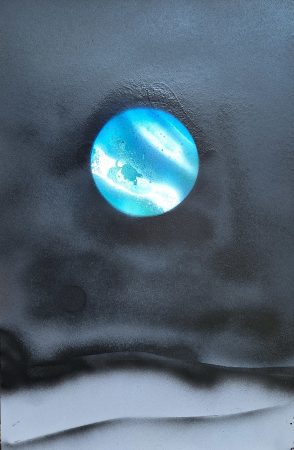
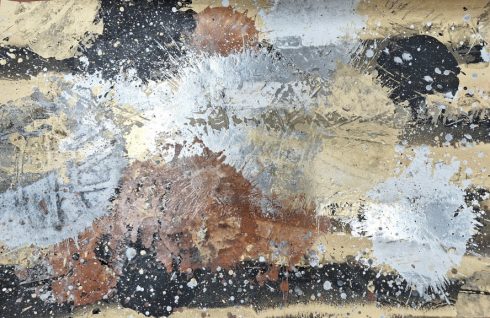
One of my students really got into spray-paint art this year, especially planets. By the time she was done she’d completed over two dozen pieces; some on paper, some on wood, some on clear plastic or acetate, and some of which we backlit with LED’s. Her paintings are all over the Makerspace, which generates a lot of interest.
However, now that this student has graduated, we’ve had to find another way to teach the process. I’m using the above video as a quick introduction to the process (note: it starts at 36 seconds because the author uses a single rude word in her preamble).
A few examples of students’ work from the Makerspace Summer camp (2023).
The first 10 videos in this series explain where the idea of imaginary numbers come from, how the complex plane makes finding roots easier, and how imaginary numbers are needed for closure in algebra.
A couple quick programs (polarGraphs.py) to create animations of the drawing of functions in polar coordinates (for my pre-Calculus class).
Graph of the function: r = 4 cos(θ)
It can export as a movie (mp4 as above). W can also transform functions (using: polarToCartesianGraph.py ) from rectangular to polar coordinates (and back: you can choose the settings).
Coordinate transforms Cartesian to Polar and back again for r = 4 cos(θ)
A Note on using ChatGPT
This python program uses the matplotlib library, and, for the first time for me, I used ChatGPT to figure out the syntax for things like drawing arcs and arrows, and exporting animation files, instead of googling my questions. ChatGPT worked great, and significantly speeded up the process. It does make me wonder, however, that since these models are based off of what they’ve scraped from the internet, are they going to run create problems for themselves if people stop asking questions on places like stackoverflow and rely on AI instead. Although, this might just mean that the AI will tend to be just be a little bit behind the cutting edge and there will continue to be a need for question and answer forums.
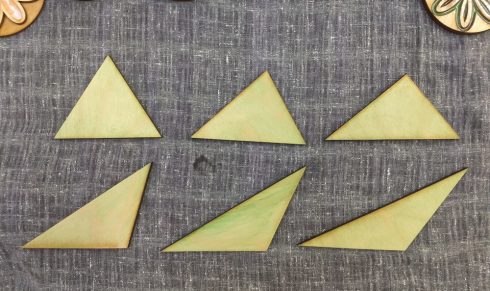
The area of a triangle is one half of the length of the base times the height:
Six triangles with the same area.
For my Geometry class, I made this set of six triangles to show that as long as the base and height are the same, all these triangles will have the same area.
Each student measured a triangle and found its area, which is a useful exercise in itself to get them to transfer the ideas and equations out of the book, and then the all compared their results. Their calculated areas were all within 5% of the actual value, which was not unexpected given that some small measurement error was inevitable.
Since you can use any side as the base, not everyone measured the equivalent side and height, so I had to demonstrate that similarity as I summed up the exercise.
For the next time I use this set, I’ve marked the one side that is 10 cm on each triangle for students to use as the base.
Laser-cut triangles showing the incenter, centroid, and circumcenter of an obtuse (slightly) triangle.
There are a few different ways of looking for the center of a triangle. My geometry students did the section in the textbook, then made cutouts on the laser.
They got some practice designing the triangles using a vector graphics program (Corel Draw). This did require an explanation of the difference between vector and raster images, since the majority of the class was unfamiliar with the concept. Raster images are made up of a grid of pixels, while vector images have instructions for where points go and where to draw lines. Vector images are great for diagrams like these because the files can be much smaller, the lines are more precise, and you can scale them up or down without losing any of that precision.
It turned out to be very useful to have them create the shapes and intersecting lines on the computer. It was pretty easy for them to precicely measure angles and find midpoints, so they could find the center points with much more accuracy than they could on just paper.
Having the final triangle cut-outs were also interesting. The centroid–the point of intersection of lines going from the vertices to their opposite side–is the center of gravity of the triangle, which means that, if you’re careful, you can use that point to balance the cut-out triangle on the tip of a pencil.
All of a sudden, we have two projects that require us to CNC aluminum.
We managed to make it work with the regular 2-fluted 1/8 inch bit. It cut pretty easily with the settings:
Bit: 2-flute straight, 1/8 inch
Feed Rate: 254 mm/min
Plunge Rate: 76.2 mm/min
Depth per Pass: 0.2 mm
Of note: For the very thin material we tried (0.8 mm thick), I found that instead of using regular tabs, where the machine cuts through most of the material and just leaves a thin tab holding the cut-out pieces in place, just leaving gaps in the design seemed a better option. We have a slight tilt to our surfacing table and it was just way too easy to cut through the entire place where the tab should have been.
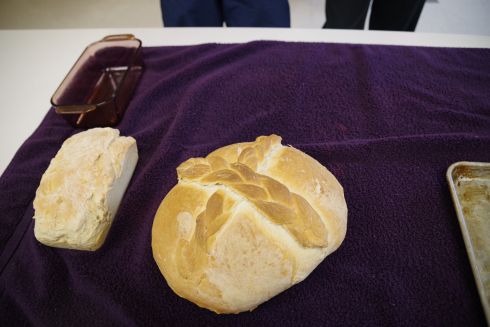
Nice and fluffy loaves of bread requires the generation of bubbles in the dough. This is typically done either with an acid-base reaction (baking soda and an acid) or with yeast. Since we’re doing biology, we made some loaves and focused on how the process of bread making require careful management of the environment for the yeast to produce the carbon dioxide gas that makes the bubbles that makes the bread rise.
We followed the bread-baking recipe I’ve used before for the middle school’s student-run business, but had to shorten rising times to get it all done by the end of our class.
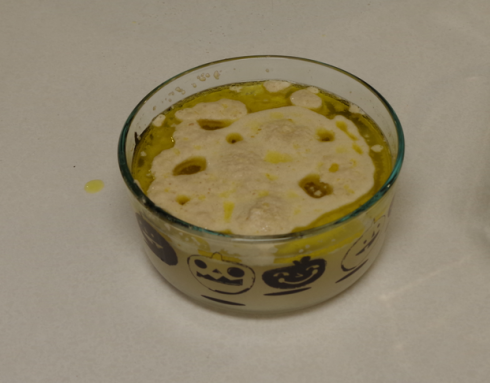
Yeast is a single-celled fungi (typically Saccharomyces cerevisiae). Fungi are heterotrophs, so focusing on what the yeast requires for life and metabolic activity requires consideration of:
water (moisture)
warmth (but not too warm)
energy source (short chained carbohydrates to make the energy more easily accessible)
Yeast produces carbon dioxide bubbles via fermentation (Styurf et al., 2017). It could do it through respiration, but in the bread dough there is not a lot of oxygen available (more info on respiration here).
Fermentation looks something like:
C6H12O6 → 2 C2H5OH + 2 CO2
So, the carbohydrate (glucose) is converted to ethanol and carbon dioxide.
As opposed to respiration (which requires oxygen):
Because students bring their own laptops and devices I’ve had some trouble in the past getting everyone running python with the packages I typically use (mainly vpython). This is a quick reference about how to get up and running on Windows, OSX, and Linux.
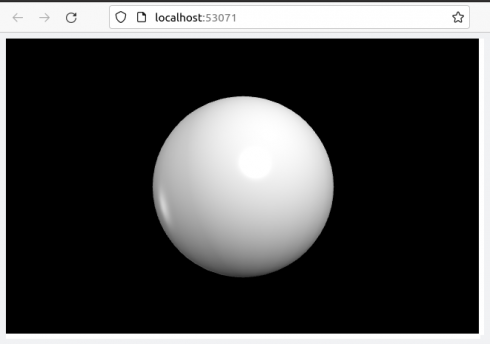
Figure 1. Test sphere (from a Linux installation).
Linux
These should be pretty identical. Ultimately, students may want to learn how to set up virtual environments (e.g. venv), however, for our purposes python3 should already be installed.
Using a Terminal window we’ll install pip:
sudo apt install python3-pip
and use pip to install vpython (which should install numpy as a dependency).
pip3 install vpython
and finally matplotlib:
pip3 install -U matplotlib
Test the installation by running python3 and making a sphere. Run:
python3
In the interpreter enter the two lines:
from vpython import *
sphere()
A new browser tab should pop up with a sphere (Figure 1).
OSX
OSX should be very similar to the Linux installation. You may have to install the latest version of python from https://www.python.org/downloads/, but you can check to see if python3 is installed by typing into a Terminal window:
python3
which will start the interpreter if python3 is installed.