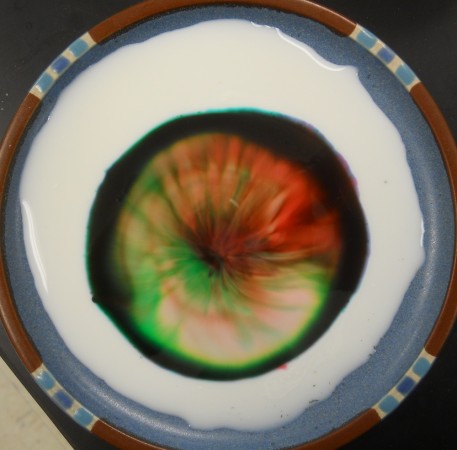
A beautiful demonstration of the interaction between detergents and fats (in milk). The food coloring acts as a tracer.
Middle and High School … from a Montessori Point of View

A beautiful demonstration of the interaction between detergents and fats (in milk). The food coloring acts as a tracer.
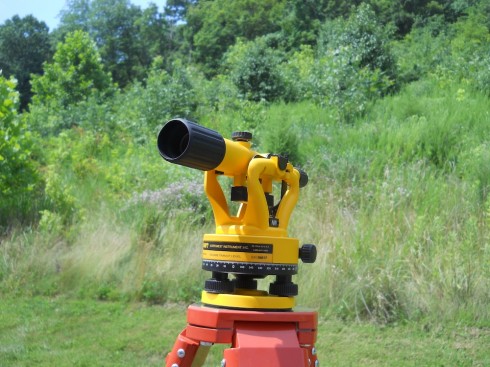
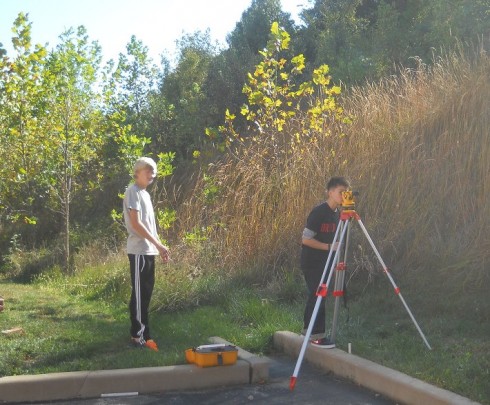
This spring I was nominated by my head of school for a small, Teacher of Distinction award offered by the Independent Schools of St. Louis (ISSL). I proposed to get a survey transit that our students could use to map ecological change on campus. My outdoor group has been slowly cutting down the invasive Bradford pear saplings on the slope and I’ve been curious to see if mapping their locations would help us better understand where they’re coming from.
The transit would also be a great tool for math. Geometry, algebra, and pre-calculus classes could all benefit because surveying can require quite a bit of geometry and trigonometry.
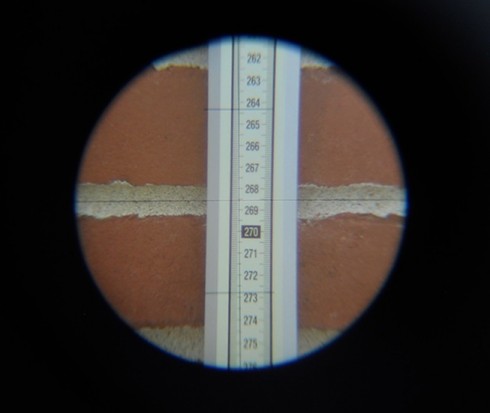
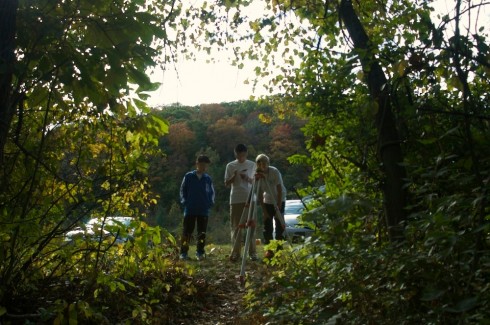
So, I’ve started training a few of my outdoor group in making the measurements. They’ve spent a few weeks learning how to use the transit; we only meet once a week so it goes slowly. However, we’ll start trying to put marks on paper at our next class.
As an exercise to transition from ecology to biochemistry in Biology class, I had students follow the energy from the Sun to humans via potatoes. After all, we’ve been putting together food webs, following energy through the food chain, and now I want to start talking about the short and long chained biochemical molecules like glucose and starch, at least at a general level.
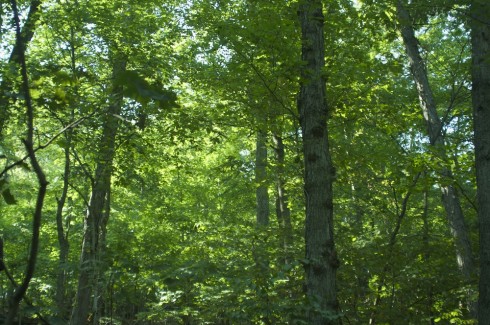
So, we start with photosynthesis. The leaves of the potato plant capture sunlight and combine water and carbon dioxide to produce glucose with oxygen as a by-product.
![]()
This reaction takes radiative energy from the Sun, and stores it as chemical energy in the bonds of the glucose molecule.
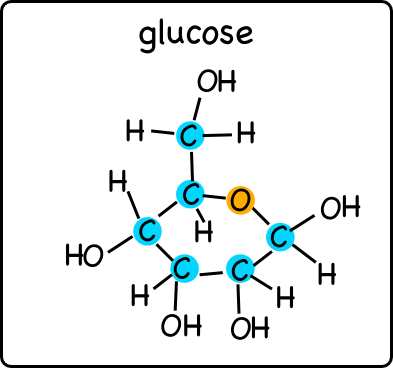
Glucose is a simple sugar, one of the basic carbohydrate molecules (my bio class has not done the testing for carbohydrates yet, but we will soon). Simple carbohydrates are monomers that can be chained together to produce more complex molecules.
The potato plant chains together a series of glucose molecules it produces by photosynthesis into long chained polymers called starches. Starches are good for long-term storage of the energy because, for one thing, they don’t dissolve in water the way glucose does. (A good metaphor for this might be to have students carry a handful of beads to represent a bunch of glucose molecules versus carrying a string of beads to represent the starch).
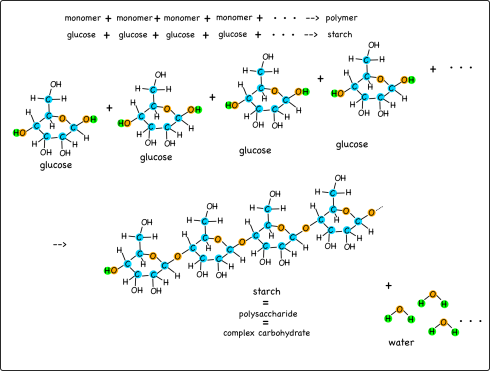
The large stash of energy consolidated into the starch is an inviting target for animals like humans. We eat things like potatoes to get the starches, only we usually refer to them by their other name, carbs. Carbs are short for complex carbohydrates: since glucose is a simple carbohydrate, a chain of glucoses is called a complex carbohydrate. This is why people on low-carb diets try to avoid foods like potatoes.
For those of us who do eat potatoes, however, we need to break the starches down into their constituent glucose molecules to get the energy. When we eat potatoes, we chew (masticate) them to break down the cell walls and expose the starches to the enzymes, like amylase in our saliva, that breaks apart the long carbohydrate chains into simple glucose molecules. Enzymes, like amylase, are catalysts. Catalysts are substances that accelerate a chemical reaction, but are not used up in the process.
The body extracts these glucose molecules from the digested food in the small intestines. The glucose is absorbed through the small, finger-like, capillary-filled villi that line the small intestines, and gets into the blood plasma. The circulatory system transports the glucose in the plasma to cells throughout the body.
Cells use the glucose for energy by reversing the photosynthesis reaction, in a reaction called respiration:
![]()
So the cells use respiration to liberate the energy the potato plant captured from the Sun.
I very much liked how this exercise worked. Trying to follow the energy through the plant and human, while using as much biological vocabulary as possible, really worked to integrate our discussions of anatomy and ecology, and helped introduce biochemistry. I think I’ll try other exercises like this, where students try to follow a specific atom through the human body or through the environment (as we study global biogeochemical cycles). It might also be useful to use this as an example of how isotopic tracers work.
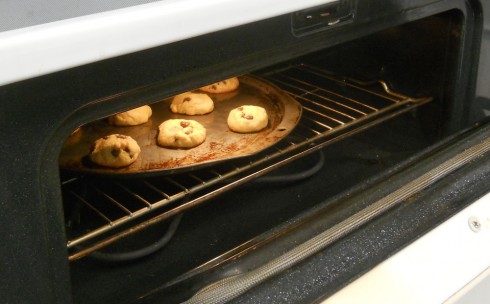
My chemistry students did a little experiment to investigate the effect of varying baking soda amounts on cookies. They did four batches of cookies based off of the recipe on the back of a bag of chocolate chips. The batches used:
The last batch used orange juice for its acidity. We hypothesized that more baking soda, and more acidity, would increase the size of the cookies, making them fluffier. The hypothesis was supported by our rather tasty evidence.
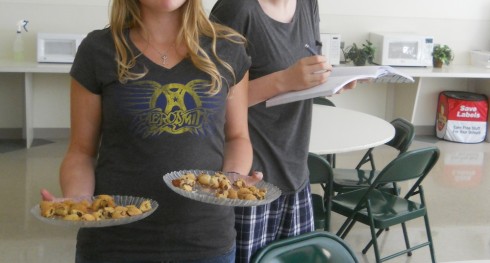
Although our focus was on the physical chemical reaction of the baking soda (sodium bicarbonate) and acid to produce the carbon dioxide bubbles that make the cookies rise, the making of the cookies also allowed us to talk a little about the food science behind the role of the flour. Specifically, we discussed the long chain gluten proteins that stretch out and trap the bubbles. We’ll talk a bit more about this next time when we make bread.
At the suggestion of Mr. Elder, I put together a Crime Scene Investigation (CSI) simulation for one of our afternoon interim activities. Sixteen students were challenged to solve a murder/mystery using simulated blood tests, fingerprinting, hair analyses, and chemical tests for drugs. And the assailants and the victims were members of the group.
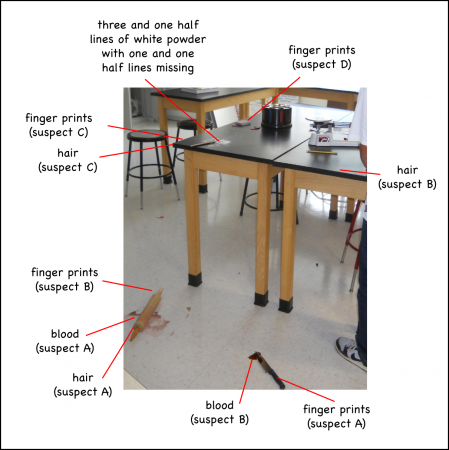
I set up the crime scene with four different lines of evidence — fingerprints, hair, blood, and drugs — and forensic methods, so I could break my students up into four groups. The students were all told that they were competing to solve the mystery; to find out what happened and who did what to whom. Without any coaxing, the groups each claimed proprietary rights one type of evidence and set about trying to solve the mystery on their own. Since none of the lines of evidence could explain everything from the crime scene they ended up having to combine what they all found.
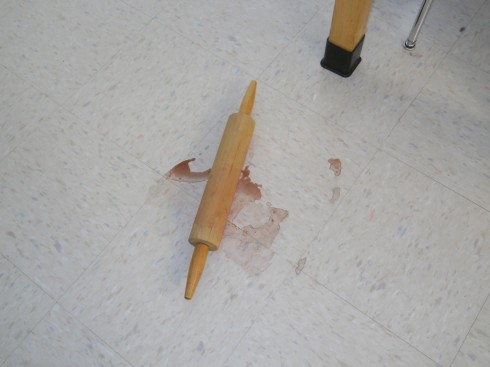
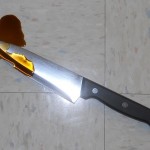
There were two weapons lying on the floor: a bloody knife and a bloody rolling pin with a hair stuck to it. On the table above the weapons were a few lines of white powder. There seemed to have been originally four lines, but one and one half of them had been used. There were fingerprints and a strand of hair next to the powder lines.
Also on the table, close to the powder, were a deck of cards (with fingerprints), a set of poker chips, a scale, and another stray hair.
Fortunately for our detectives, the fingerprints and hair had already been pulled and tagged.
It took quite a bit of effort to acquire and plant the evidence. Some of it, like the blood, was simulated, but I had to get the hair and fingerprints from the students themselves. Since the individuals who chose this activity were a self-selected fraction of the middle and high-schoolers, I wandered around the building at lunchtime at the breaks between classes trying to find one or two students who were by themselves or were in a group with others who had not chosen the CSI activity.
The crime scene setup really only requires evidence of two people, but to keep it a little more mysterious I used a little misdirection. I got five students to contribute fingerprints and hair, but told them all that they’d be the murderer. I also got one person who was not in the class to contribute as well so we’d have a set of completely mysterious evidence.
I pulled fingerprints by having students rub their fingers on a black spot I’d created using a basic number 2 pencil. The student would get the black graphite on their fingers and then touch their fingertips to the sticky part of some clear tape. The fingerprints turned out quite clearly that way.
Since I did not have time to figure out how to transfer the fingerprints to the surfaces I wanted them on, I just stuck the pieces of clear tape where I wanted them in the crime scene, which also saved the detectives a bit of time and effort.
Once I told them how to get the fingerprints from their peers, the students did not need any other guidance about how to analyze the fingerprints. They took the imprinted sticky tape and stuck them to a sheet of white paper, where the black prints showed up quite nicely. Then they fingerprinted everyone in the classroom and compared, looking for whirls and swirls primarily, but also basing their conclusions on the size of the prints which they took to be indicative of gender.
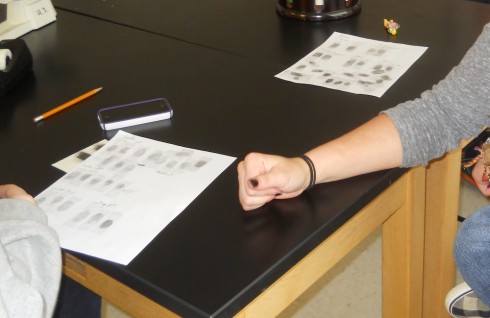
Of the four sets of prints, they were able to accurately identify the two people who were holding the knife and the rolling pin. The misidentified the one set that was from a person not in the class, and could not find the match for the last set.
Interestingly, of the four students in the group, two did most of the work while the other two wondered off to join other groups.
Hair was easy enough to collect since the students were quite happy to donate one or two for the cause. One hair per student would have been sufficient, but I kept loosing them until I just decided I’d stick them onto a piece of clear sticky tape and leave the sticky tape with hair attached at the scene of the crime.
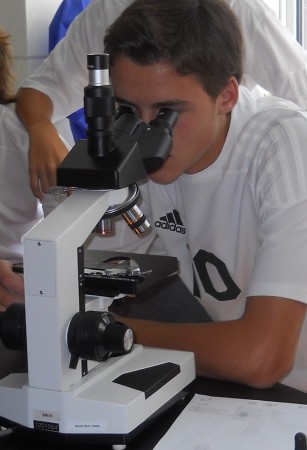
With only a little nudging, the group working on the hair realized that they could get out one of the compound microscopes to examine their specimens, and compare them to the students in the class.
One major indicator that helped with the hair identification was the length. Two of the hair samples were from girls with long hair, while one was from a fairly short haired boy. I did consider just leaving pieces of the hair as evidence, instead of whole strands, but it’s a good thing I did not since, for one reason or another, the hair group had a difficult time identifying the owners of their samples (lack of effort might have been one part of it). It did help a bit that the two major perpetrators of the crime were members of that group.
My idea here was to simulate a drug (cocaine) deal gone bad because of a contaminated/cut product. I laid out three lines of corn starch to simulate the cocaine and one line powdered glucose in between the last two cocaine lines to represent the adulterated drug. I removed the last cocaine line and half of the glucose line to make it look like someone had been ingesting the lines and stopped part-way through.
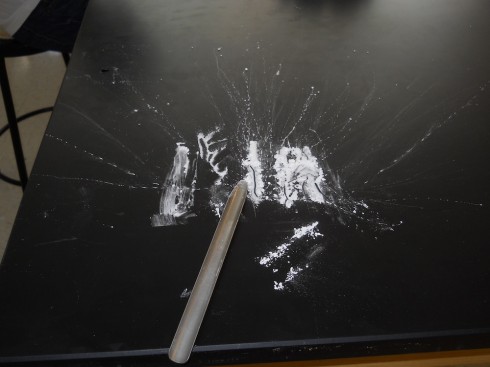
Since we’ve been testing for simple and complex carbohydrates in biology and chemistry classes I told the group testing the drugs that the test for cocaine was the same as the iodine test for starch: if you add a drop of potassium iodine to a starch solution then it turns black.
If the students had examined the drugs on the table closely enough they should have been able to see that the glucose line was different from the others; it was not as powdered (so the crystals were small but visible), and it did not clump as much as the corn starch. However, they did not, and I had to hint that they should perhaps test all the lines of powder instead of just the first sample they took.
When they discovered that one of the powder lines did not react with the potassium iodine, I told them that a common adulterant was sugar so they should perhaps test for that. One of the students remembered the Benedicts solution test, which they were able to easily conduct since I’d already had the hot water bath set up for them.
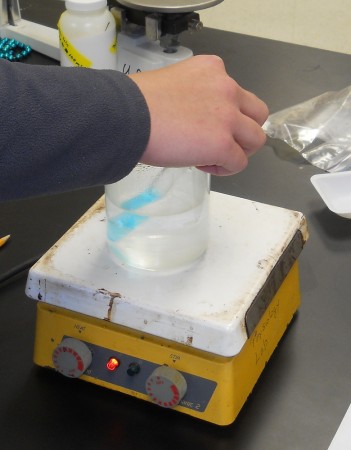
Looking through the United Nations Office on Drugs and Crime’s Recommended Methods for the Identification and Analysis of Cocaine in Seized Materials, it seems that a common test for cocaine (the Scott test) turns a solution blue when the drug is present, so the next time I try this I may have to find some tests that produce a similar color change.
Simulating the blood testing was one of the trickier parts of the procedure for my part since I had to keep things very organized when students started being sent to me to be blood tested.
The blood was actually a few drops of food coloring diluted into 10 ml of water. I used three drops of red in each case to try to at least get it to a somewhat blood-like color, but then in mixed in one or two other colors to get five unique blood types.
The number of drops of food coloring mixed with 10 ml of water to get the 5 blood types.
To match everything up with the crime scene, I assigned Suspect A to have Blood Type 2, and Suspect B to have Blood Type 4. So a sample of Blood Type 4 went on the knife, and a sample of Type 2 went on the rolling pin.
As a result, when the blood type testing group wanted to blood test everyone in the classroom, I had them send the students to me one at a time and I handed each student a small cup with a random sample of one of the Blood Types, except for the two students whose blood were on in the crime scene. With 16 students, we ended up with three or four students with each blood type.
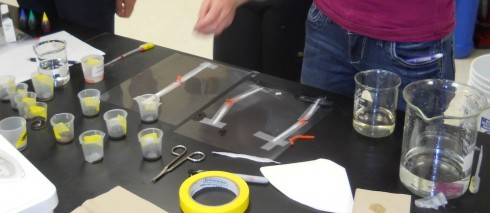
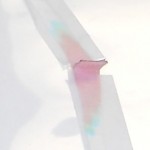
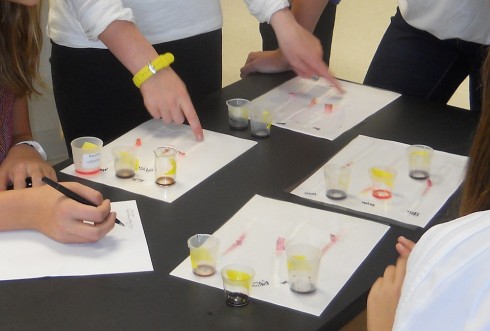
The students took their blood samples back to the testers who I’d shown a simple chromatography method. They’d cut out thin (< 1cm wide) strips of coffee filter, put a drop of the blood sample on the middle of the strip, and then taped it down to a sheet of clear overhead transparency film. Although any clear glass or plastic would have worked, the transparency film was nice because you could tape five coffee filter strips to one sheet and then loosely roll the sheet up and put one end into a partially filled beaker of water (see Figure above). Capillary action sucked the water up the strips and smeared out the blood samples so you could see its constituent colors. The method worked pretty well, and the students were able to compare the blood at the crime scene to their test results to identify the small group of people who shared the suspect blood types. It was a lot of work, and it would have taken much longer if the group doing it were not amazingly organized and worked extremely well together.
This method is more akin to blood type testing than DNA testing, which I’d have liked to simulate better, however I did not have the time to work on my chromatography method.
It took a little coaxing to get them to the right conclusion in the end, but I and the student had a lot of fun solving the mystery.
Outdoor cats are probably the largest anthropogenic reason for declining bird populations in North America: it’s estimated that they kill a couple billion each year. You can see the cats in action at the National Geographic and the University of Georgia’s Kitty Cams, which attaches small cameras to outdoor cats.
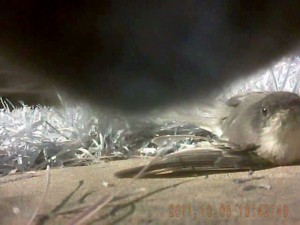
My biology class is wrapping up our section on ecology. We started by putting together a food-web of all the plants and animals that we’ve found on campus. Now we’re trying to fill in some of the missing organisms, including cats.