At higher magnifications, microscope lenses will only be able to focus on layers within your specimen. You could take a series of images with different focal planes and stack them together, but without a camera mounted on the microscope, getting images to line up right for focus stacking is quite the challenge. The alternative is focusing in and out until you get a feeling for the three dimensional shape of the specimen.
Since I don’t have a camera mount I’ve created an html5/javascript page that simulates focusing in and out of a sample. It’s embedded above, but a direct link is here.
You can use the knobs to the right of the image to adjust the focal plane. You should be able to see hairs on the top and bottom of the transparent wing.
Microscope slide with fly antenna mounted in nail polish.
I’m really beginning to like the idea of giving students the option of putting together their own, individual, slide collections. So, to practice mounting slides with nail polish, I tried to make a start on my own permanent slide collection. It was partially successful.
Procedure
The subject fly. 30x magnification under the stereoscope.
To start, I found a dead fly near the window. It had been dead for a while and so I assumed it was pretty well dried. Carefully, under the stereoscope, I pulled off the appendages — antenna, wings, legs — for mounting. The fly itself was too big to mount, as were the major body parts, but as I was dismembering it the head, thorax, and abdomen came apart. In fact, the head broke into a few pieces as well, including one of the compound eyes, which I thought would be worth trying to mount even though it was somewhat thicker than the other parts.
I started with the antenna. The procedure I tried to follow is simple. Place a small drop of nail polish on the slide and then put the sample on the nail polish drop. Next place a drop of nail polish on the coverslip, flip it upside down and put the two drops together. The weight of the coverslip will flatten nail polish out into a thin layer. You then put small drops of nail polish at each corner of the coverslip. The polish will seep in between the slide an coverslip by capillary action until the entire underside of the slip is saturated.
Since the antenna was so small, I actually broke a cover slip into quarters to make them, I hoped, easier to manage. The slides were then left to dry overnight.
The initial results were, as I have mentioned, mixed. Bubbles encroached on a number of the specimens, particularly the thicker ones, like the rear legs, but for the most part, the specimens were clearly visible, with a minimum of obstructions to the view.
Antenna
Antenna at 40x magnification:
Fly’s antenna at 40x magnification. Mounted on slide in nail polish: Strengthener, Nail Hardener. Notice the air bubble encroaching on the sample from the bottom.
Antenna at 100x magnification:
Fly antenna tip at 100x.
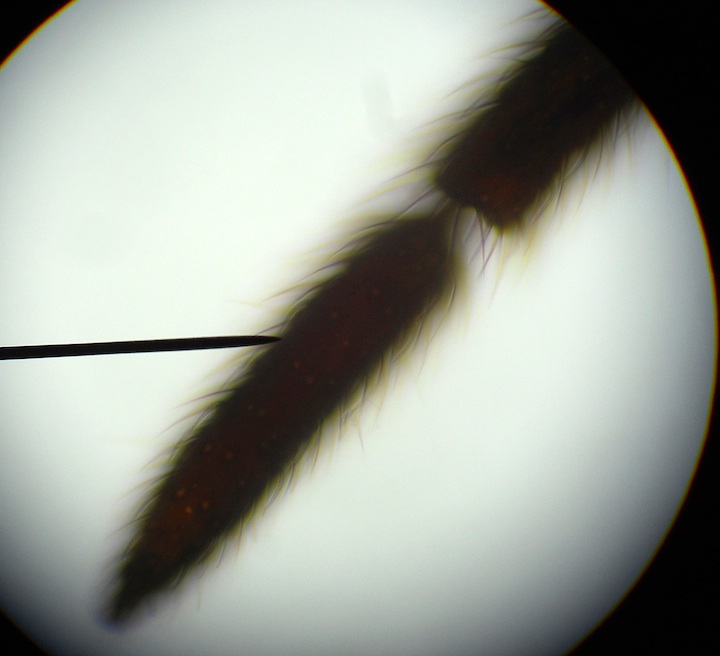
Antenna tip at 400x:
Fly antenna tip at 400x.
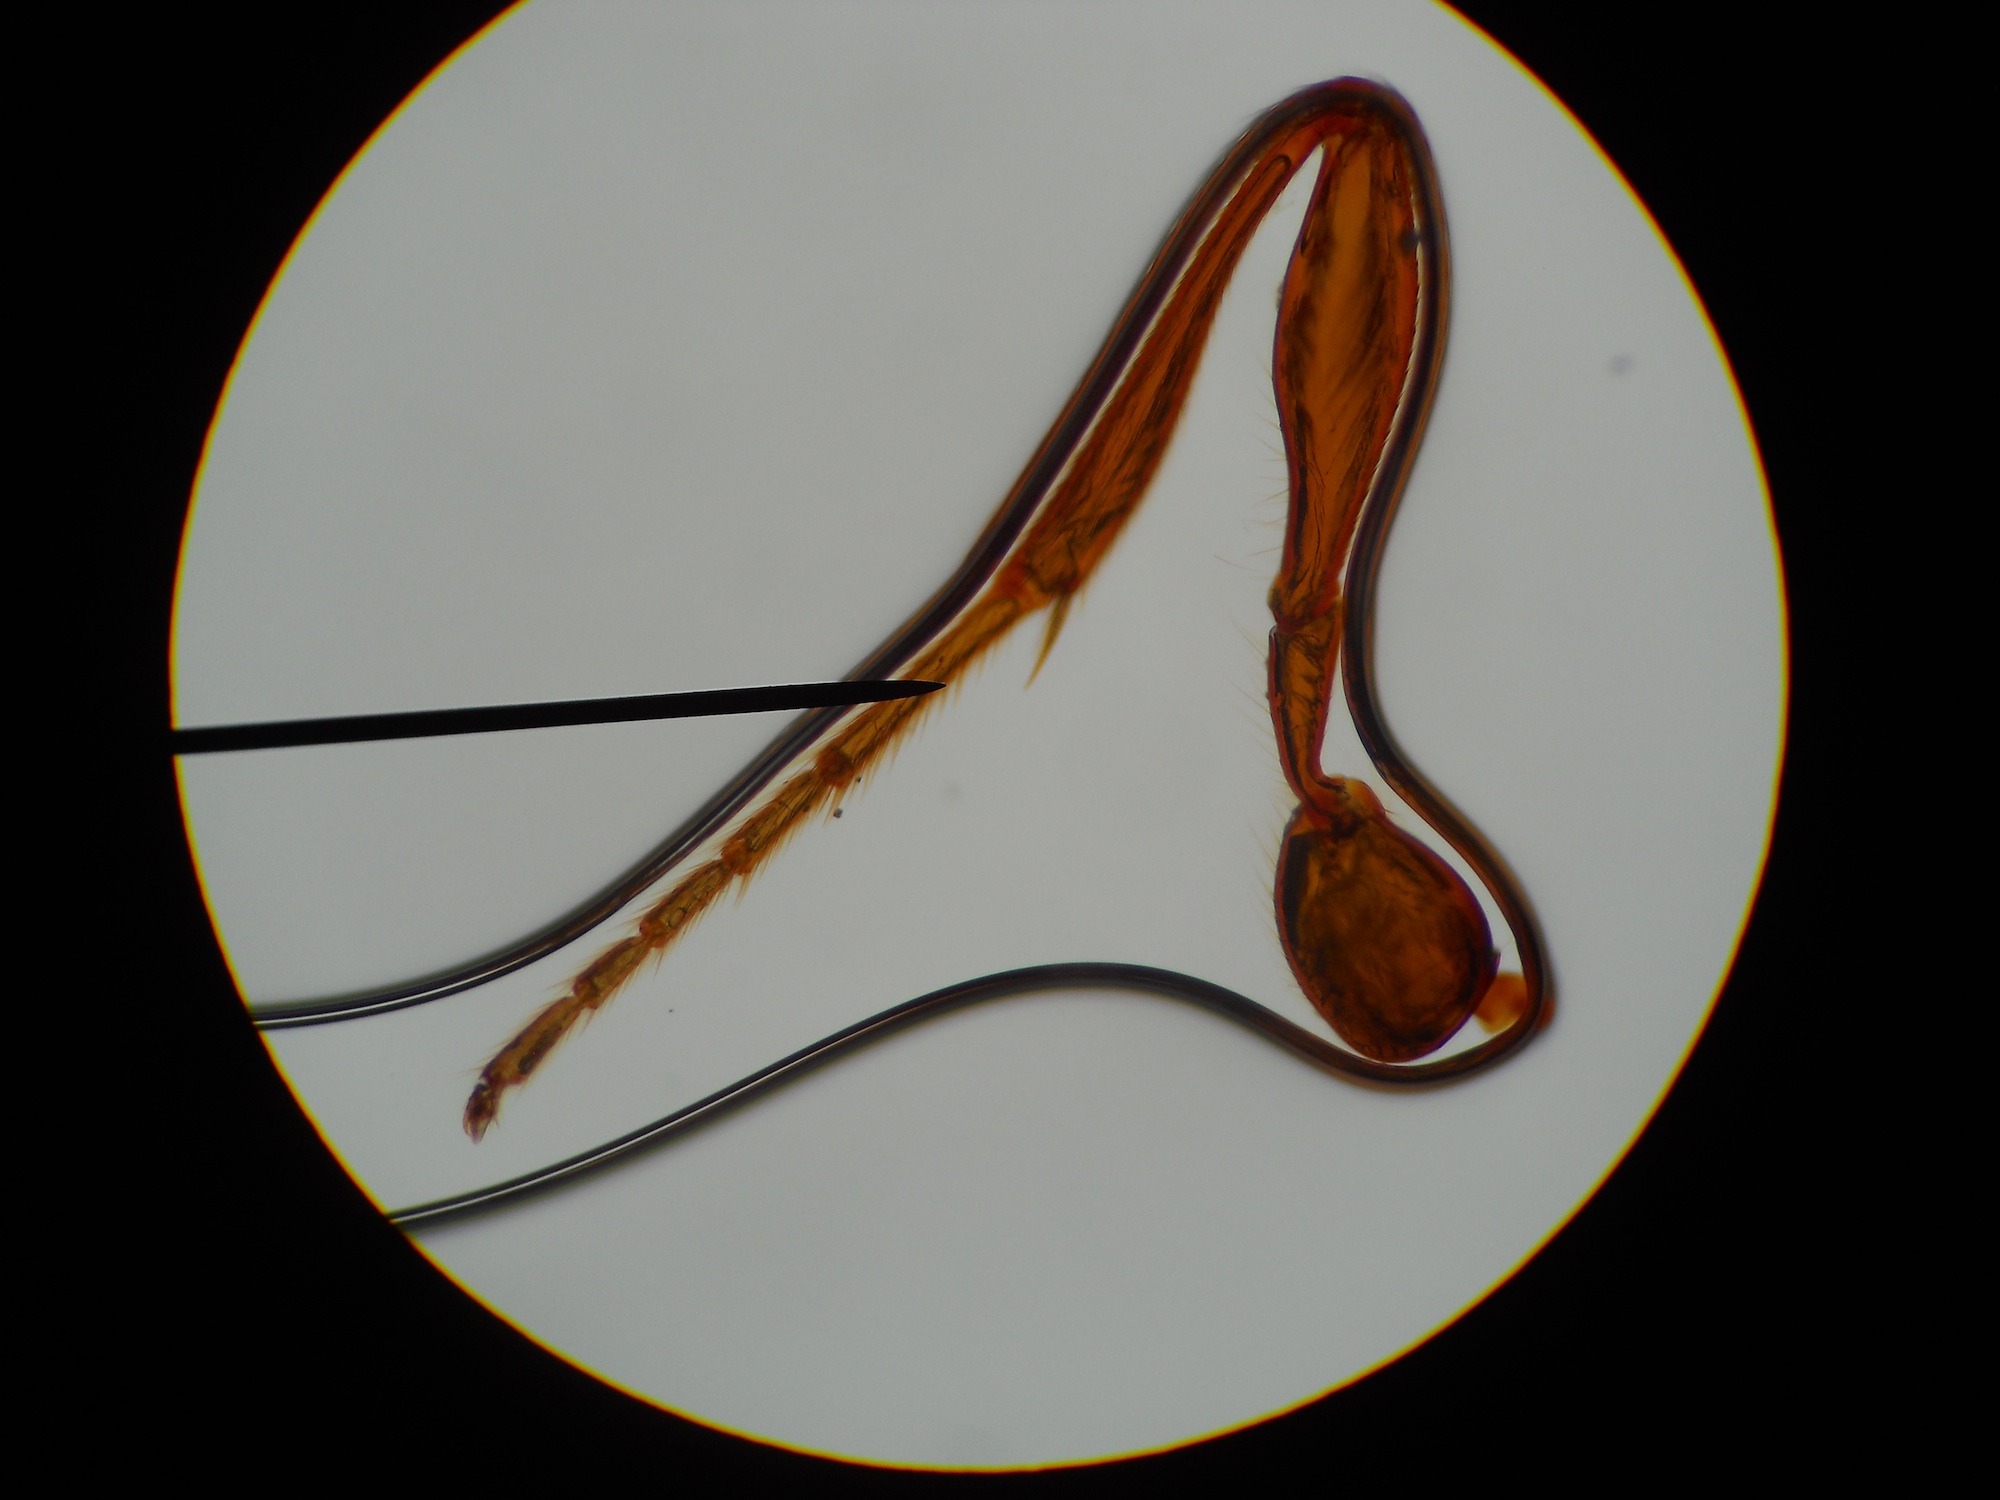
Legs
Of the four leg slides I made, three had serious problems with bubbles, and the one that did not was missing the end segment of the leg. Part of the problem with the bubbles may have been that it took me a while to get the legs onto the nail polish drops, which allowed the drops time to evaporate. This could have resulted in a more viscous drop by the time I added the coverslips, which would not have lain down quite as flat, leaving space for the bubbles to come in. Another possibility is that the thickness of the legs made the glass coverslip tip up toward one side.
Fly front leg:
Fly front leg 100x.
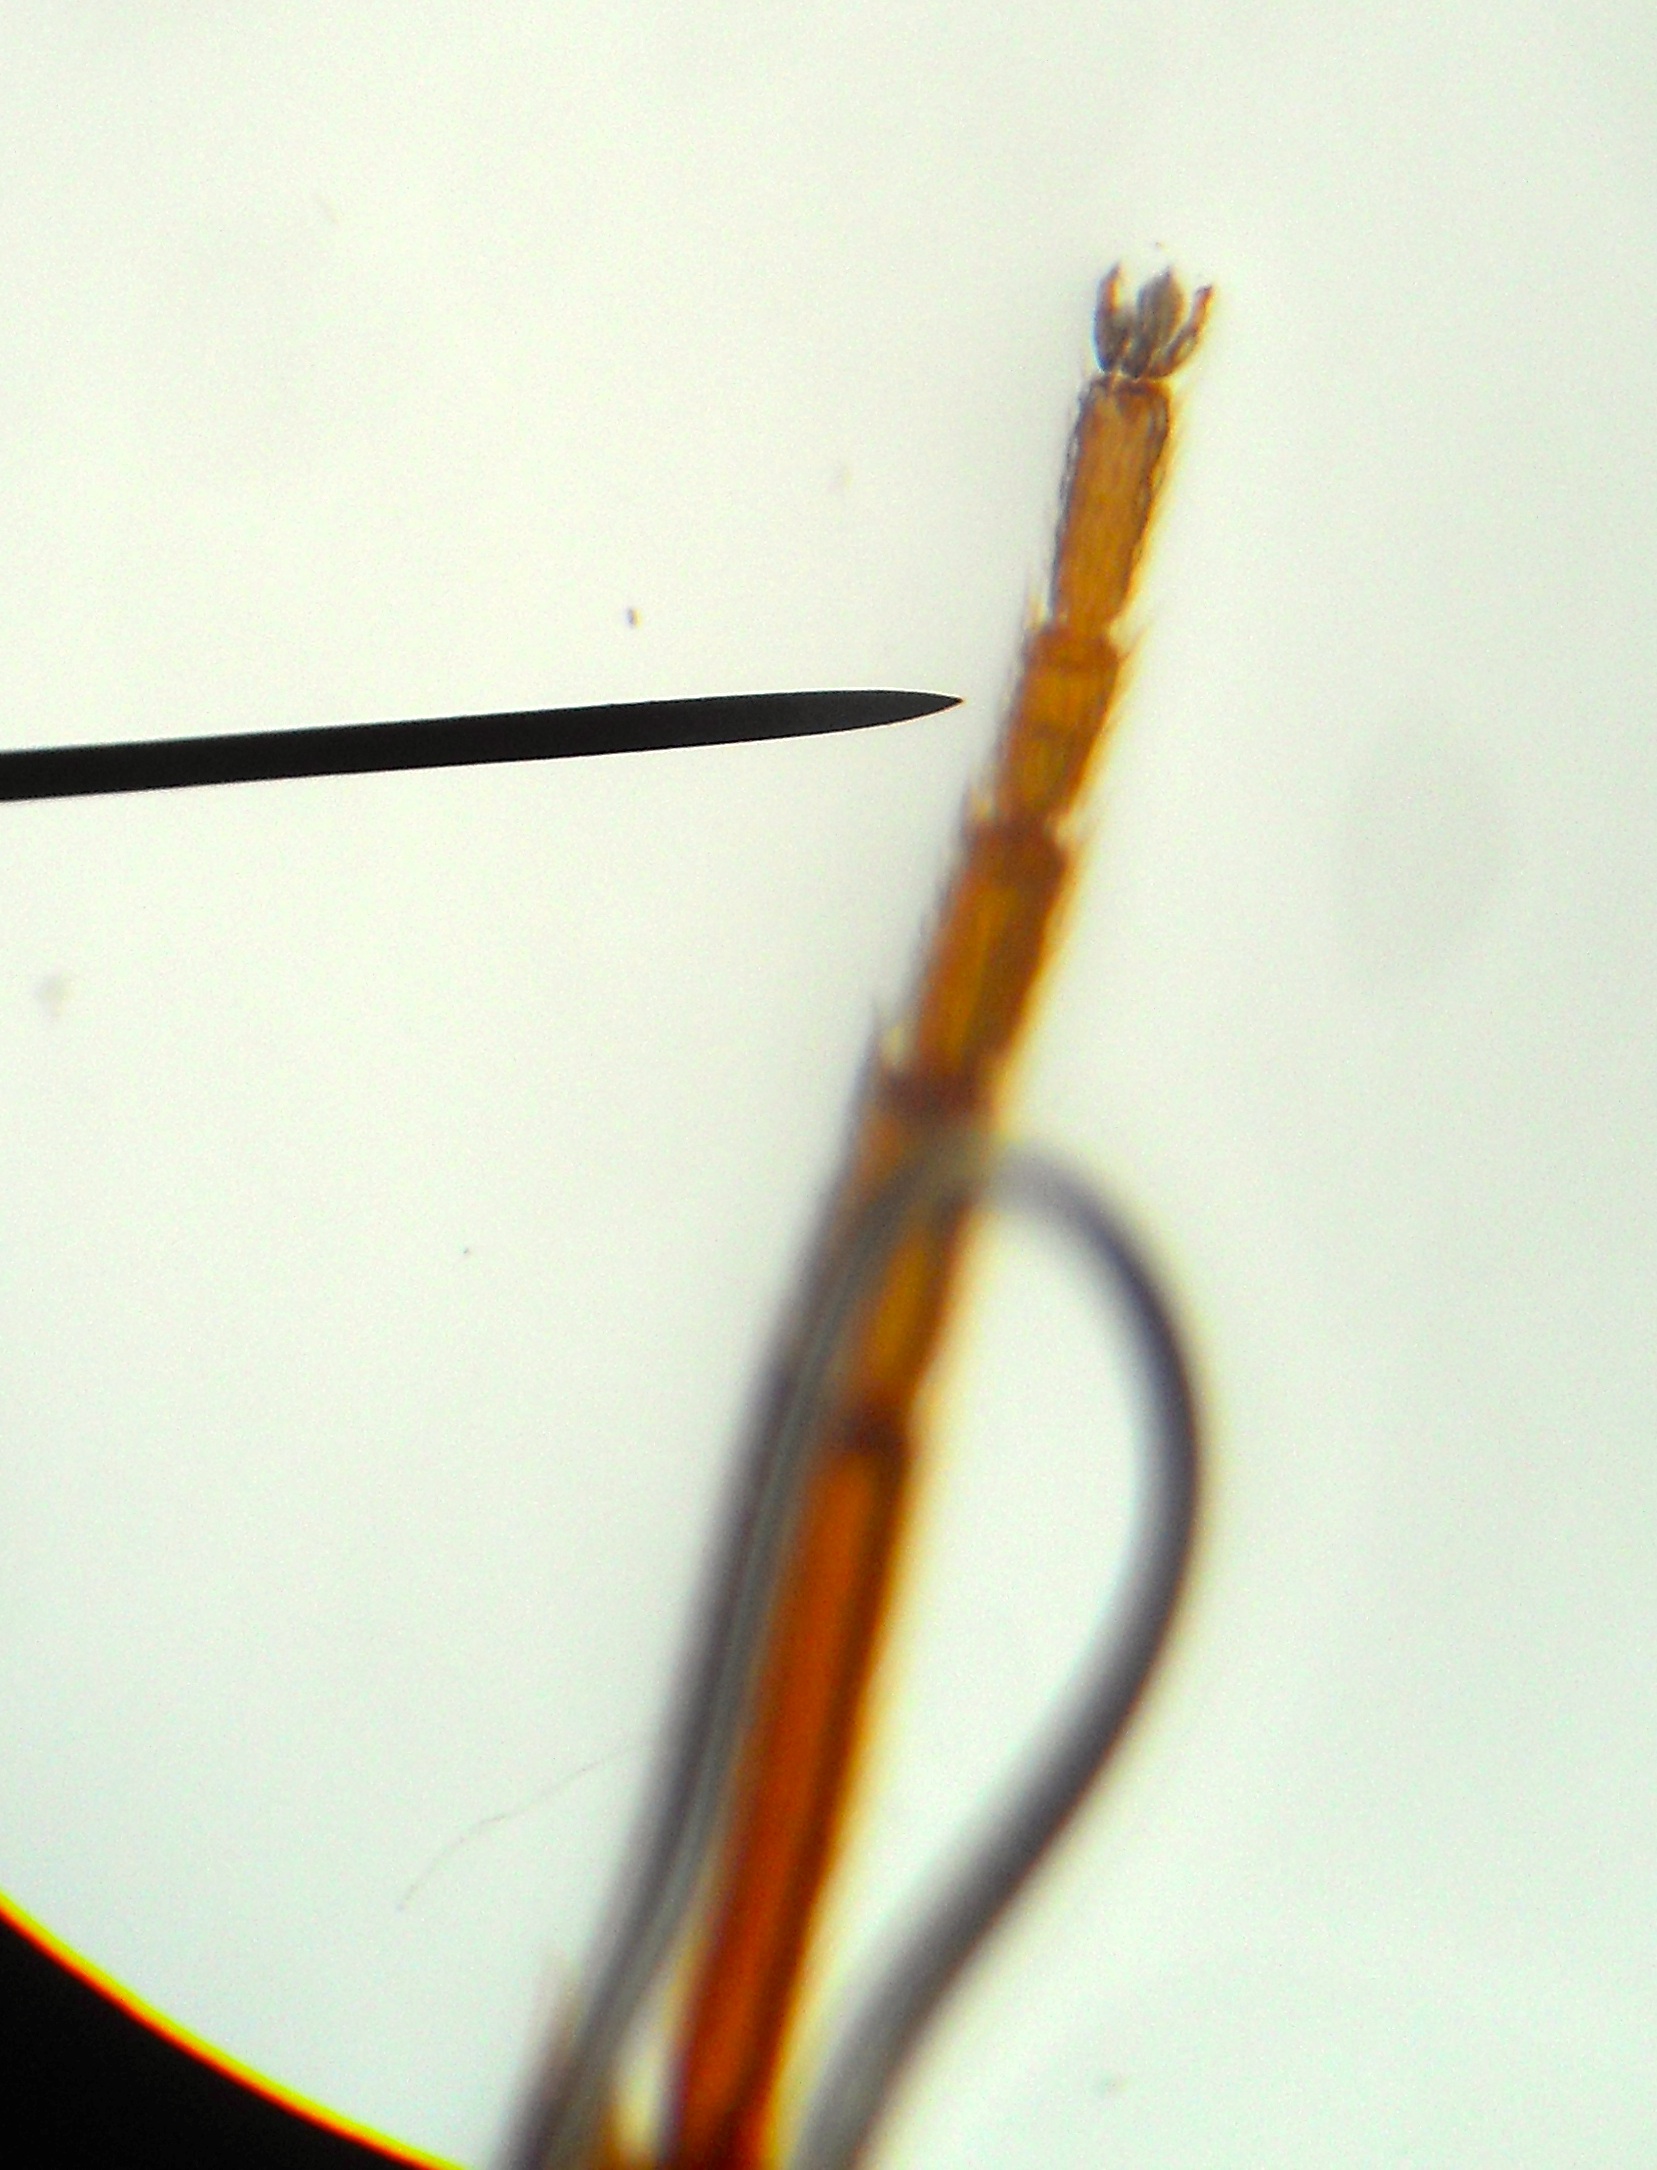
Middle leg: Fly’s middle leg. 100x magnification.
The tip of the middle leg is inside the nail polish. Fly middle leg’s tip. 400x.
Rear leg: The tip of the rear leg is in air pocket while the rest is not. 100x magnification.
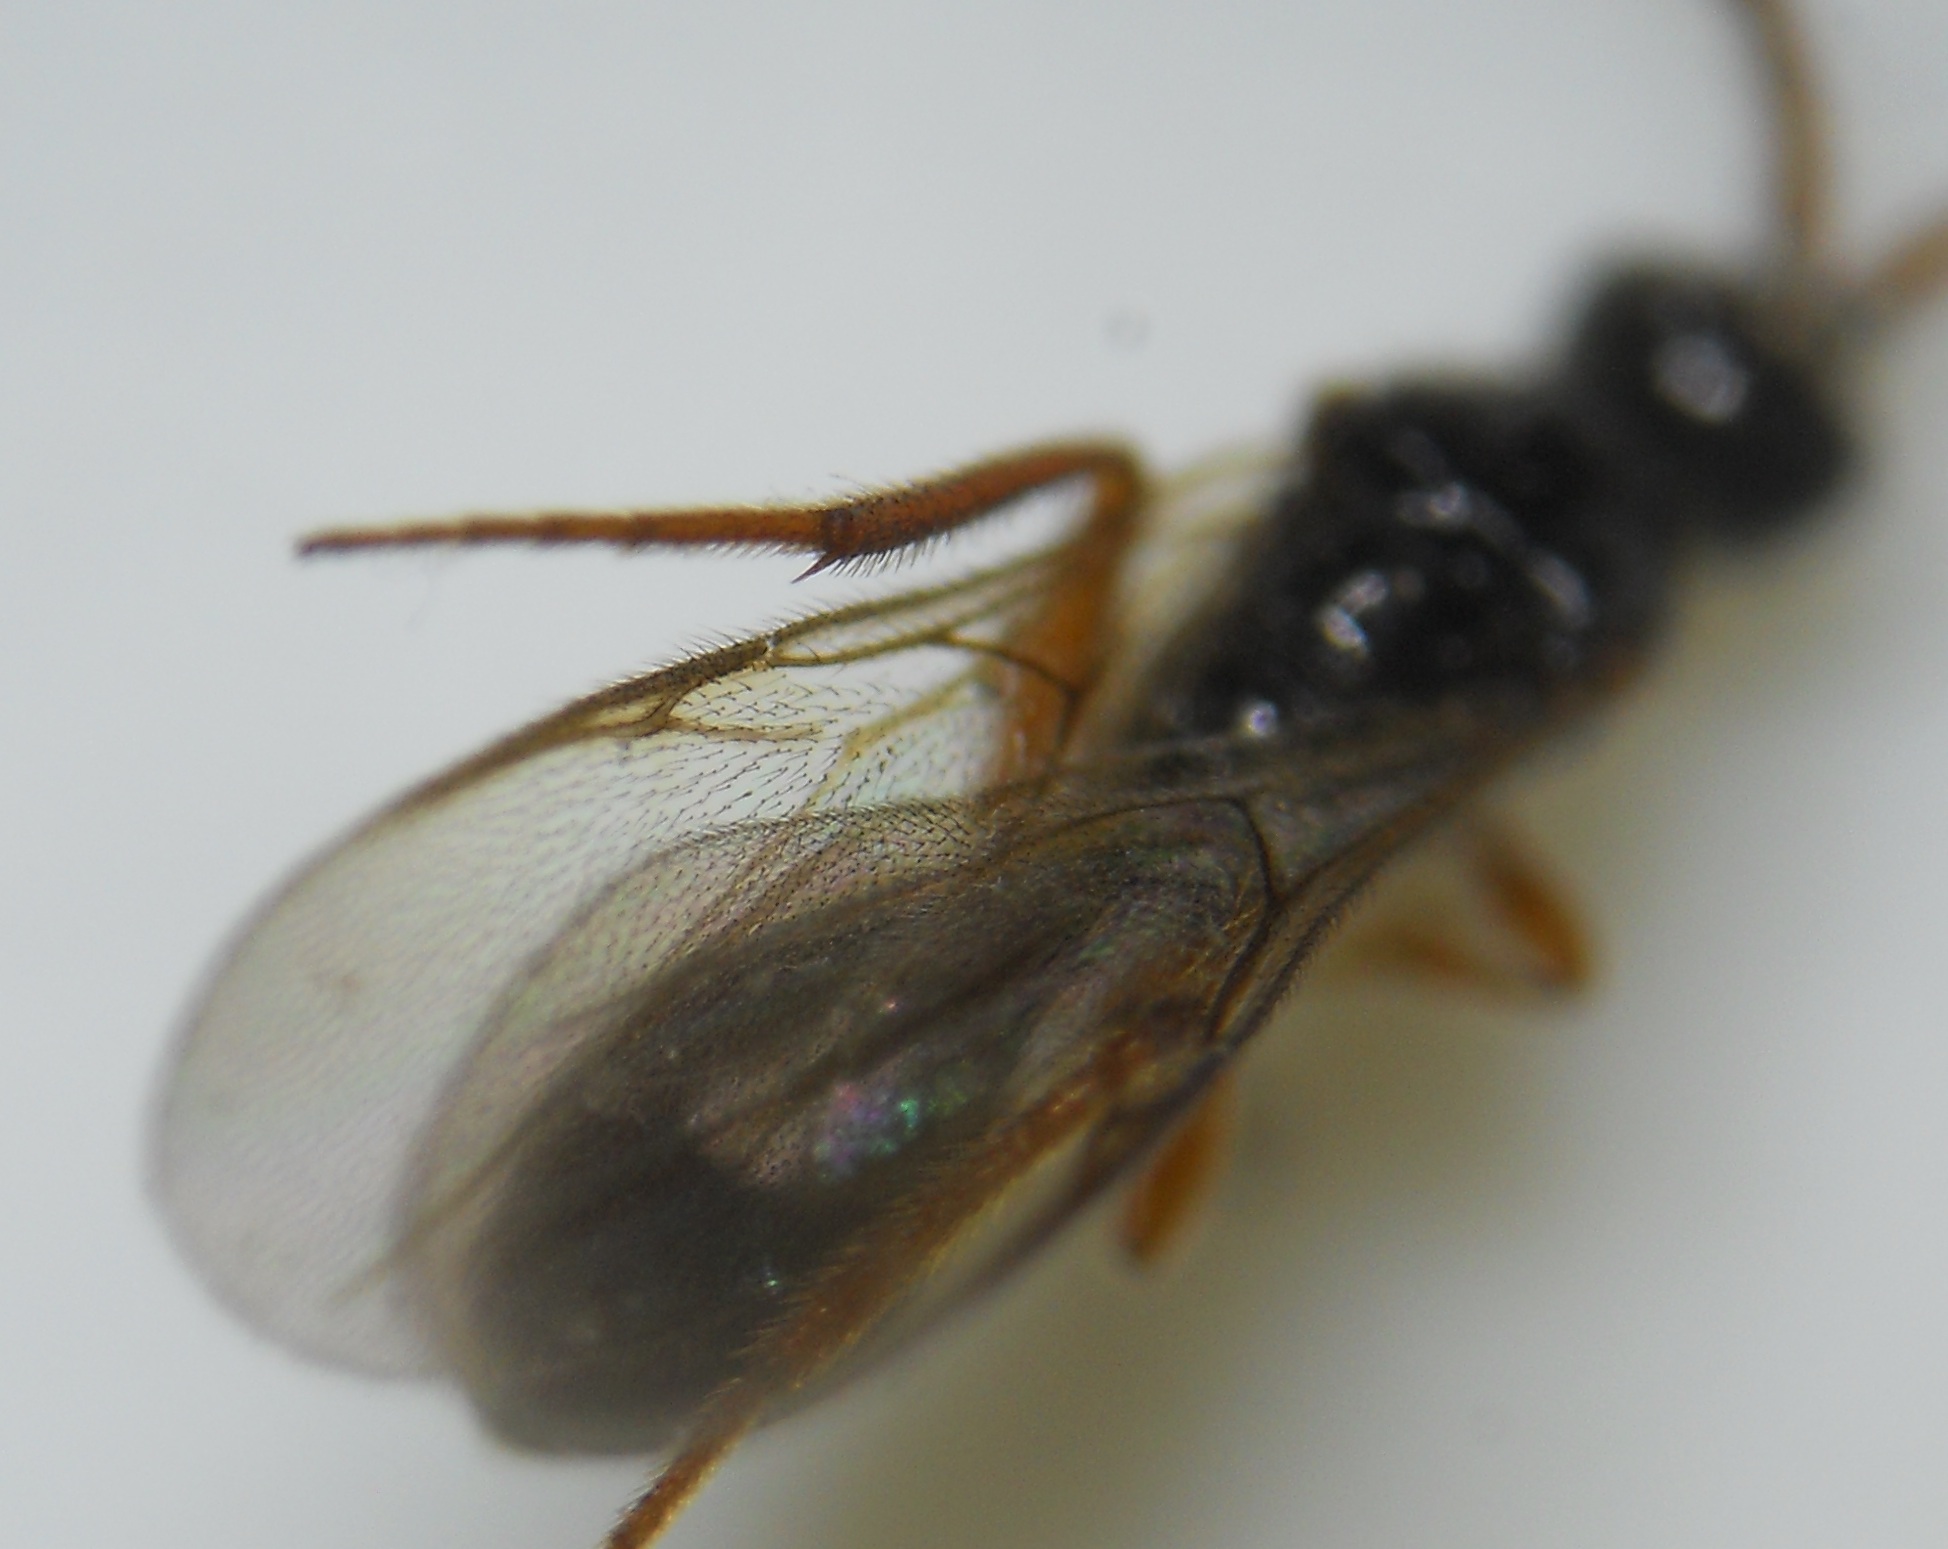
Rear Wing
The last appendages I mounted were the two small, rear wings. They were very thin and I placed them both under the same full sized slide. It worked quite well.
Rear wing at 40x:
Fly rear wing at 40x.
Rear wing at 100x:
Fly rear wing at 100x. Click and zoom for more detail.
Close up of a fly’s smaller, rear wing 1 hour after being mounted in nail polish. Image taken using my compound microscope at 100x magnification.
Now that I have a few new microscopes, I’d like students to be able to make their own, permanent, slide collections. Walter Dioni has some superbly detailed pages on how to mount samples for microscopy. I could not find a good, up-front, index, so for the record, here are his pages on mounting slides:
Most of these methods use chemicals that are safe to work with (all are non-toxic), but using nail polish appears to be the easiest — it’s a mount and a sealant in one — so that’s the one I tried first, using a bottle of Strengthener, Nail Hardener. The Karo syrup, and glycerin methods also seem reasonably easy, and it may preserve some of the organic colors better so I may try those later when I have the time.
The fly’s rear wing one hour after being mounted in nail polish. Image taken using my compound microscope — 100x magnification.
Inside Chris Gayomali’s interesting article on, “How typeface influences the way we read and think” is a bit about an undergraduate student who found that the font he used affected the grades he got on his papers. Turns out that some fonts, Georgia for example, are better than others.
Grades vs. Fonts. Image from Gayomali, 2013.
P.S. As the article points out: don’t use Comic Sans.
While walking through the woods to recover the skeleton the other day, I picked up, or rather was boarded by, a few ticks. So when I got back to school I plopped them under the stereoscopes to try to identify them.
Lone star tick (Amblyomma americanum) (adult female?) from the woods behind Maggie’s house (Missouri). Magnification ~20x; dorsal view.
They were both lone star ticks (Amblyomma americanum): one adult and one juvenile.
Lone star tick nymph (magnification 45x; dorsal view).
Under the microscope, they were quite pretty with their very interesting red and black patterns.
Much greater detail can be found in the Tick Gross Anatomy Ontology, but the best reference I’ve found so far is the USDA’s Handbook (485): Ticks of Veterinary Importance (pdf). There you can find great anatomy diagrams and interesting biological and ecological information. One curious piece of information is that ticks can survive a long time (three years in one case) without a blood meal. It also includes some excellent diagrams:
Diagrams of lone star tick external anatomy from USDA Handbook 485: Ticks of Veterinary Importance.External anatomy of hard bodied ticks. From the USDA Handbook 485: Ticks of Veterinary Importance.
Raccoon skeleton and bits of fur found in the woods behind Ms. Eisenberger’s house. Photo by Micaela Mason.
Just out of the blue, I got a text from Maggie (Eisneberger) yesterday saying, “Wanna see something awesome. Bring the kids.” Well I didn’t have the kids with me, but I went over anyway. She and her niece had found an almost complete skeleton in the woods.
Since I’ll be teaching biology next year, I’ve been on the lookout for a good skeleton. The last time I had one was when my middle school class found a raccoon skeleton on an immersion trip. They brought it back to school, cleaned it up, and reassembled it on a poster board. It was an awesome learning experience.
This skeleton is even more complete. Even some of the cartilage between the vertebrae was dried out and preserved. It was a bit puzzling that the whole skeleton seemed to be there, and had not been too disturbed by scavengers even though, based on the state of decay, it had been there for quite a while.
We collected as much as we could, although some of the smaller bones in the hands and feet are quite tiny.
Maggie lent me her book on the animals of Missouri so I could try to identify it based on the teeth. However, later yesterday evening I got an email from her. She’d been talking to her brother, who’d, back in March, shot a raccoon that was going after his chickens. He’d left the body out in the woods.
Well now someone/s will have a nice little project in the fall.
There’s a tradeoff involved when you try to focus on things under a microscope. The higher the magnification the less you’re able to focus on at a time. Images 1, 2, and 3 in Figure 1 show a catalpa pollen grain under 400x magnification. In each image the microscope is focused slightly differently to bring a different level of the pollen grain into focus.
Three images (image 1, image 2, and image 3) are stacked together to create a final, focus-stacked image that is in better focus (has a larger depth of field). The images are of catalpa pollen grains at 400x magnification, stacked using Hugin Tools.
I tried two methods for doing the image stacking. The first was with the command-line programs in Hugin Tools, while the second was by hand using GIMP.
Hugin Tools
The method for focus stacking with Hugin Tools is described here by Patrick David and here by Edu Perez. It requires two commands, one to align the images, because focus-stacking requires very well aligned images, and another to stack them together.
Align the images using align_image_stack:
align_image_stack -m -a als_ catalpa-c[123].tif
This command takes three image files (catalpa-c1.tif, catalpa-c2.tif, and catalpa-c3.tif) and produces three aligned images prefixed with “als_” (als_0000.tif, als_0001.tif, and als_0002.tif).
The images are stacked together using enfuse (details here).
which produces an output file called catalpa-pollen-out-b.tif.
Focus-stacked image of a catalpa pollen grain using Hugin Tools. (Magnification 400x).
GIMP
Focus-stacking with GIMP requires opening all the files as layers and adding transparency masks to the layers to leave behind just the areas that are in focus. The general method is shown in this GIMP tutorial.
Aligning images by hand and then selecting the areas to cut out can be quite tedious.
400x magnified, catalpa, pollen grain that was focus-stacked by hand with GIMP.
Notes
Two key things to keep in mind are:
the better aligned images are to start with the easier they are to focus-stack. Aligning images is tedious even with align_focus_stack;
the quality of the camera matters a lot. The images above were taken with a Moticam 2 megapixel camera attached to the microscope to reduce misalignment. The image below, however, was taken with a point-and-click, 6 megapixel camera down the eyepiece. You can see a lot more detail.
Catalpa pollen grain taken with a higher resolution camera.Higher resolution, focus-stacked image of catapa pollen grain. (magnification 400x)