Area of a Triangle

The area of a triangle is one half of the length of the base times the height:

 A = \frac{1}{2} \cdot b \cdot h

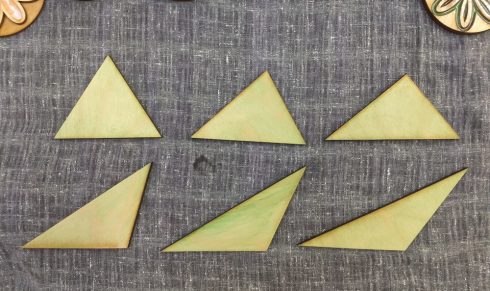
Six triangles with the same area.

For my Geometry class, I made this set of six triangles to show that as long as the base and height are the same, all these triangles will have the same area.

Each student measured a triangle and found its area, which is a useful exercise in itself to get them to transfer the ideas and equations out of the book, and then the all compared their results. Their calculated areas were all within 5% of the actual value, which was not unexpected given that some small measurement error was inevitable.

Since you can use any side as the base, not everyone measured the equivalent side and height, so I had to demonstrate that similarity as I summed up the exercise.

For the next time I use this set, I’ve marked the one side that is 10 cm on each triangle for students to use as the base.
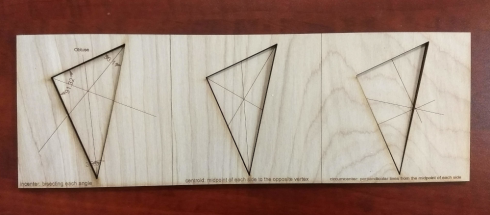
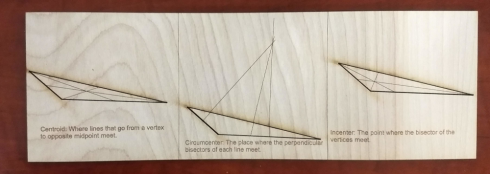
The Center of a Triangle

Laser-cut triangles showing the incenter, centroid, and circumcenter of an obtuse (slightly) triangle.

There are a few different ways of looking for the center of a triangle. My geometry students did the section in the textbook, then made cutouts on the laser.

They got some practice designing the triangles using a vector graphics program (Corel Draw). This did require an explanation of the difference between vector and raster images, since the majority of the class was unfamiliar with the concept. Raster images are made up of a grid of pixels, while vector images have instructions for where points go and where to draw lines. Vector images are great for diagrams like these because the files can be much smaller, the lines are more precise, and you can scale them up or down without losing any of that precision.

It turned out to be very useful to have them create the shapes and intersecting lines on the computer. It was pretty easy for them to precicely measure angles and find midpoints, so they could find the center points with much more accuracy than they could on just paper.

Having the final triangle cut-outs were also interesting. The centroid–the point of intersection of lines going from the vertices to their opposite side–is the center of gravity of the triangle, which means that, if you’re careful, you can use that point to balance the cut-out triangle on the tip of a pencil.

Basic 3d Printing with OpenScad

In Geometry we’re using OpenScad to create basic, 3d geometric solids and printing them to get to know the 3d printers.

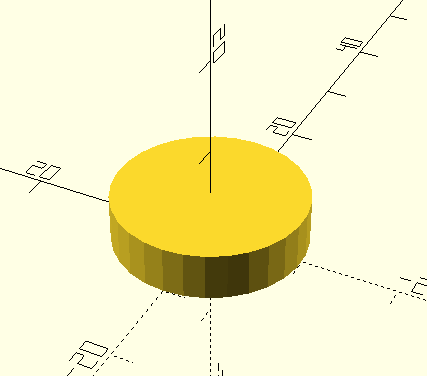
A basic example is creating a cylinder with a radius of 10 mm and a height of 5 mm. The code in OpenScad looks like this (OpenScad Cheat Sheet):

cylinder(r=10, h=5);

and it looks like:

A simple cylinder in OpenScad

After we Render the object, we export it as a 3d .stl file. This we can load into the 3d printer software.

  • For our smaller, Prusa, printer, the program is PrusaSlicer. You’ll need to slice the object and then export the G-code. The program that actually prints the object is Pronterface.
  • For the larger Lulzbot printer, we use the Cura program and can print directly from the software once we’ve sliced the model.

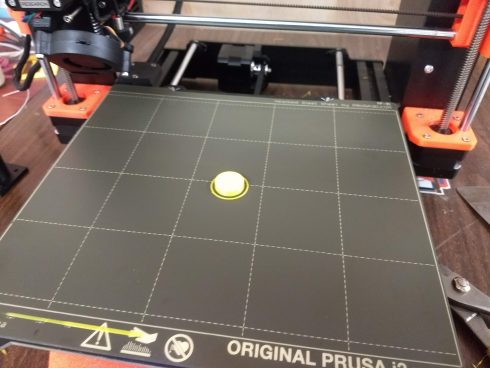
The end result, on the Prusa printer looks like this:

Go Board

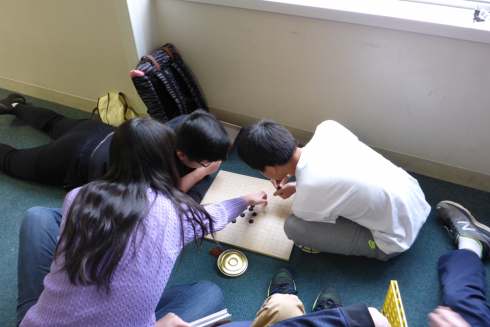
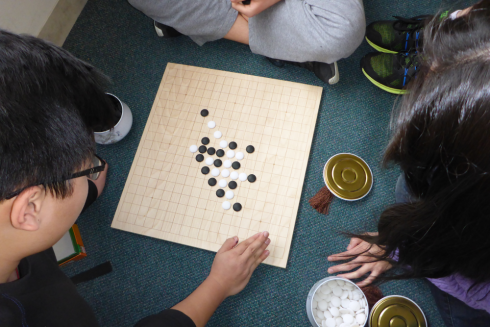
Students playing Go.

I recently discovered that, although they may look it, Go boards are not necessarily square. They’re slightly longer in one dimension so that the board looks more square to the players on both sides.

A student asked me to make one for him–he’d ordered a set recently and didn’t like the board it came with–so, I wrote a small python program to generate the Go grid, then lasered it onto a nice piece of sanded plywood.

It worked out quite well. Apparently the plywood makes just the right “thunk” sound when you put down the pieces.

Go board in use.
Go board in use.

The script to generate the grid.
go_board_2.py

from visual import *
from svgInator_3 import *

length = 424.2  #mm
width = 454.5   #mm
nLines = 19
dx = length/(nLines-1)
dy = width/(nLines-1)

print "Lenght = ", length
print "dx = ", dx

f = svgInator("go_board.svg")

lineStyle = {"stroke": "#000", "stroke-width": "2pt",}

#lines
for i in range(nLines):
    x = i * dx
    y = i * dy
    #vertical
    f.line(pos=[vector(x,0), vector(x,width)], style=lineStyle)
    #horizontal
    f.line(pos=[vector(0,y), vector(length,y)], style=lineStyle)

#circles
grid_pos = [(3,3), (3,9), (3,15),
            (9,3), (9,9), (9,15),
            (15,3), (15,9), (15,15)]

for i in grid_pos:
    (x, y) = (i[0]*dx, i[1]*dy)
    f.circle(pos=vector(x,y), radius=2.0,
             style={"stroke": "#000", "fill":"#000"})

#bounding box
f.rect(dim=vector(length,width), style=lineStyle)

f.close()

Now I just have to learn to play.

Liquid Chessboard

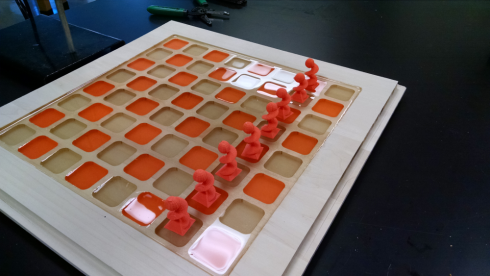
Chessboard under regular (day) light.

I used the computer controlled (CNC) Shopbot machine at the Techshop to drill out 64 square pockets in the shape of a chessboard. One of my students (Kathryn) designed and printed the pieces as part of an extra credit project for her Geometry class.

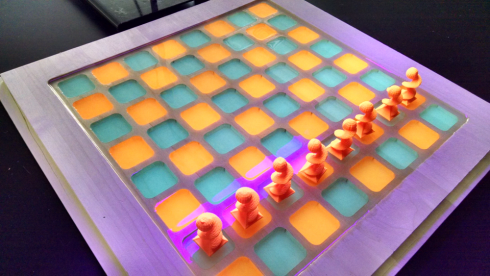
The pockets were then filled with a clear eqoxy to give a liquid effect. However, I mixed in two colors of pigmented powder to make the checkerboard. The powder was uv reactive so it fluoresces under black (ultra-violet) light.

Under a black (ultra violet) light bulb.

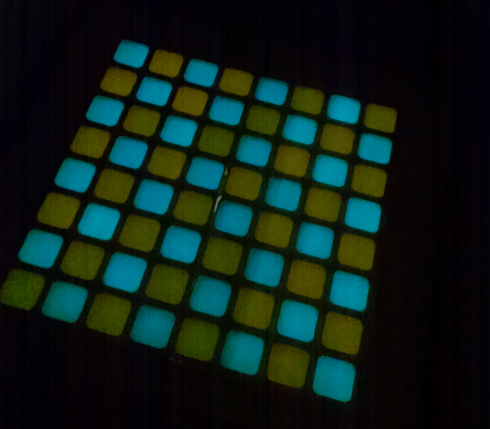
The powder also glows in the dark.

Glowing in the dark.

Toothpick Shapes’ Sequences

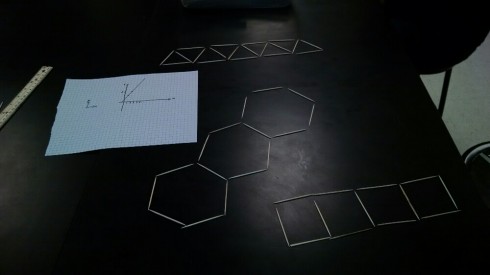
Toothpick shape sequences.

Using a sequence of connected shapes to introduce algebra and graphing to pre-Algebra students.

Make a geometric shape–a square perhaps–out of toothpicks. Count the sides–4 for a square. Now add another square, attached to the first. You should now have 7 toothpicks. Keep adding shapes in a line and counting toothpicks. Now you can:

  • make a table of shapes versus toothpicks,
  • write the sequence as an algebraic expression
  • graph the number of shapes versus the number of toothpicks (it should be a straight line),
  • figure out that the increment of the sequence–3 for a square–is the slope of the line.
  • show that the intercept of the line is when there are zero shapes.

Then I had my students set up a spreadsheet where they could enter the number of shapes and it would give the number of toothpicks needed. Writing a small program to do the same works is the next step.

Introducing Limits (Calculus) with a Guitar

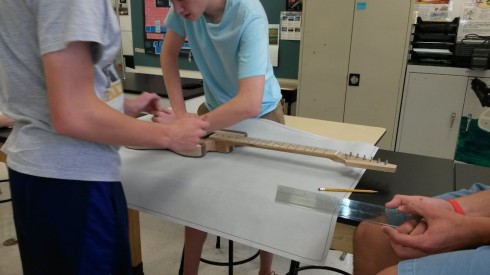
Creating the outline of a guitar.

One of the assigned tasks from last summer’s guitar building workshop was to create a few modules for use in class. I worked on an assignment that has students calculate the volume of a guitar body using trapezoidal approximation methods that can be a bridge between pre-calculus and calculus.

The first draft of this module is here: volume-activity-v01.pdf (the LaTeX file is volume-activity-v01.tex.zip ). It has made contact with the enemy students and the results have so far been very good.

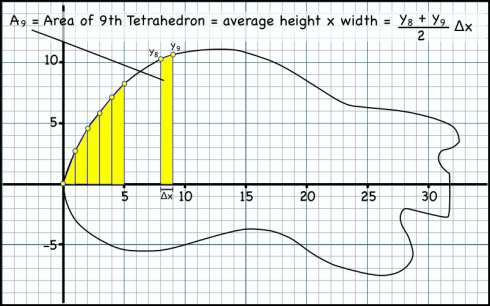
A method for finding the area of a guitar body by fitting trapezoids.

There were two things that I need to add for next time:

  1. How to find the area of a trapezoid: I should have some more detail about how I came up with the formula for calculating the area of each trapezoid (see the figure above). I multiply the average of the heights of the two sides of the trapezoid by the width of the base to get the area. Students tend to want to find the area of the lower rectangle, then add the area of the upper triangle. Their method gives the same answer for area, but results in a more complicated equation that takes more effort to generalize.
  2. Have them also find the slope of a tangent line to the outline of the guitar at a certain point. This assignment is intended to lead students up to the concept of limits with the idea that if you make the trapezoids thinner you’ll get less error in your calculation of the total area. So, as the width of the trapezoid approaches zero, you should get the exact area (with no error). The seemed to get that fairly well, however, when I get into the calculus, I actually first use limits to show them how to find derivatives of functions before I talk about finding areas under curves. As a result, I did ask the students to find the slope at a point on their guitar outline (I randomly chose a point from their outlines), and was very glad I did so. This should be included in the module.

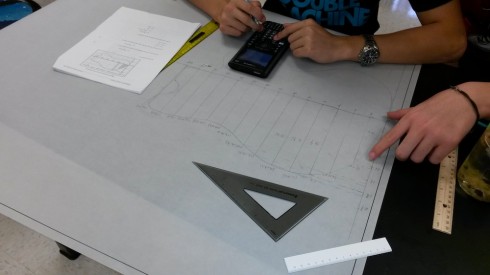
Students drawing trapezoids to fit the outline of the guitar, and calculating their areas.

Finally, in addition, I also showed them how to quickly calculate the trapezoid areas once they’d entered the coordinates of each point on their graphs into Excel. I did not test them on this afterward, so I’m not sure how much of it they absorbed.