The Center of a Triangle

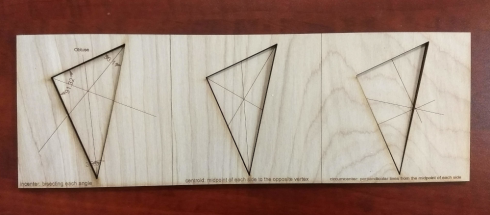
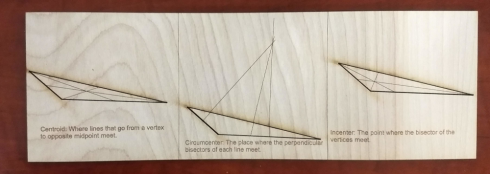
Laser-cut triangles showing the incenter, centroid, and circumcenter of an obtuse (slightly) triangle.

There are a few different ways of looking for the center of a triangle. My geometry students did the section in the textbook, then made cutouts on the laser.

They got some practice designing the triangles using a vector graphics program (Corel Draw). This did require an explanation of the difference between vector and raster images, since the majority of the class was unfamiliar with the concept. Raster images are made up of a grid of pixels, while vector images have instructions for where points go and where to draw lines. Vector images are great for diagrams like these because the files can be much smaller, the lines are more precise, and you can scale them up or down without losing any of that precision.

It turned out to be very useful to have them create the shapes and intersecting lines on the computer. It was pretty easy for them to precicely measure angles and find midpoints, so they could find the center points with much more accuracy than they could on just paper.

Having the final triangle cut-outs were also interesting. The centroid–the point of intersection of lines going from the vertices to their opposite side–is the center of gravity of the triangle, which means that, if you’re careful, you can use that point to balance the cut-out triangle on the tip of a pencil.
CNCing Aluminum

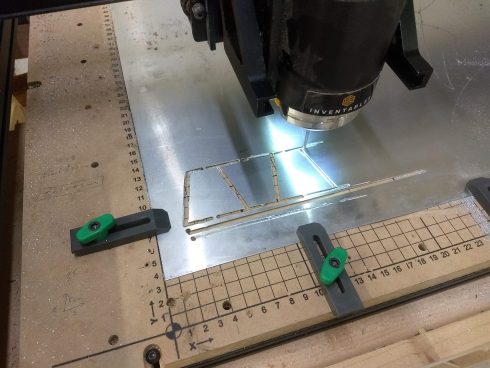
All of a sudden, we have two projects that require us to CNC aluminum.

We managed to make it work with the regular 2-fluted 1/8 inch bit. It cut pretty easily with the settings:

  • Bit: 2-flute straight, 1/8 inch
  • Feed Rate: 254 mm/min
  • Plunge Rate: 76.2 mm/min
  • Depth per Pass: 0.2 mm

Of note: For the very thin material we tried (0.8 mm thick), I found that instead of using regular tabs, where the machine cuts through most of the material and just leaves a thin tab holding the cut-out pieces in place, just leaving gaps in the design seemed a better option. We have a slight tilt to our surfacing table and it was just way too easy to cut through the entire place where the tab should have been.

Culturing Yeast: Baking Bread in Biology

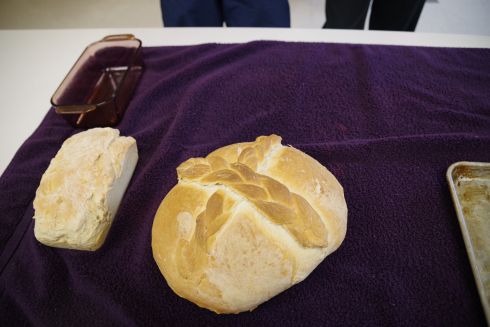
Loves of bread.

Nice and fluffy loaves of bread requires the generation of bubbles in the dough. This is typically done either with an acid-base reaction (baking soda and an acid) or with yeast. Since we’re doing biology, we made some loaves and focused on how the process of bread making require careful management of the environment for the yeast to produce the carbon dioxide gas that makes the bubbles that makes the bread rise.

We followed the bread-baking recipe I’ve used before for the middle school’s student-run business, but had to shorten rising times to get it all done by the end of our class.

Yeast is a single-celled fungi (typically Saccharomyces cerevisiae). Fungi are heterotrophs, so focusing on what the yeast requires for life and metabolic activity requires consideration of:

  • water (moisture)
  • warmth (but not too warm)
  • energy source (short chained carbohydrates to make the energy more easily accessible)

Yeast produces carbon dioxide bubbles via fermentation (Styurf et al., 2017). It could do it through respiration, but in the bread dough there is not a lot of oxygen available (more info on respiration here).

Fermentation looks something like:

C6H12O6 → 2 C2H5OH + 2 CO2

So, the carbohydrate (glucose) is converted to ethanol and carbon dioxide.

As opposed to respiration (which requires oxygen):

C6H12O6 + 6 O2 → 6 H2O + 6 CO2

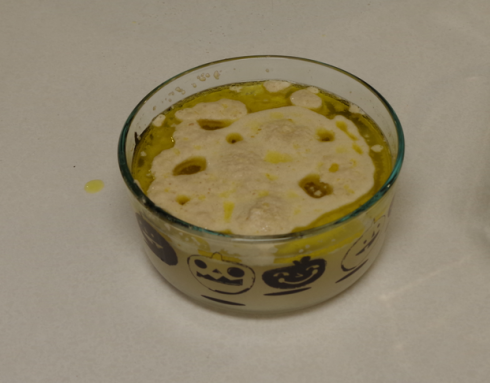
Yeast fermenting/proofing.

Python Setup on Different Operating Systems (2021)

Because students bring their own laptops and devices I’ve had some trouble in the past getting everyone running python with the packages I typically use (mainly vpython). This is a quick reference about how to get up and running on Windows, OSX, and Linux.

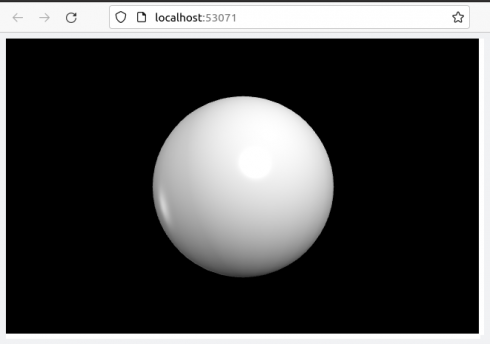
Figure 1. Test sphere (from a Linux installation).

Linux

These should be pretty identical. Ultimately, students may want to learn how to set up virtual environments (e.g. venv), however, for our purposes python3 should already be installed.

Using a Terminal window we’ll install pip:

sudo apt install python3-pip

and use pip to install vpython (which should install numpy as a dependency).

pip3 install vpython

and finally matplotlib:

pip3 install -U matplotlib

Test the installation by running python3 and making a sphere. Run:

python3

In the interpreter enter the two lines:

from vpython import *
sphere()

A new browser tab should pop up with a sphere (Figure 1).

OSX

OSX should be very similar to the Linux installation. You may have to install the latest version of python from https://www.python.org/downloads/, but you can check to see if python3 is installed by typing into a Terminal window:

python3

which will start the interpreter if python3 is installed.

Windows

Download and install the latest version of python (3.9 at the moment) from https://www.python.org/downloads/ . I then followed the instructions on Installing Packages for Windows.

The following commands will be run using the Command Prompt application:

First check that python is installed (and which version it is):

py --version

which should show something like (if it does not then something probably went wrong with the installation):

Python 3.9.7

Now install and upgrade pip (and setuptools and wheel):

py -m pip install --upgrade pip setuptools wheel

Install vpython (which includes numpy)

py -m pip install vpython

And matplotlib:

py -m pip install matplotlib

Test by opening the IDLE App, and at the interpreter prompt typing the two lines:

from vpython import *
sphere()

and you should see Figure 1 pop up in a new browser tab.

Identifying Birds by Sound: BirdNet

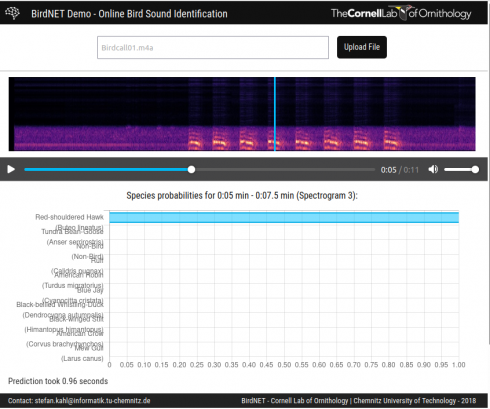
The Cornell Ornithology Lab’s BirdNet lets you upload audio files of bird calls and identifies the birds. I tried it with this file (BirdCall01.m4a) recorded near school, and it identified Red Shouldered Hawks (about 6 seconds in).

Screen capture from sound file analysis on BirdNet’s online demo.

Basic 3d Printing with OpenScad

In Geometry we’re using OpenScad to create basic, 3d geometric solids and printing them to get to know the 3d printers.

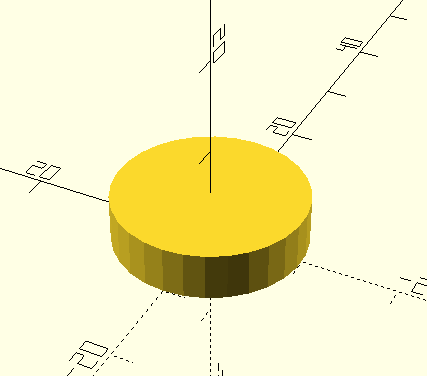
A basic example is creating a cylinder with a radius of 10 mm and a height of 5 mm. The code in OpenScad looks like this (OpenScad Cheat Sheet):

cylinder(r=10, h=5);

and it looks like:

A simple cylinder in OpenScad

After we Render the object, we export it as a 3d .stl file. This we can load into the 3d printer software.

  • For our smaller, Prusa, printer, the program is PrusaSlicer. You’ll need to slice the object and then export the G-code. The program that actually prints the object is Pronterface.
  • For the larger Lulzbot printer, we use the Cura program and can print directly from the software once we’ve sliced the model.

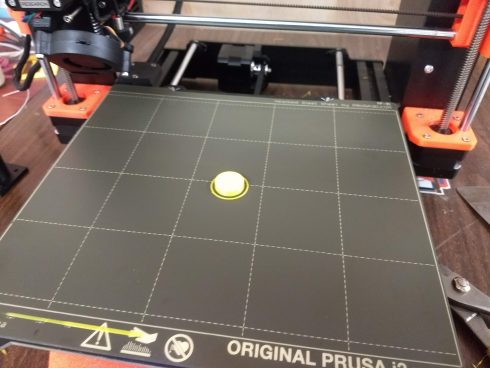
The end result, on the Prusa printer looks like this:

Bright and Shiny Things: Programming with LED’s

Teaching programming using the LED light strips is going much better than expected. I tried it with the 9th grade Algebra class during our weekly programming session using a set of coding lessons I put together. I went so well that though we started by having everyone (about 10 kids) share two LED strips, by the end of the year I had three students from that class build their own.

Student built LED strip.
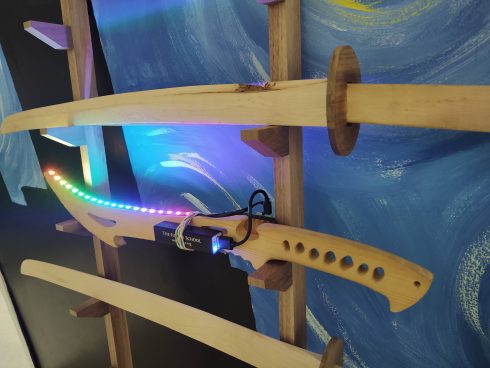
Student’s LED strip on a sword. The battery can power it for at least 15 minutes.

The coding lessons are still a work in progress, but it has them learn the basics by running some of the test programs, then then explore sequences using for loops. There are a lot of directions to branch off after the for loops. I’ve had some of my Algebra II students make static patterns using linear and exponential functions, while a couple of the kids in my programming class used different functions to make dynamic lighting patterns; our hydroponic system (see here and here) now has a neat LED indicator that runs different sequences depending on if the pumps are running or not.

Some of the students who built their LED strips in the Makerspace posted about their projects: LED Thingy and LED Light Strip Project. The process (rpi-led-strip) is not too hard but required them to be able to do a little physical computing (with Raspberry Pi’s), use ssh and terminal commands (terminal instructions), and then run and write python programs.

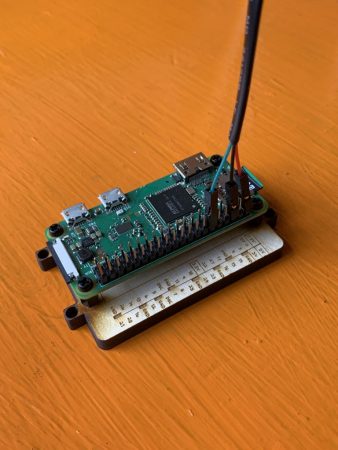
Raspberry Pi that controls one of the LED strips from a student’s project.

Since the setup uses the same GitHub repository (rpi-led-strip) it’s also easy to update some of our existing projects like the Wall Anchor.

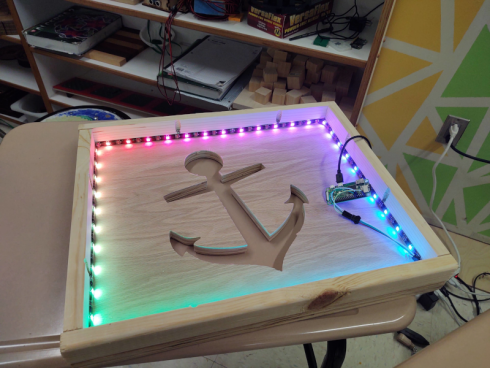
Wall anchor project.

I am amazed at how much the students have engaged with what are, ultimately, very simple systems (a Raspberry Pi and a strip of 20 lights), and I’m really excited to see where it takes us.

Python Tutorial (on jobtensor)

In talking to alumni and their peers who have recently started computer science related careers, I have been encouraged to continue using python as the primary language for introducing students to programming.

I was recently pointed towards a very good Introduction to Python on the jobtensor website. It has a clean design and uses iPython Shells on the webpage so you can run some basic code on the site itself.