Over the weekend I ran into this article from Planet Money/This American Life about a charity that just gives money directly to people. It should help to prepare my students for the Heifer International Ranch trip next month. It’s interesting to hear what people spend the money on; things like metal roofs and cows. Heifer gives cows and training instead of just cash. The article compares and contrasts the two approaches.
Preparing for Rabbit Dissection
References
Linn (2000) has a good overview of general rabbit biology and the internal organs in Rabbits: Biology (pdf).
For lots of detail on how to dissect a rabbit try Bensley’s Practical Anatomy of the Rabbit (free on Google Books)
AnimalLearn.org has a good list of free and for fee online dissections of various organisms. No rabbits as of this moment though.
Teaching Organic Farming
One of these days I’d like to put in a garden at school. Or maybe a few gardens. An indoor hydroponic system would be nice for the winter months, as would a greenhouse. However, the easiest thing to start with might be putting in some raised beds. To this end, the University of Santa Cruz’s Center for Agroecology and Sustainable Food Systems has detailed information in their Teaching Organic Farming & Gardening: Resources for Instructors manual.
↬ Mr. Sansone.
Dill Flowers
Dill flowers are pretty enough in real life, but look really interesting under the microscope as well. So I put a few pictures from my time with the Leica DSM1000b into the online microscope:
Understanding the Extinction of the Dinosaurs (and the Survival of Mammals)
This neat paper (Robertson et al., 2013) in the Journal of Geophysical Research makes an interesting attempt to explain the pattern of extinctions that occurred at the end of the Cretaceous: why most of the dinosaurs died out, and why ocean organisms were more severely affected than freshwater organisms by the long winter after the asteroid impact.
The flow chart explains:

They also include an interesting figure showing how long an organism might survive based on how large it is, which I may be able to use in pre-Calculus when we’re discussing log scales and linearizing equations.
![Allometric relationship between body size and time to death by starvation for multicellular poikilotherms in the absence of food (red, drawn from the equation of Peters [1983, p. 42]). Names of various types of organisms are shown as an indication of body size. Image and caption from Robertson et al., 2013.](http://MontessoriMuddle.org/wp-content/uploads/2013/07/Robertson_et_al_2013_Fig1.png)
The article is written well enough that an interested high school biology student should be able to decipher (and present) it.
Crayfish: Charismatic Mesofauna
This year, the creek is teeming with crayfish, especially compared to last year during the drought when the creek dried up and the crustaceans were hard to find. I had five students out collecting organisms on Wednesday, and they came back with ten crayfish ranging in size from a couple centimeters long, to one that was about 12 centimeters from claws to tail.
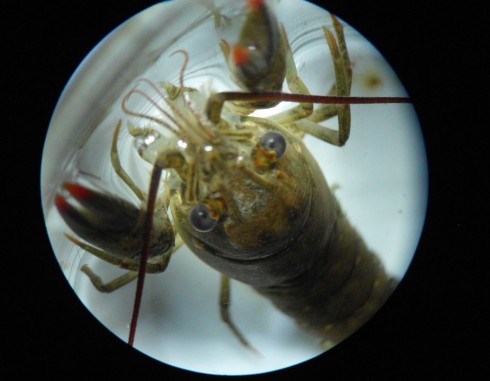
I was just looking at one of the pictures I took and realized that I did not know what species it belonged to. I’ll be having students do reports on individual species for biology next year, and I’d be very surprised if someone did not choose crayfish. They’re so many of them and, as my students from Wednesday will attest, they’re just so charismatic. While I’ve not looked into it much myself, the Crayfish & Lobster Taxonomy Browser seems a decent place to start researching.
A Tadpole with Legs
Among the interesting things we collected from the creek yesterday, was a tadpole that was in the process of developing legs.
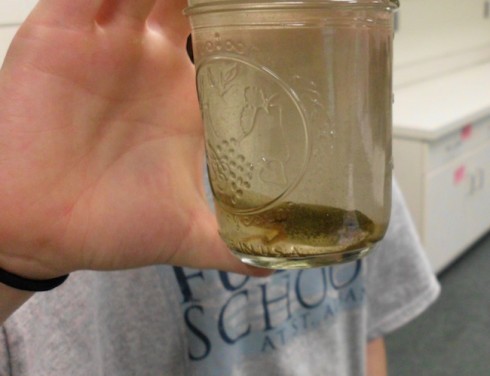
This is particularly interesting since we’ve had a tadpole in our fish tank since last fall that still has not shown signs of transforming.
3d Molecule Viewer
An excellent 3d viewer for molecules.
In addition to the existing molecules, you can import any number of others if you can find them in one of the right formats (PDB, SDF or MOL molecule definitions): the ligand.info: Small Molecule Meta Database is a good source for SDFs.